How to use pruning shears: a guide to getting the perfect cut (without harming your plants)
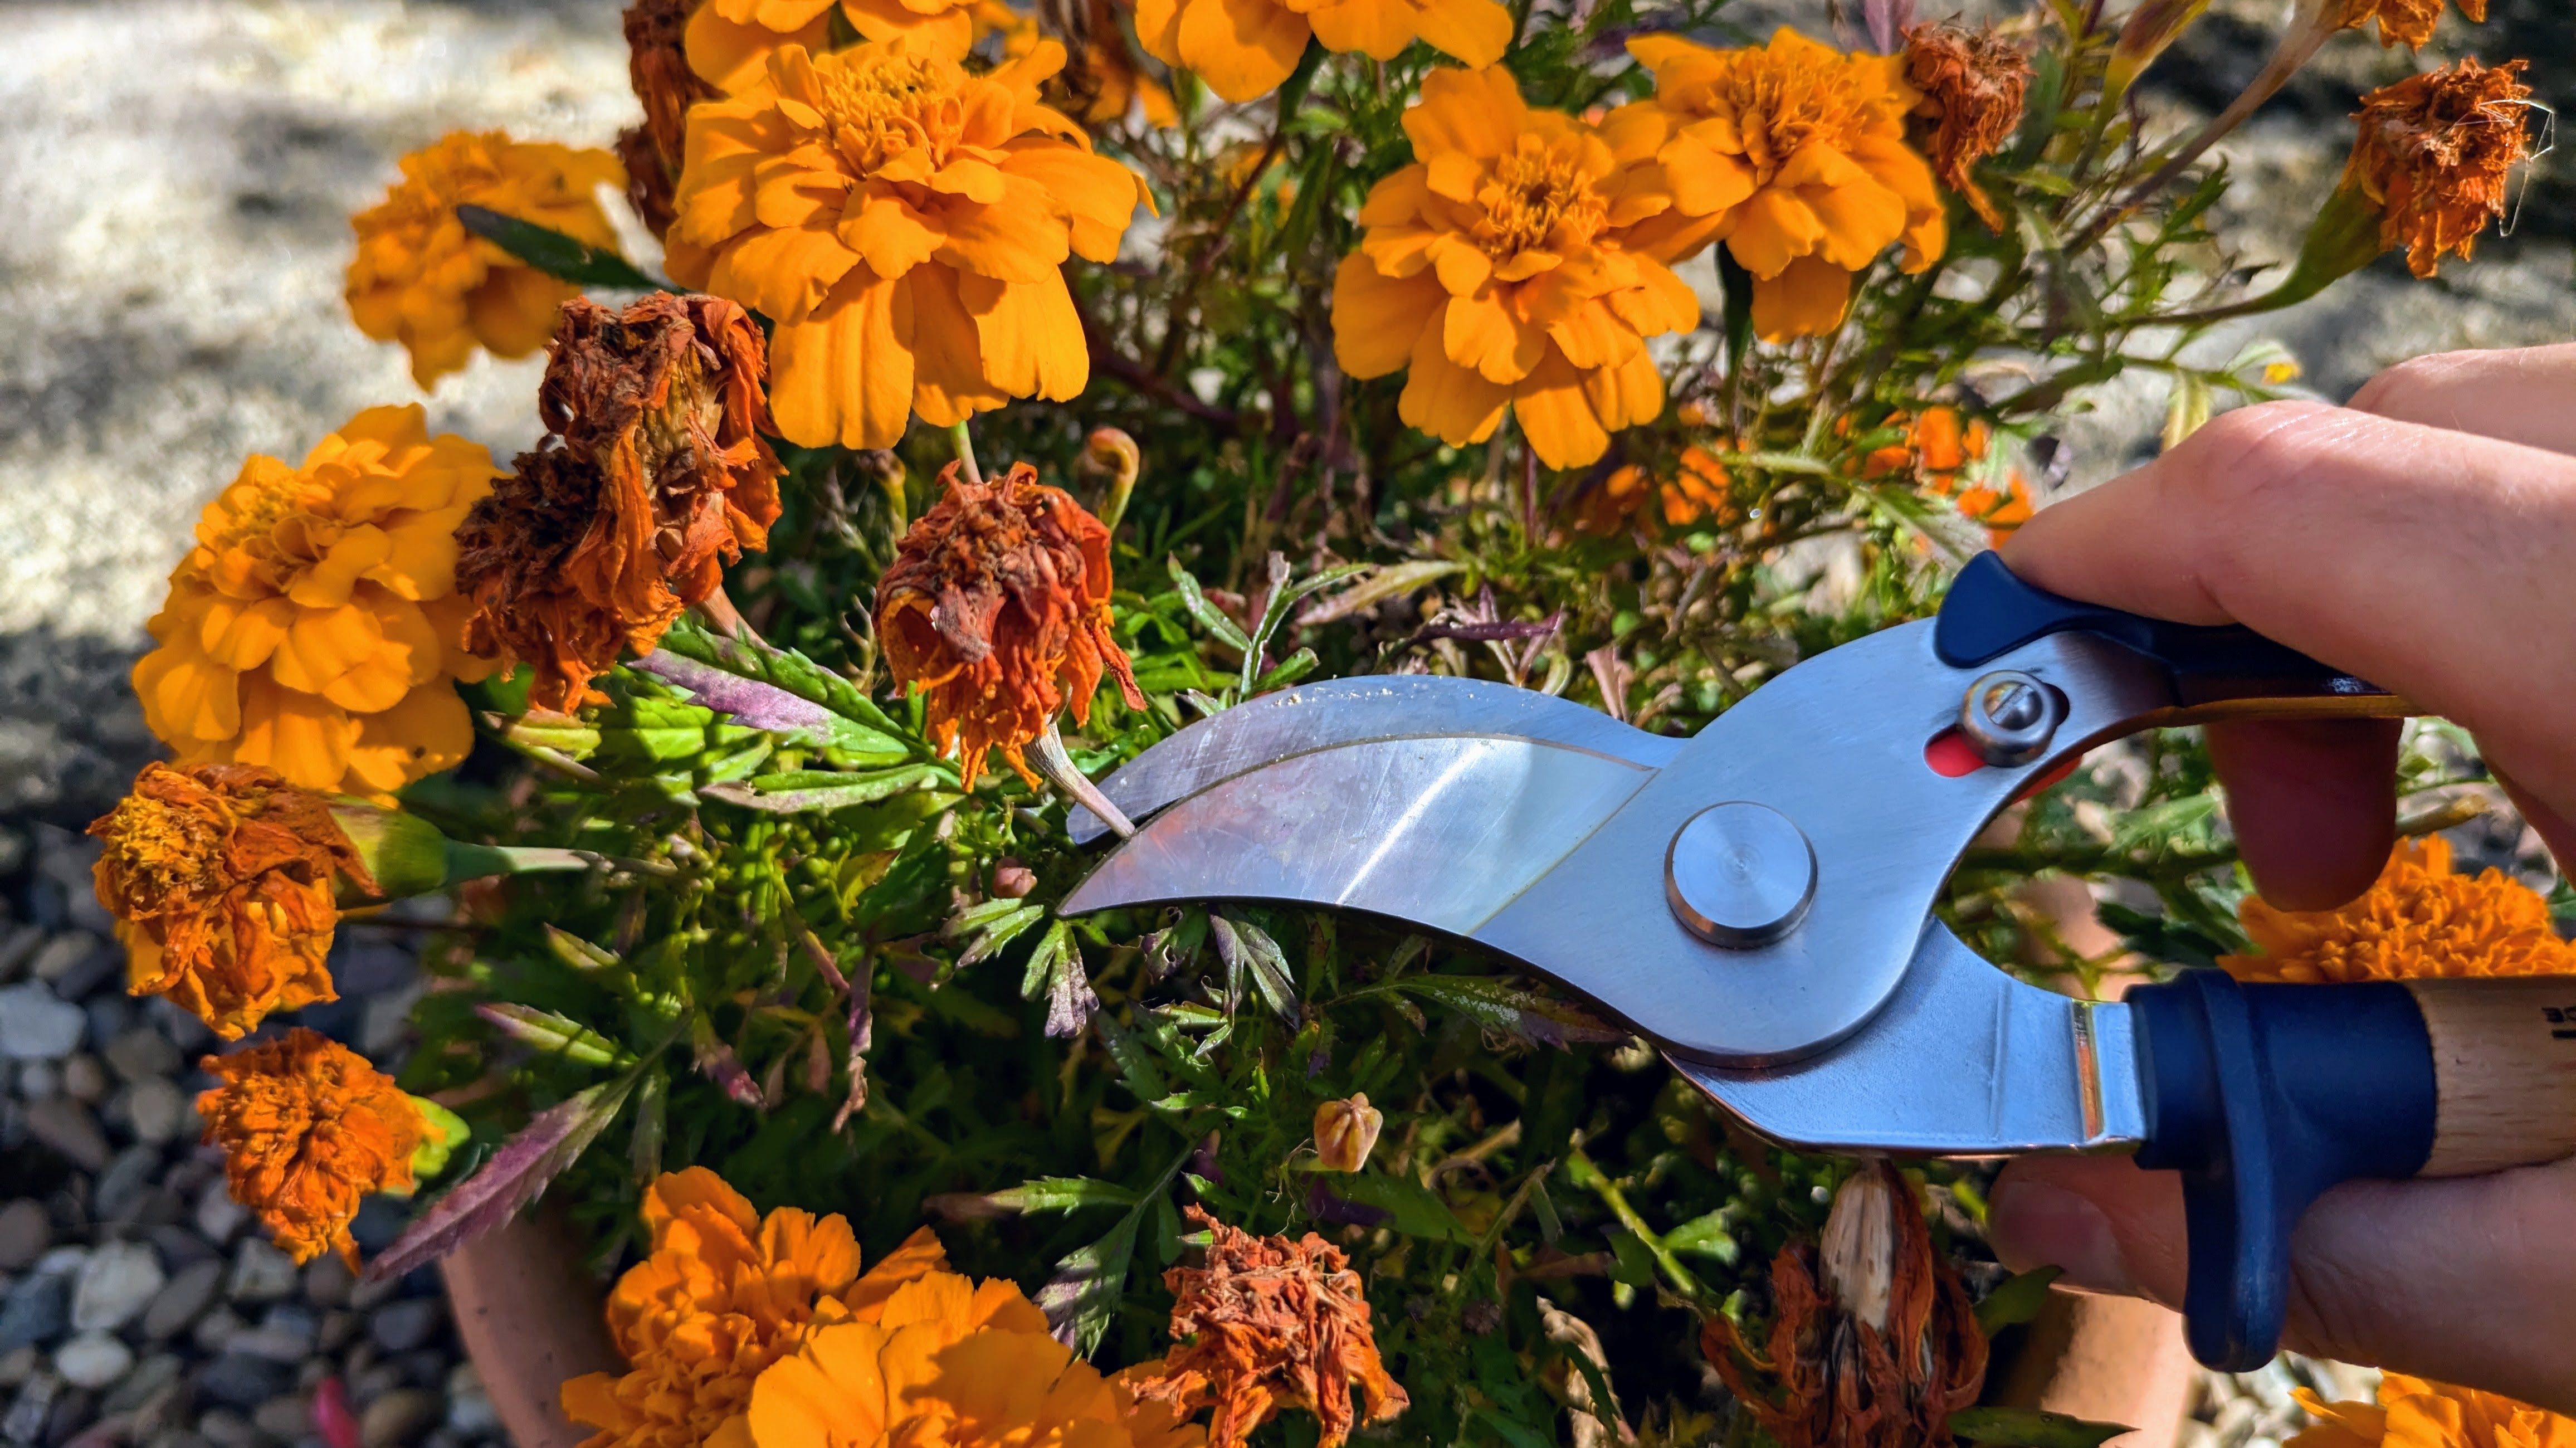
Don’t go on pruning in shear ignorance.
- Pruner (like the ARS HP-VS8Z Signature Heavy Duty Pruner for $33.80 on Amazon
- Cleaning cloth or rag
- Compressed air (optional)
- Gardening gloves (recommended)
Using the best pruners feels simple and intuitive. You squeeze the handles, and the blades cut the plant stem—it’s just like using scissors.
Pretty much anyone can prune – but you can take several easy steps to elevate your pruning approach beyond that of the average gardener. The right technique and process will maximize the benefits of pruning for your plant’s health and appearance. In contrast, a haphazard approach could lead to pruning mistakes that harm plants' health or damage your pruner.
In this guide, I’ll explain a five-step process for pruning effectively without harming your plants and trees. Two professional gardeners will provide expert advice throughout the walkthrough.
How to use pruning shears: quick steps
- Check timing
- Prep the pruner
- Cut branches or stems
- Clear up waste (optional)
- Clean the pruner

Steve Swanborough is Henchman’s resident gardening expert, working closely with the team at shows such as RHS Chelsea Flower Show and RHS Hampton Court Palace Garden Festival. Having previously worked as a private gardener in South London, Steve brings years of horticultural experience to Henchman, and is passionate about sustainable gardening practices.
How to use pruning shears: Step by step guide
1. Check timing
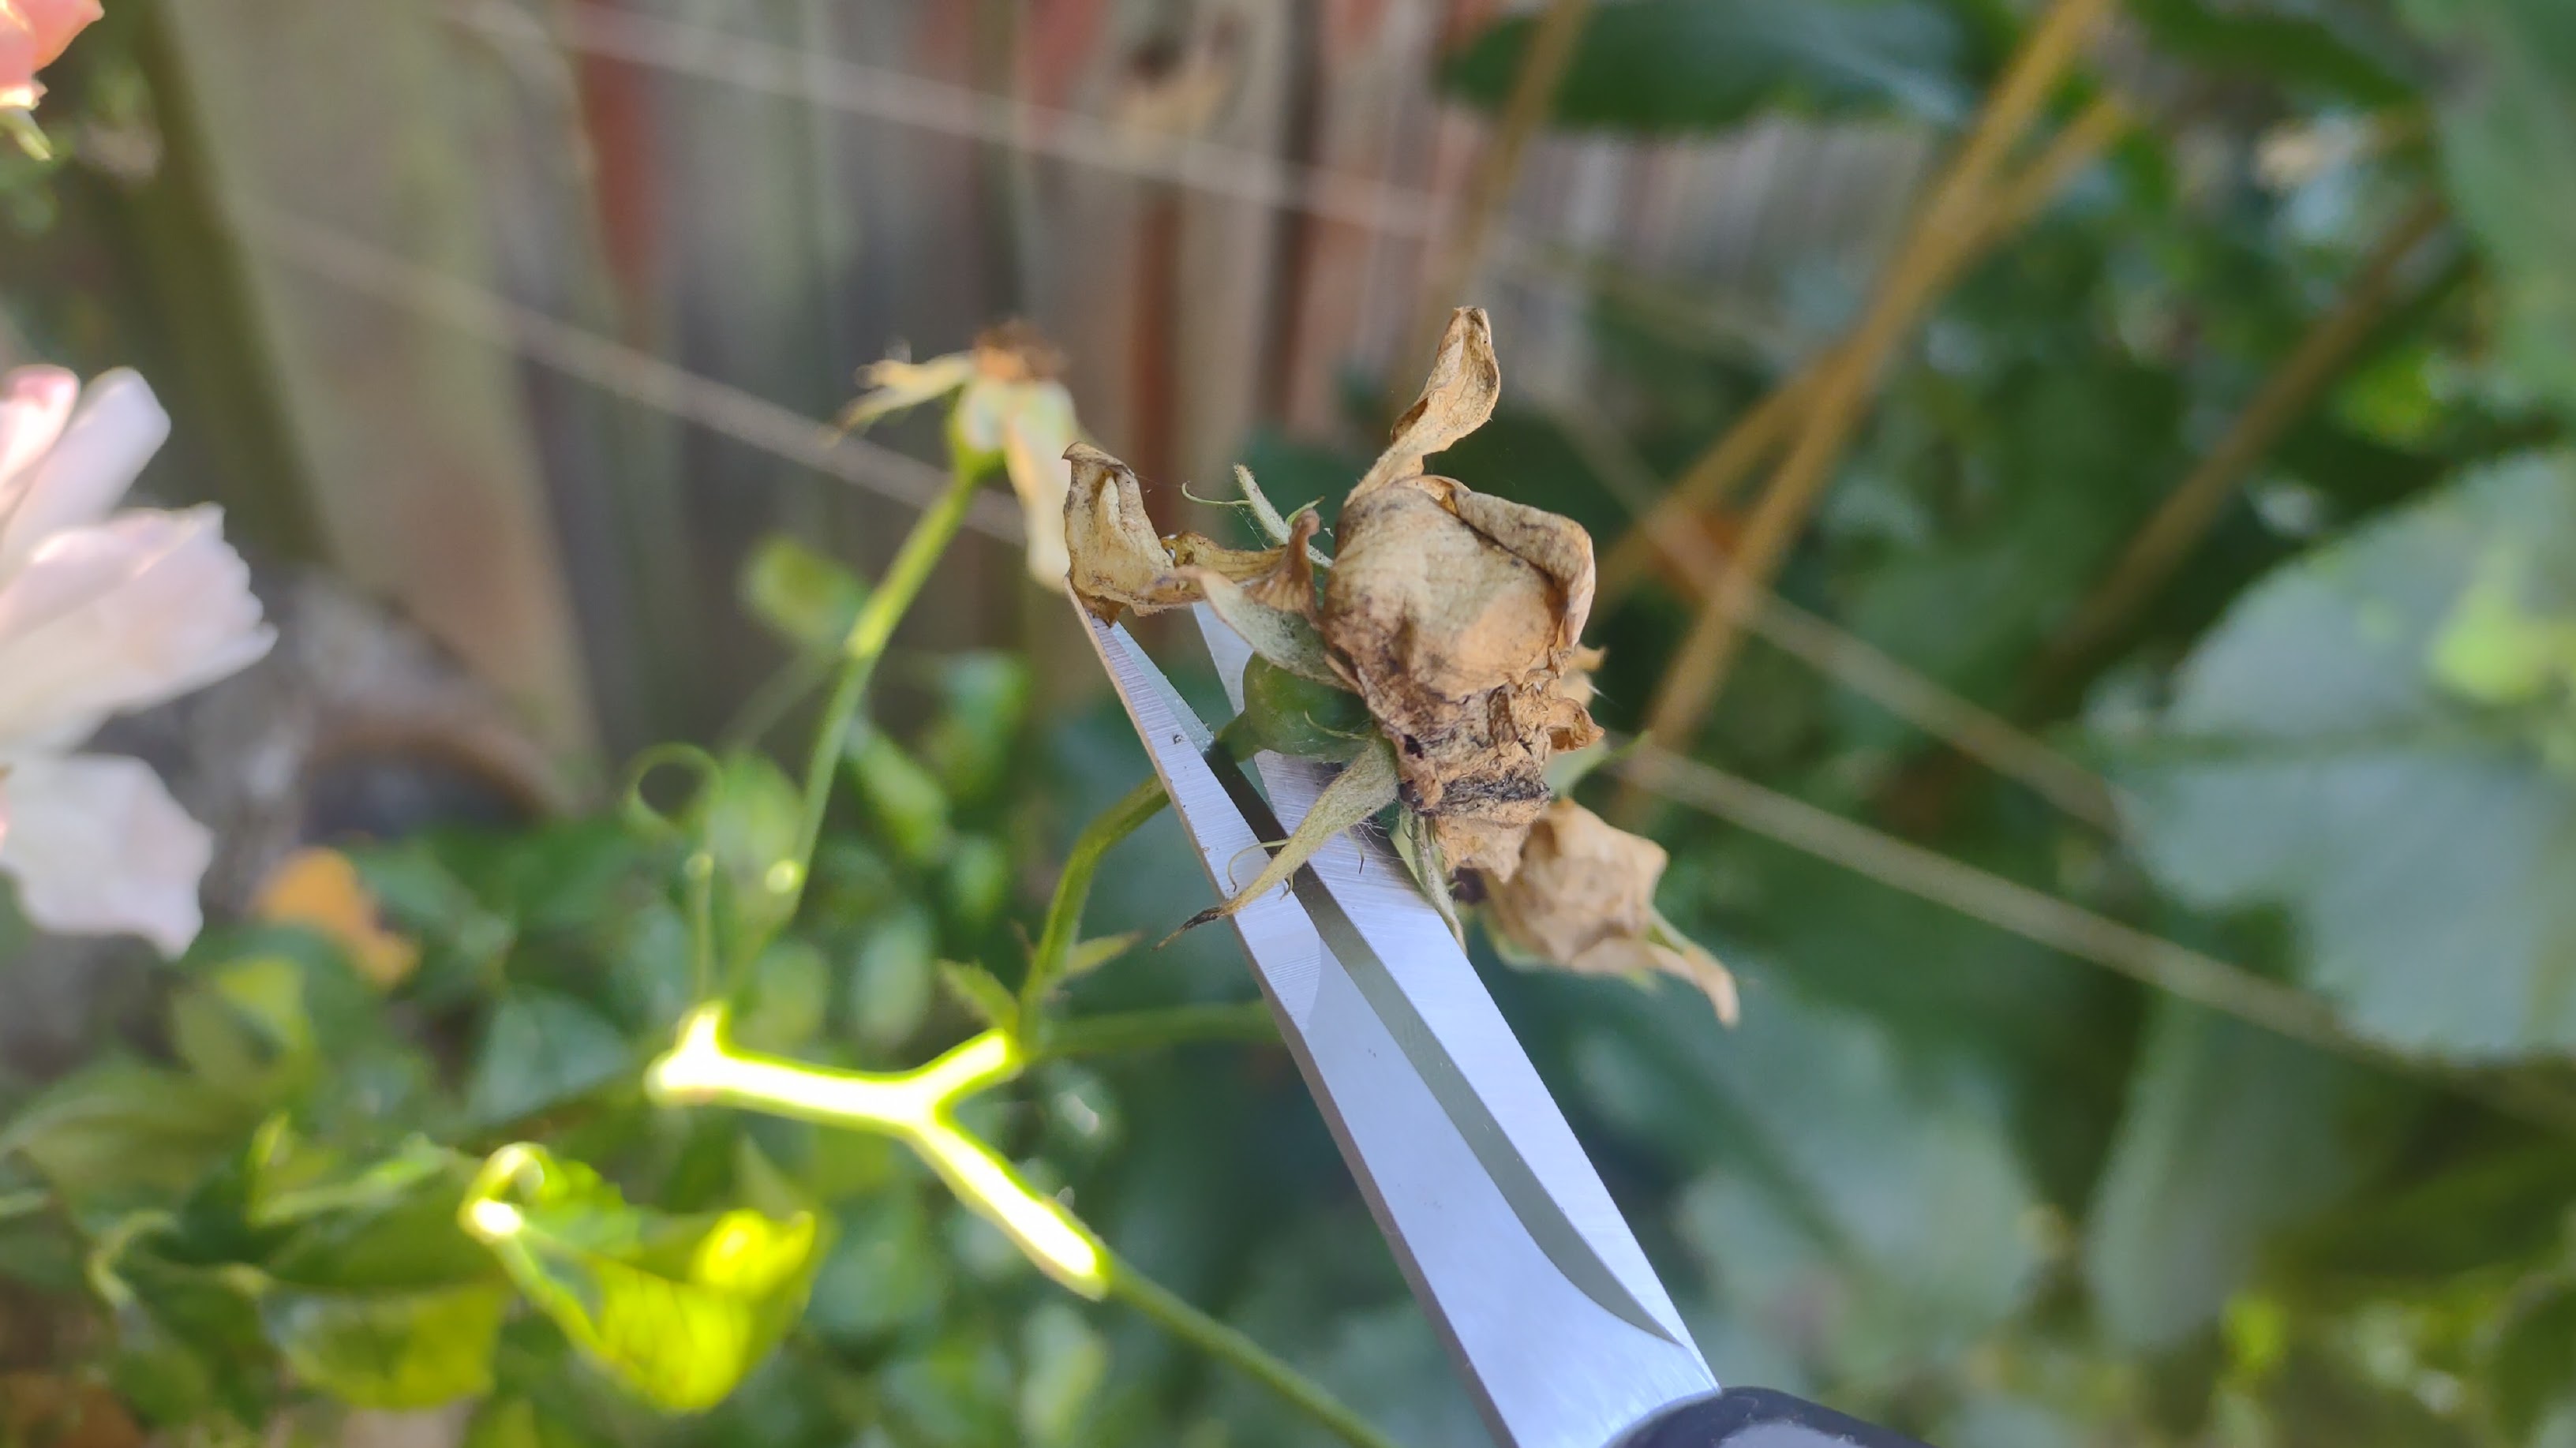
Before pruning, check whether now is the best time to prune your plants or trees.
“Many plants are best pruned during their dormant season (usually late winter to early spring) before new growth starts,” says Henchman’s Steve Swanborough.
“However, some flowering plants should be pruned right after they bloom, as they set the next year’s buds immediately after flowering.
“Look for signs like overgrown or leggy branches, crossing branches that rub against each other, or dead or diseased wood. These are indicators that pruning is needed. Additionally, thinning out dense areas to improve air circulation can help prevent diseases,” he adds.
If in doubt, seek specific guidance on when to prune a particular plant species. You might find it helpful to create a pruning calendar that will remind you when it’s time to prune each type of plant or tree in your yard.
2. Prep the pruner
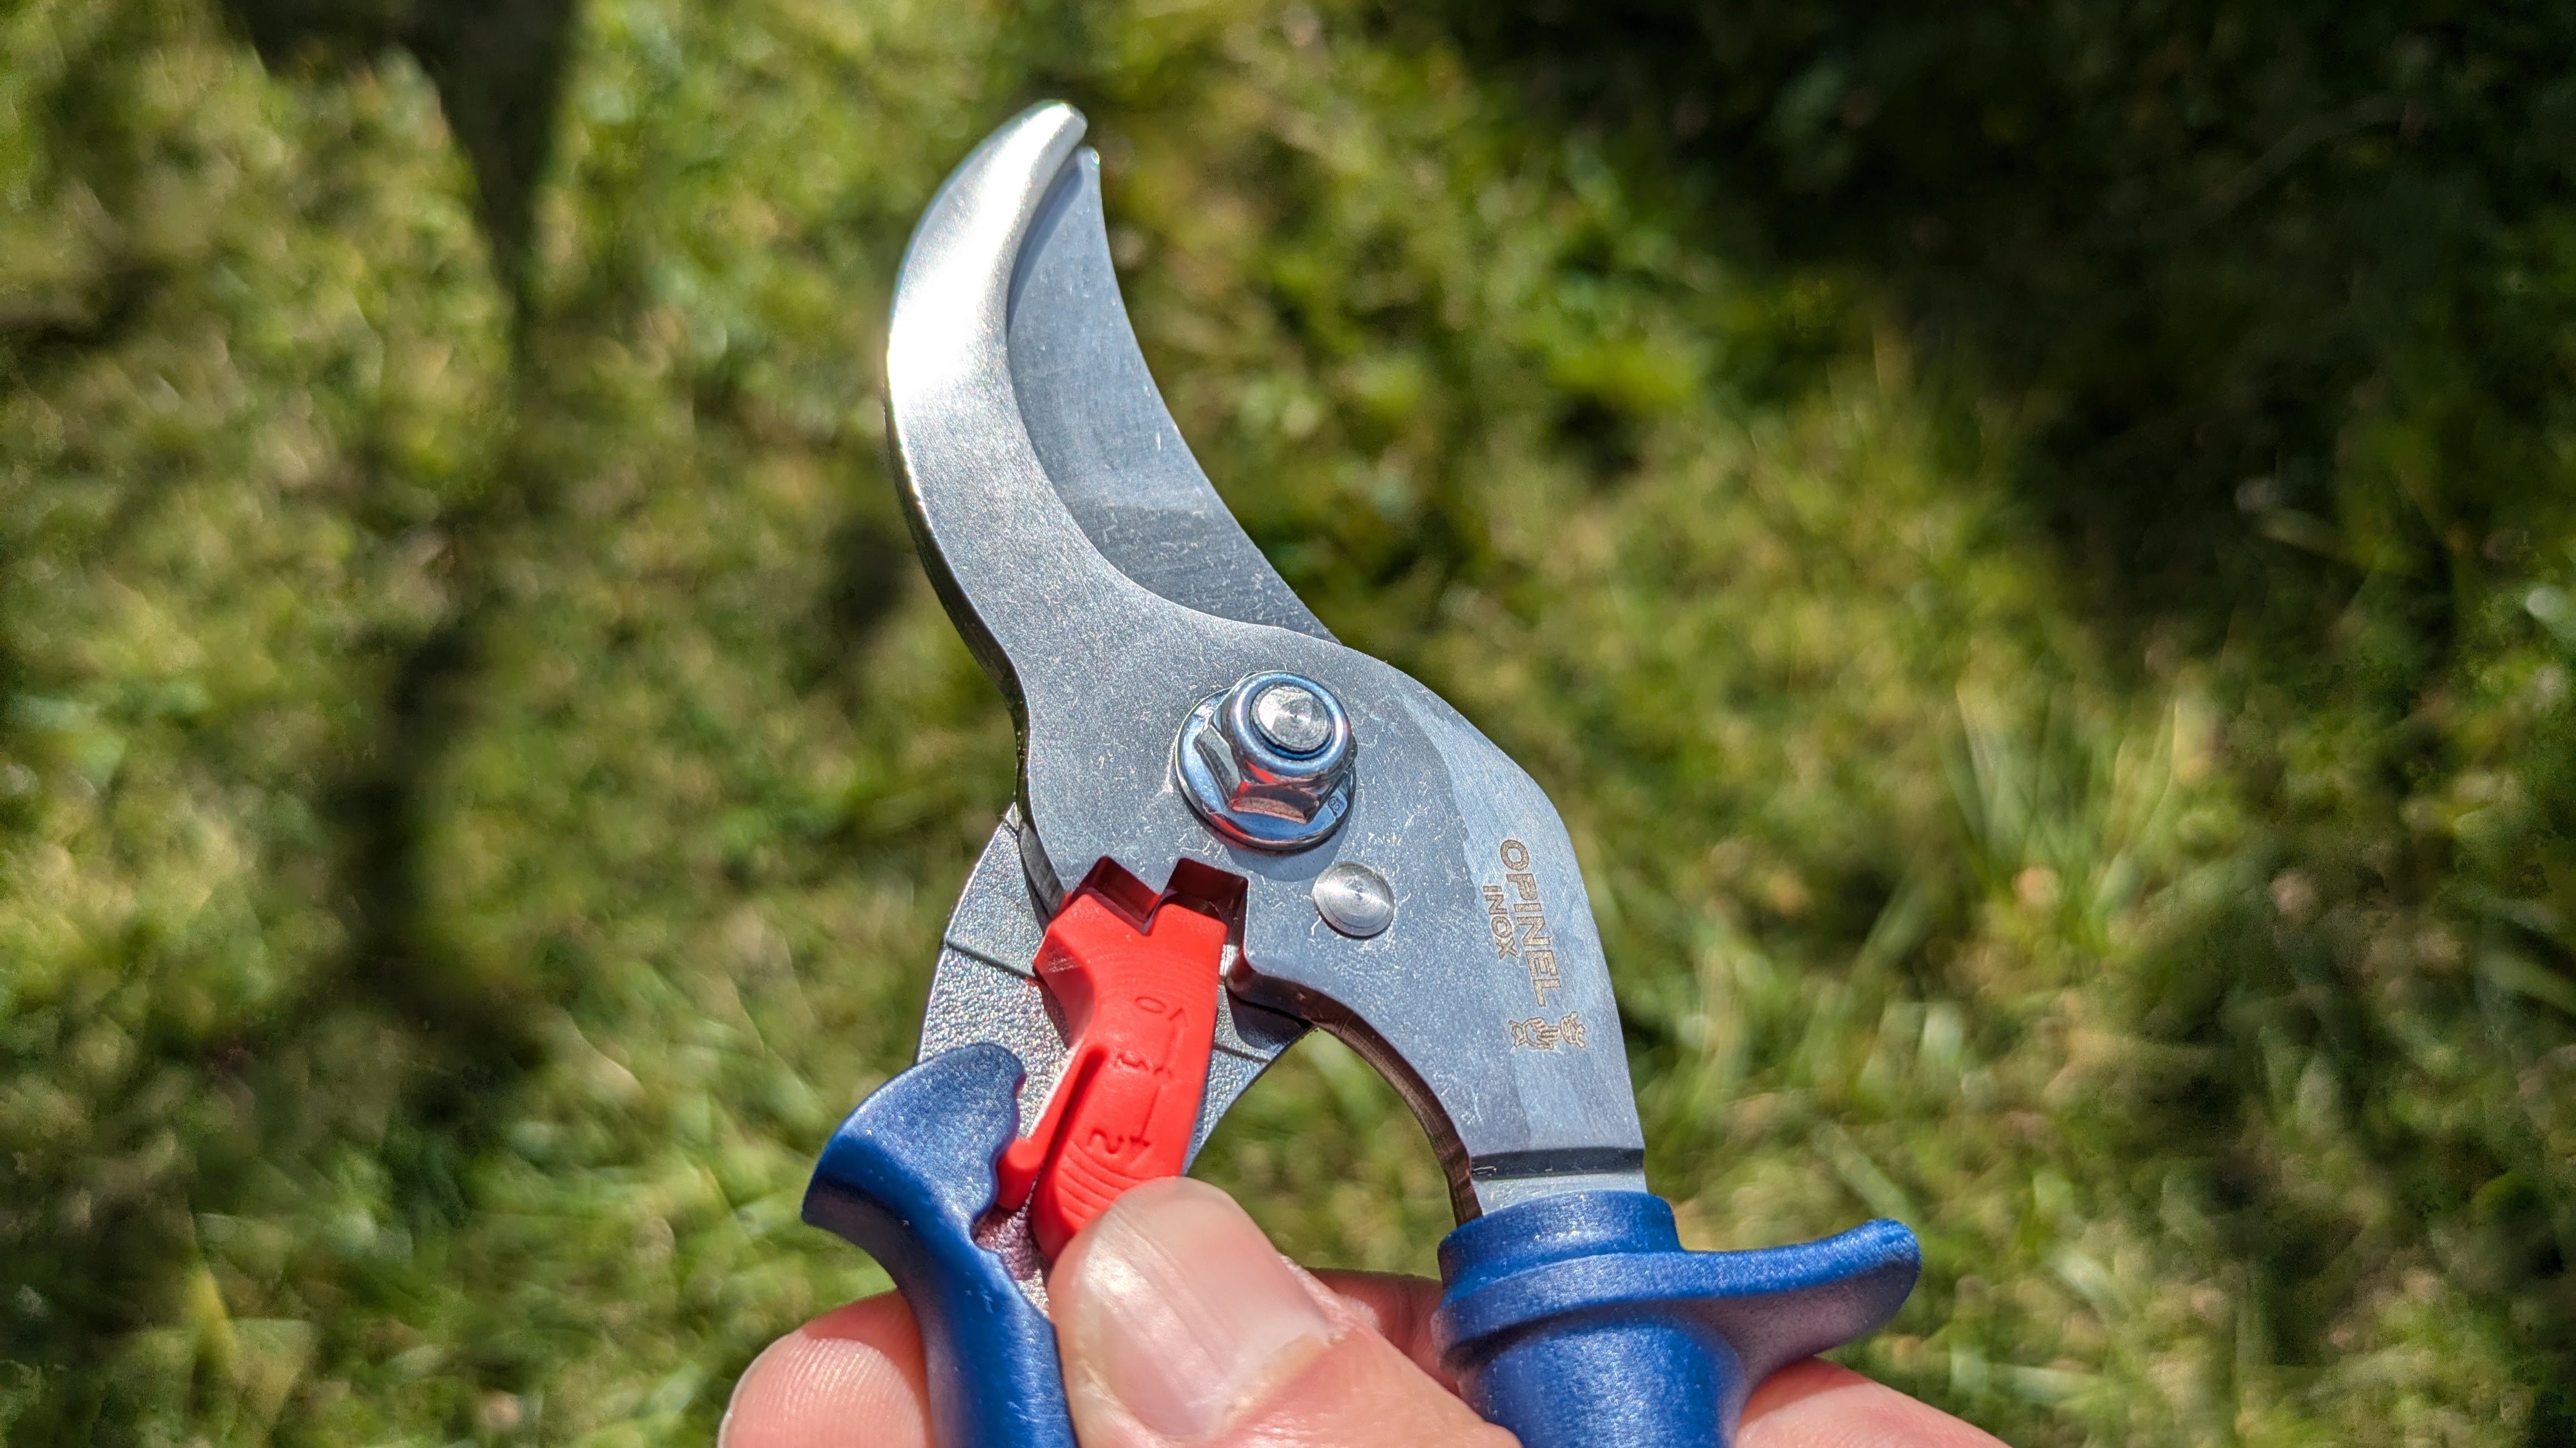
Your next step is to choose the right pruner for the job.
Bypass pruners and snips are the best-suited tools for pruning delicate plants, while anvil pruners and loppers are better for pruning tree branches and thick plant stems. Pick the pruner that’s best suited to prune each plant.
Before you start pruning, check to ensure the blades of your pruner are sharp enough to cut cleanly. You’ll need to sharpen or replace them if they're dull or damaged.
Finally, configure any settings or controls on the pruner. For instance, some pruners have variable cutting width settings to suit branches of varying thickness.

Morris Hankinson is the Founder and Managing Director of Hopes Grove Nurseries Ltd, the UK’s only specialist grower-retailer of hedging plants. The company grows hedging plants across three nursery sites in the Weald of Kent, serving over 17,000 customers each year.
3. Cut branches or stems
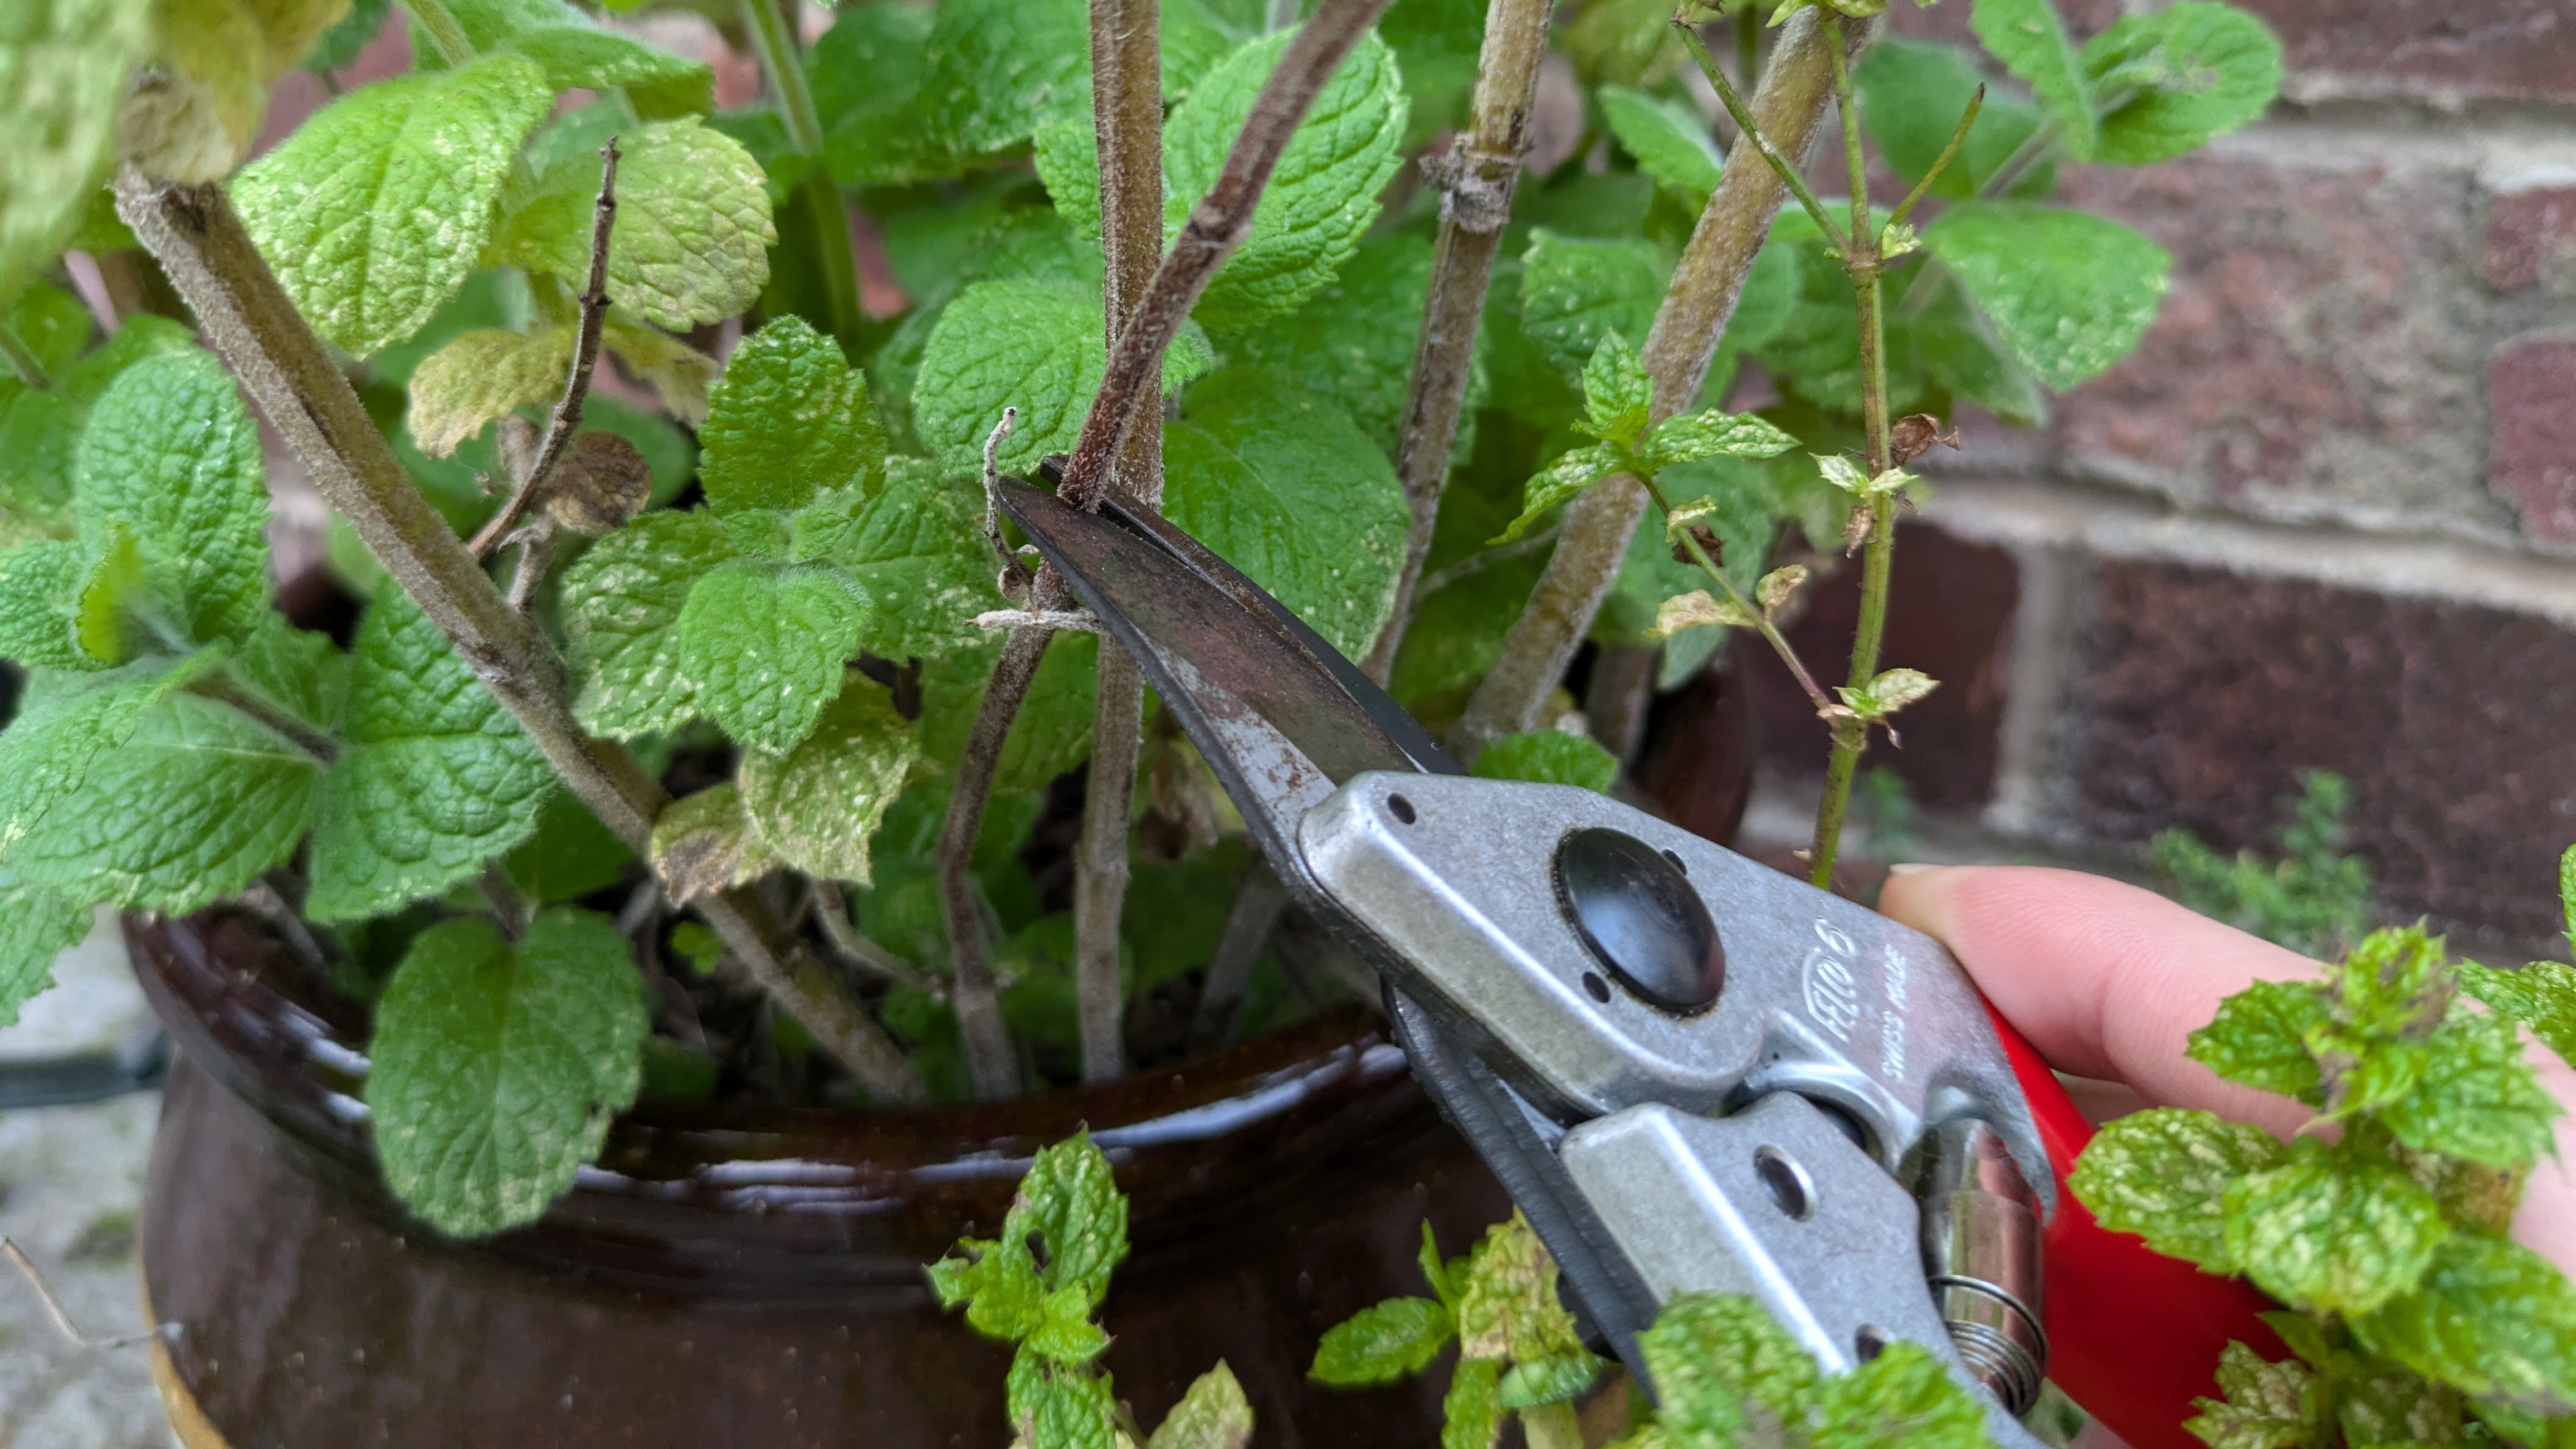
Now that your pruner is ready to prune select the exact place you’ll cut.
“Where to cut a branch or stem depends very much on the plant, so always research and know what plant you are pruning,” says Morris Hankinson of Hopes Grove Nurseries.
“If in doubt, prune lightly. But generally, you will most likely need to prune above a node or set of leaves, and not when a plant is in flower or fruiting.”
Before you go ahead and cut, make sure you’re holding the pruner correctly.
“Always hold your secateurs firmly with your dominant hand, ensuring your thumb and fingers encircle the handles completely,” says Steve.
“Your grip should be strong yet relaxed to prevent hand fatigue. The cutting blade should face the plant, with the stationary hook on the opposite side. This positioning gives you a cleaner cut and minimizes damage to the plant.”
Your pruner should usually cut through the stem or branch cleanly and with relatively little effort. If cutting is difficult, do not try to force the blades through, as this can damage the tool and strain your hand.
“Instead, switch to a more suitable tool like loppers or a pruning saw for thicker branches,” says Steve.
“For branches just beyond your secateurs’ capability, try cutting at an angle, applying steady pressure rather than a quick snap.”
In general, it’s advisable to cut branches or stems at an angle of about 45°.
4. Clear up waste (optional)
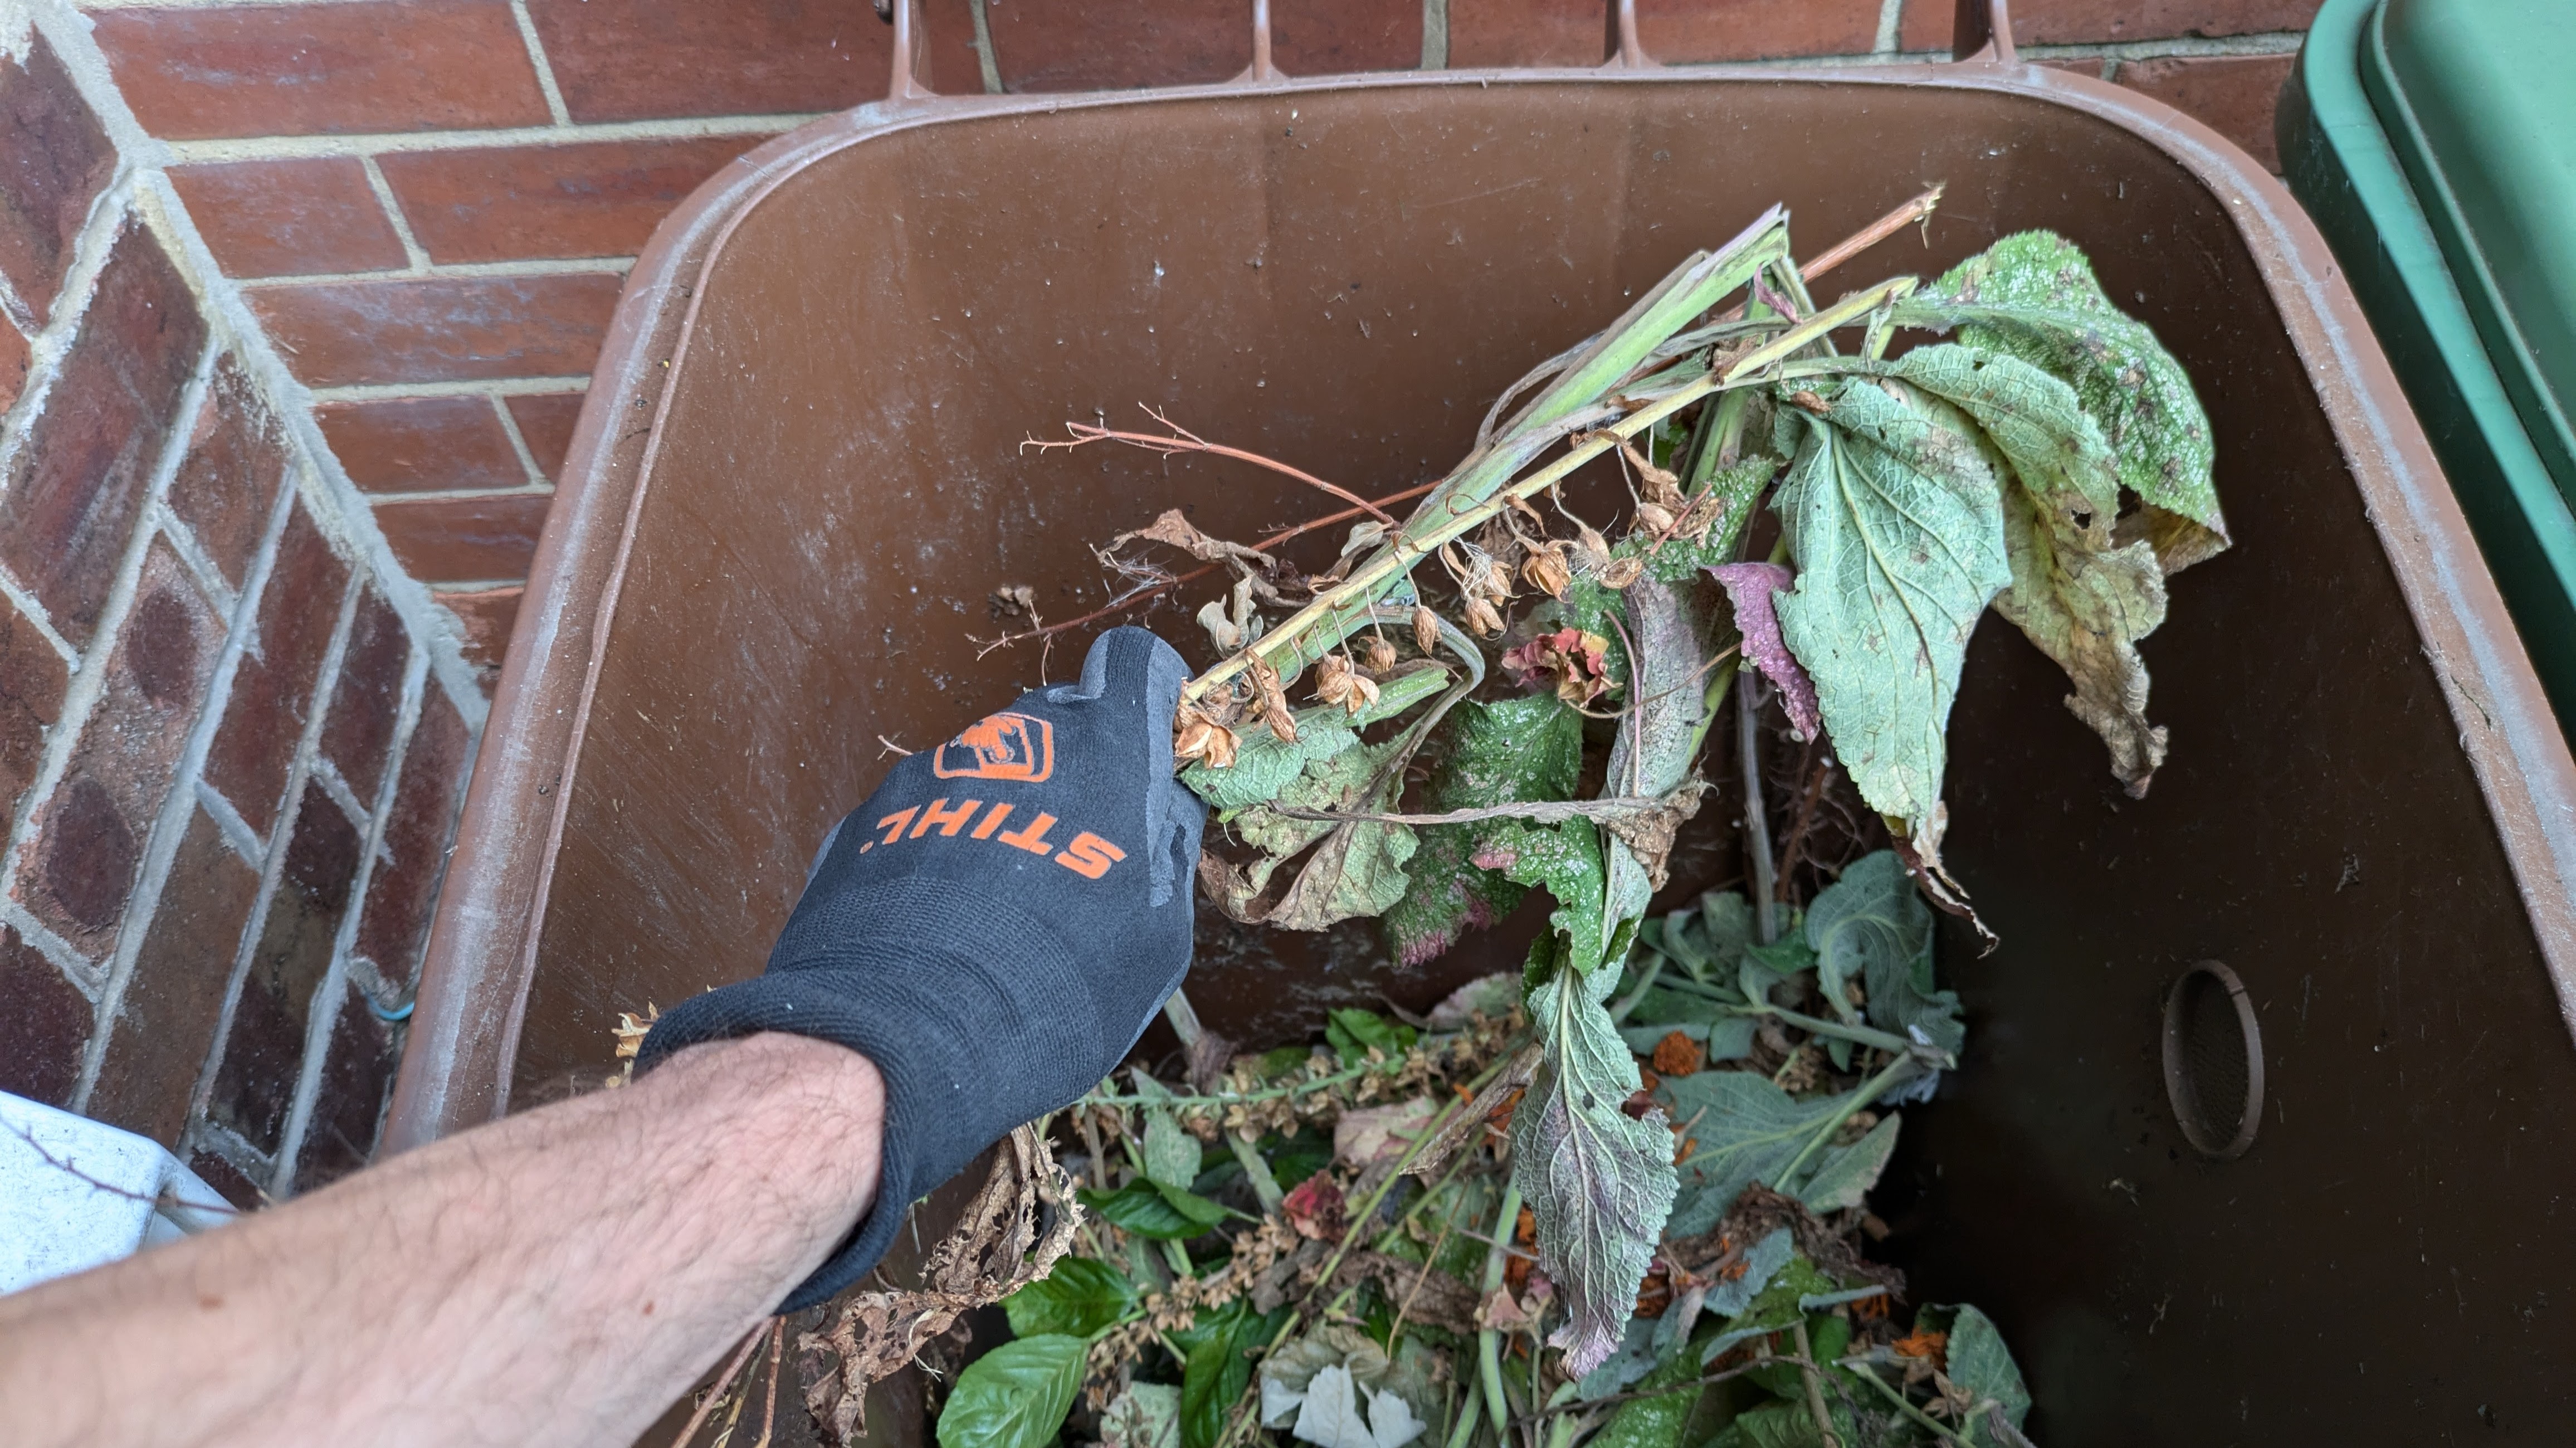
It’s sometimes okay to leave cut plant matter on the soil in your garden beds, where it can release nutrients and act as a mulch.
However, you might prefer to gather pruning waste and dispose of it responsibly or add it to a compost bin or pile. This approach tends to make the garden look neater and is essential when you’re pruning plants that can be toxic or harmful to humans or pets, such as foxgloves or holly.
5. Clean the pruner
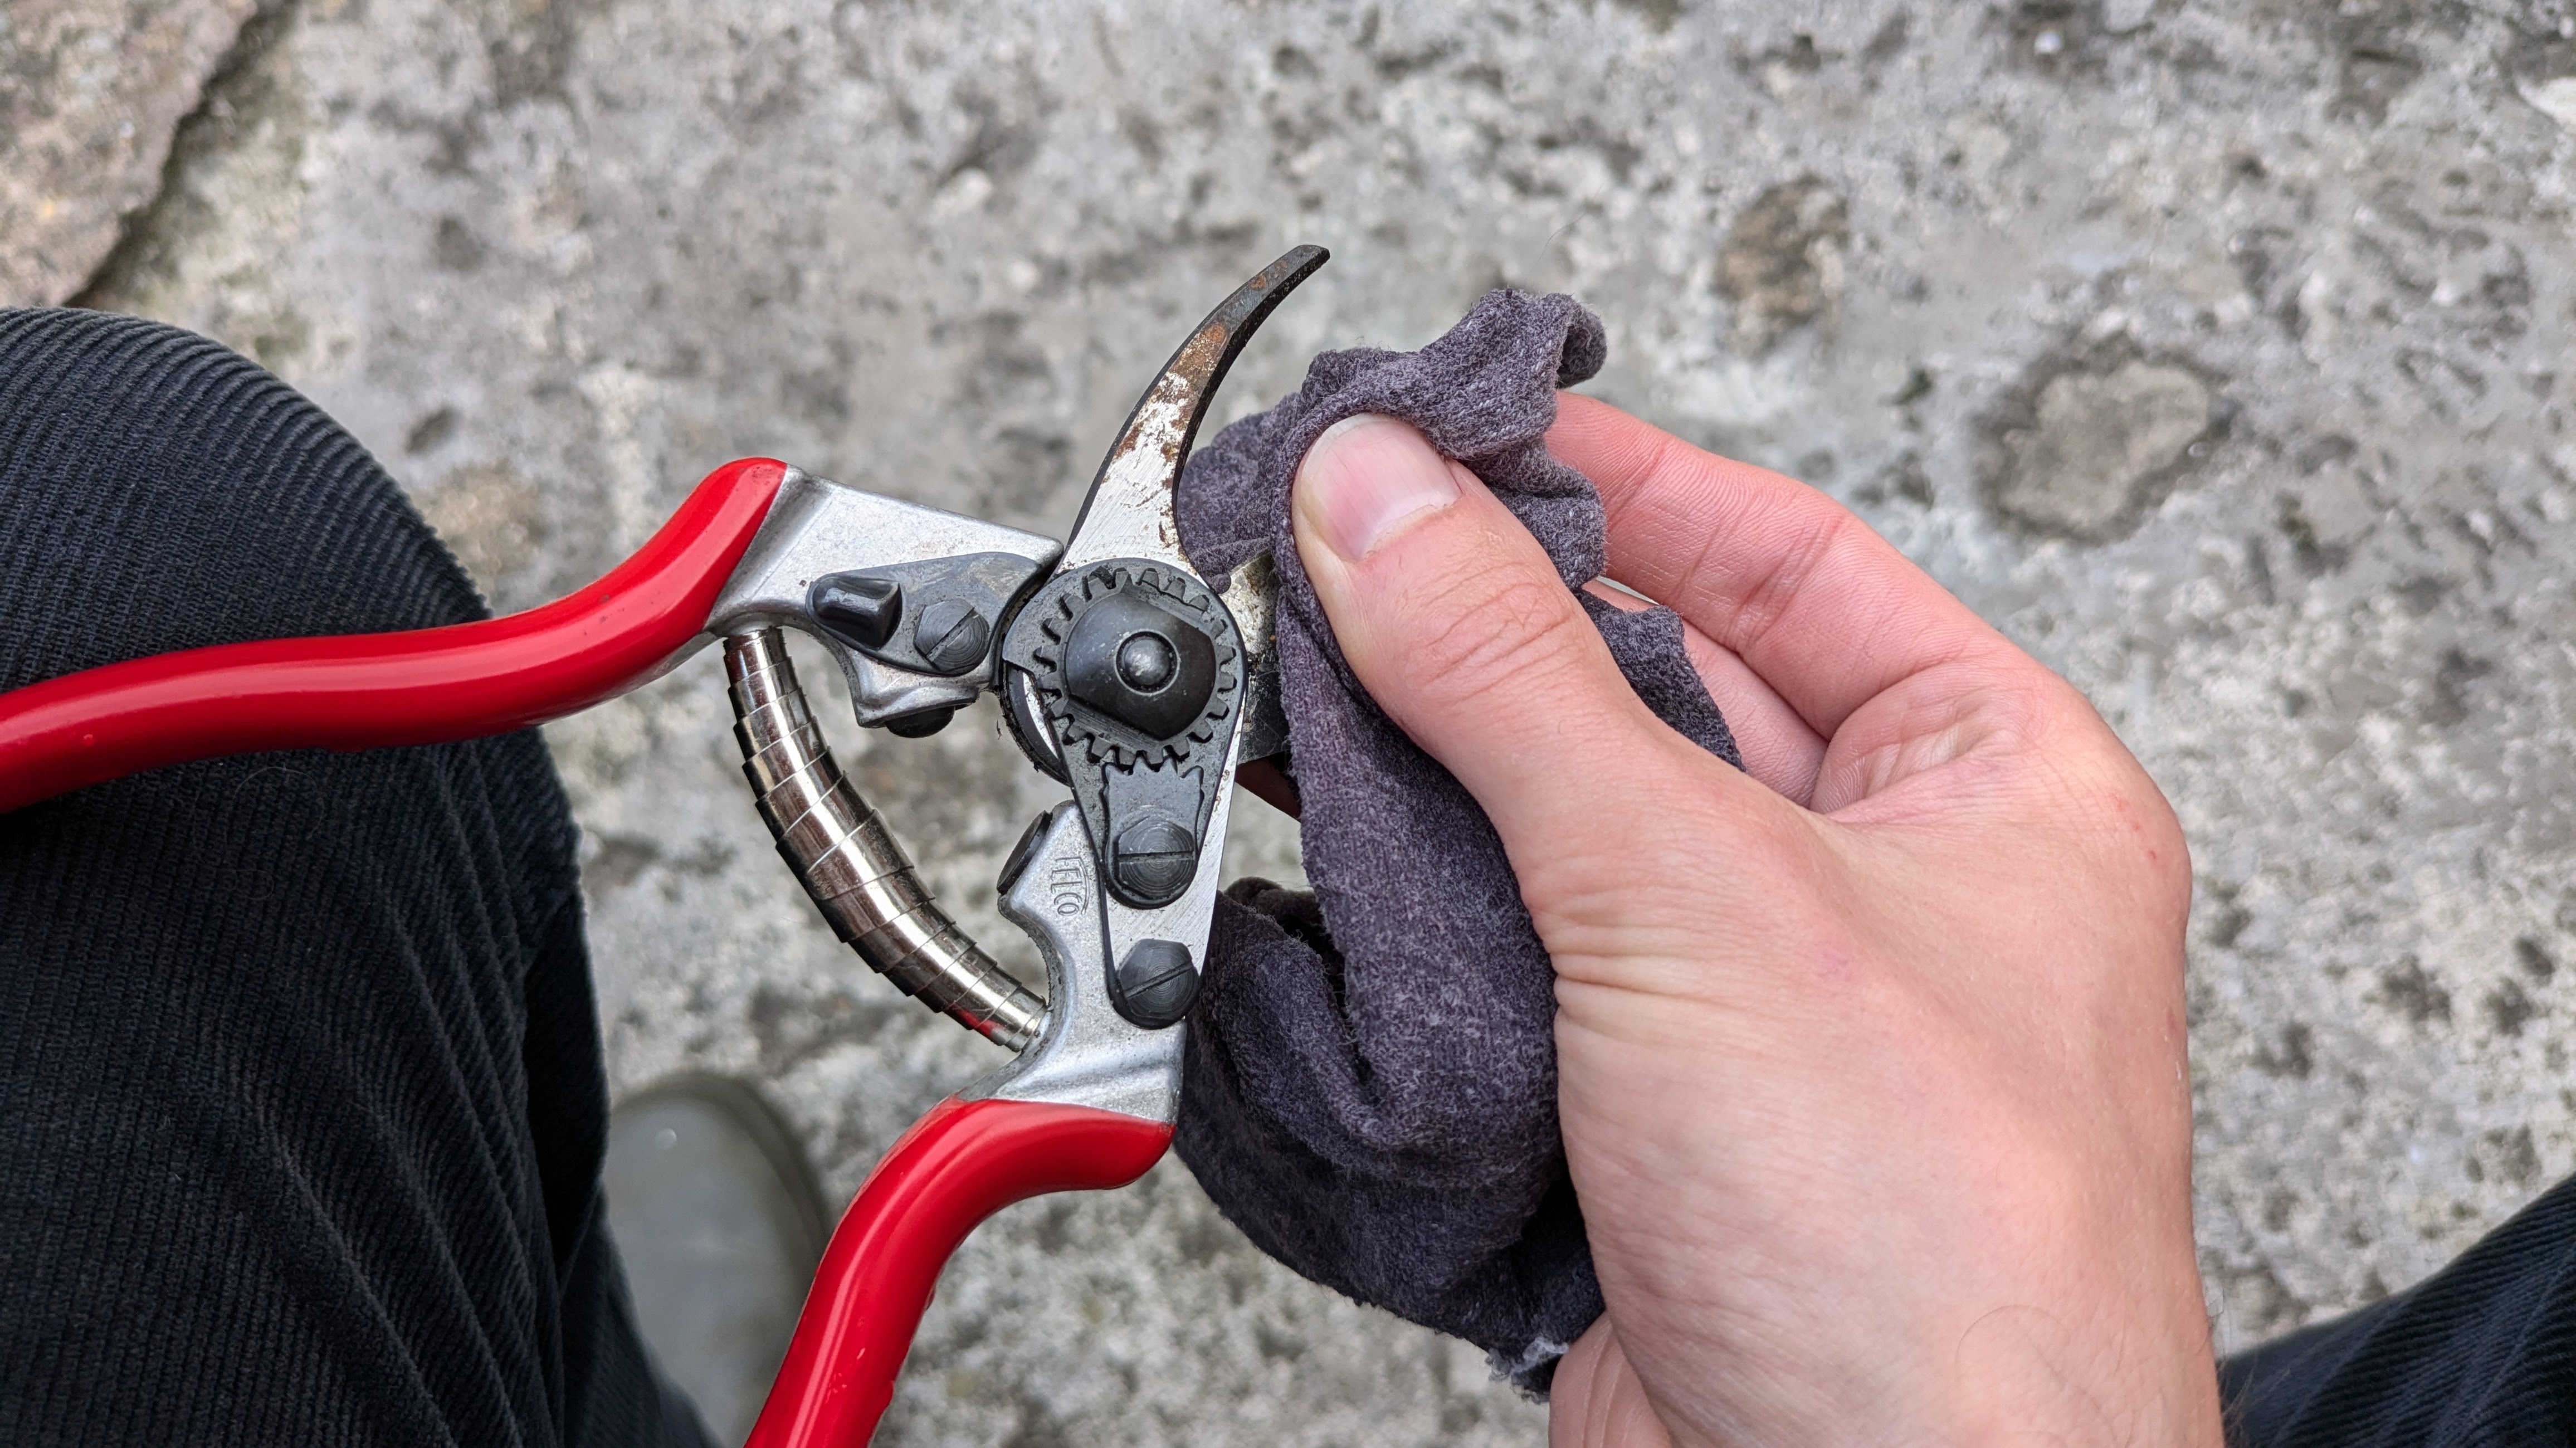
“Always clean your pruner after each use,” says Steve.
“Sap and plant residue can dull the blades and lead to rust. Wipe them down with a damp cloth and store them in a clean, dry place after use to maximize longevity.”
Dry the shears carefully after cleaning to reduce the risk of rusting. Oxidation can occur even if a pruner has blades made of stainless steel (and is more likely to occur in tools with carbon steel blades).
If you want to dry your pruner thoroughly, blast dry the gap between the blades using a can of compressed air like this one ($9.99, Amazon).
You can give your pruner some added protection during storage by keeping it in a sheath. Sheaths are available for many different types and sizes of pruning shears at Amazon.
How to use pruning shears: FAQs
Which types of pruner are relevant to the average home user?
Several types of pruners are useful to gardeners of all experience levels. The most common type is the bypass pruner.
“Bypass pruners cut similarly to scissors, making them easy to get into tight areas with lots of stems,” says Morris.
“They are used to prune smaller stems up to about an inch thick. It is possible to prune with bypass secateurs, but you may struggle with thicker stems.”
“It’s really important to make clean cuts to prevent disease, so be sure you keep your pruners sharp and clean, especially if you’re going to use them for thicker cuts,” he adds.
Sign up to receive the latest news, reviews, buying guides and deals direct to your inbox
Two alternative pruners relevant to the average home user are anvil pruners and ratchet pruners.
“Anvil secateurs cut more like a knife than bypass secateurs and are used to cut woody stems thicker than those pruned with bypass secateurs,” Morris explains.
“Ratchet secateurs are useful for cutting through tougher stems and are good if you need help with strength. They make cuts gradually as you squeeze and release.”
Is it possible to repair a broken pruner at home?
Even if you prune properly, your pruner may break after long-term use. Some models of pruning shears are easier to repair than others. In particular, models with a mechanism that’s easy to access and adjust may be possible to repair at home – provided spare parts are available for the pruner.
Reviews
Echo eForce DPB-2500 review: a leaf blower as a snow removal tool?
Opinel Hand Pruning Shears review: are these the world’s most stylish secateurs?
STIHL HSA 60 Hedge Trimmer review: a battery-powered hedge trimmer that "gets the job done"
STIHL FSA 200 R String Trimmer review: quirky yet powerful, efficient and battery-powered
Husqvarna Combi Switch 330iK review: A versatile, all-in-one lawn tool
ENHULK 58V 16” String Trimmer review
Husqvarna Hedge Master 320iHD60 review: a cordless hedge trimmer on a mission to master hedges
Other pruner models are more difficult to repair, for reasons such as the mechanism's inaccessibility, the low availability of spare parts, or the tool’s high complexity in design.
Final thoughts
If you’re thinking carefully about how to use a pruner, that’s a great indication of your commitment to the health and appearance of your plants.
Pruning has immense potential benefits, including better flower displays, bigger fruit harvests, and a reduction of overgrowth and disease. By following a careful, considered approach to pruning, you’ll ensure your plants and trees experience these upsides more often rather than falling victim to incorrect pruning practices.

Pete has reviewed hundreds of gardening products for titles including TopTenReviews, Ideal Home and the London Evening Standard, as well as writing articles on diverse topics for other publications such as The Guardian and BBC Good Food. Pete loves spending time in his yard – although, having just read The Day of the Triffids by John Wyndham, he is regarding his plants with a newfound suspicion.
