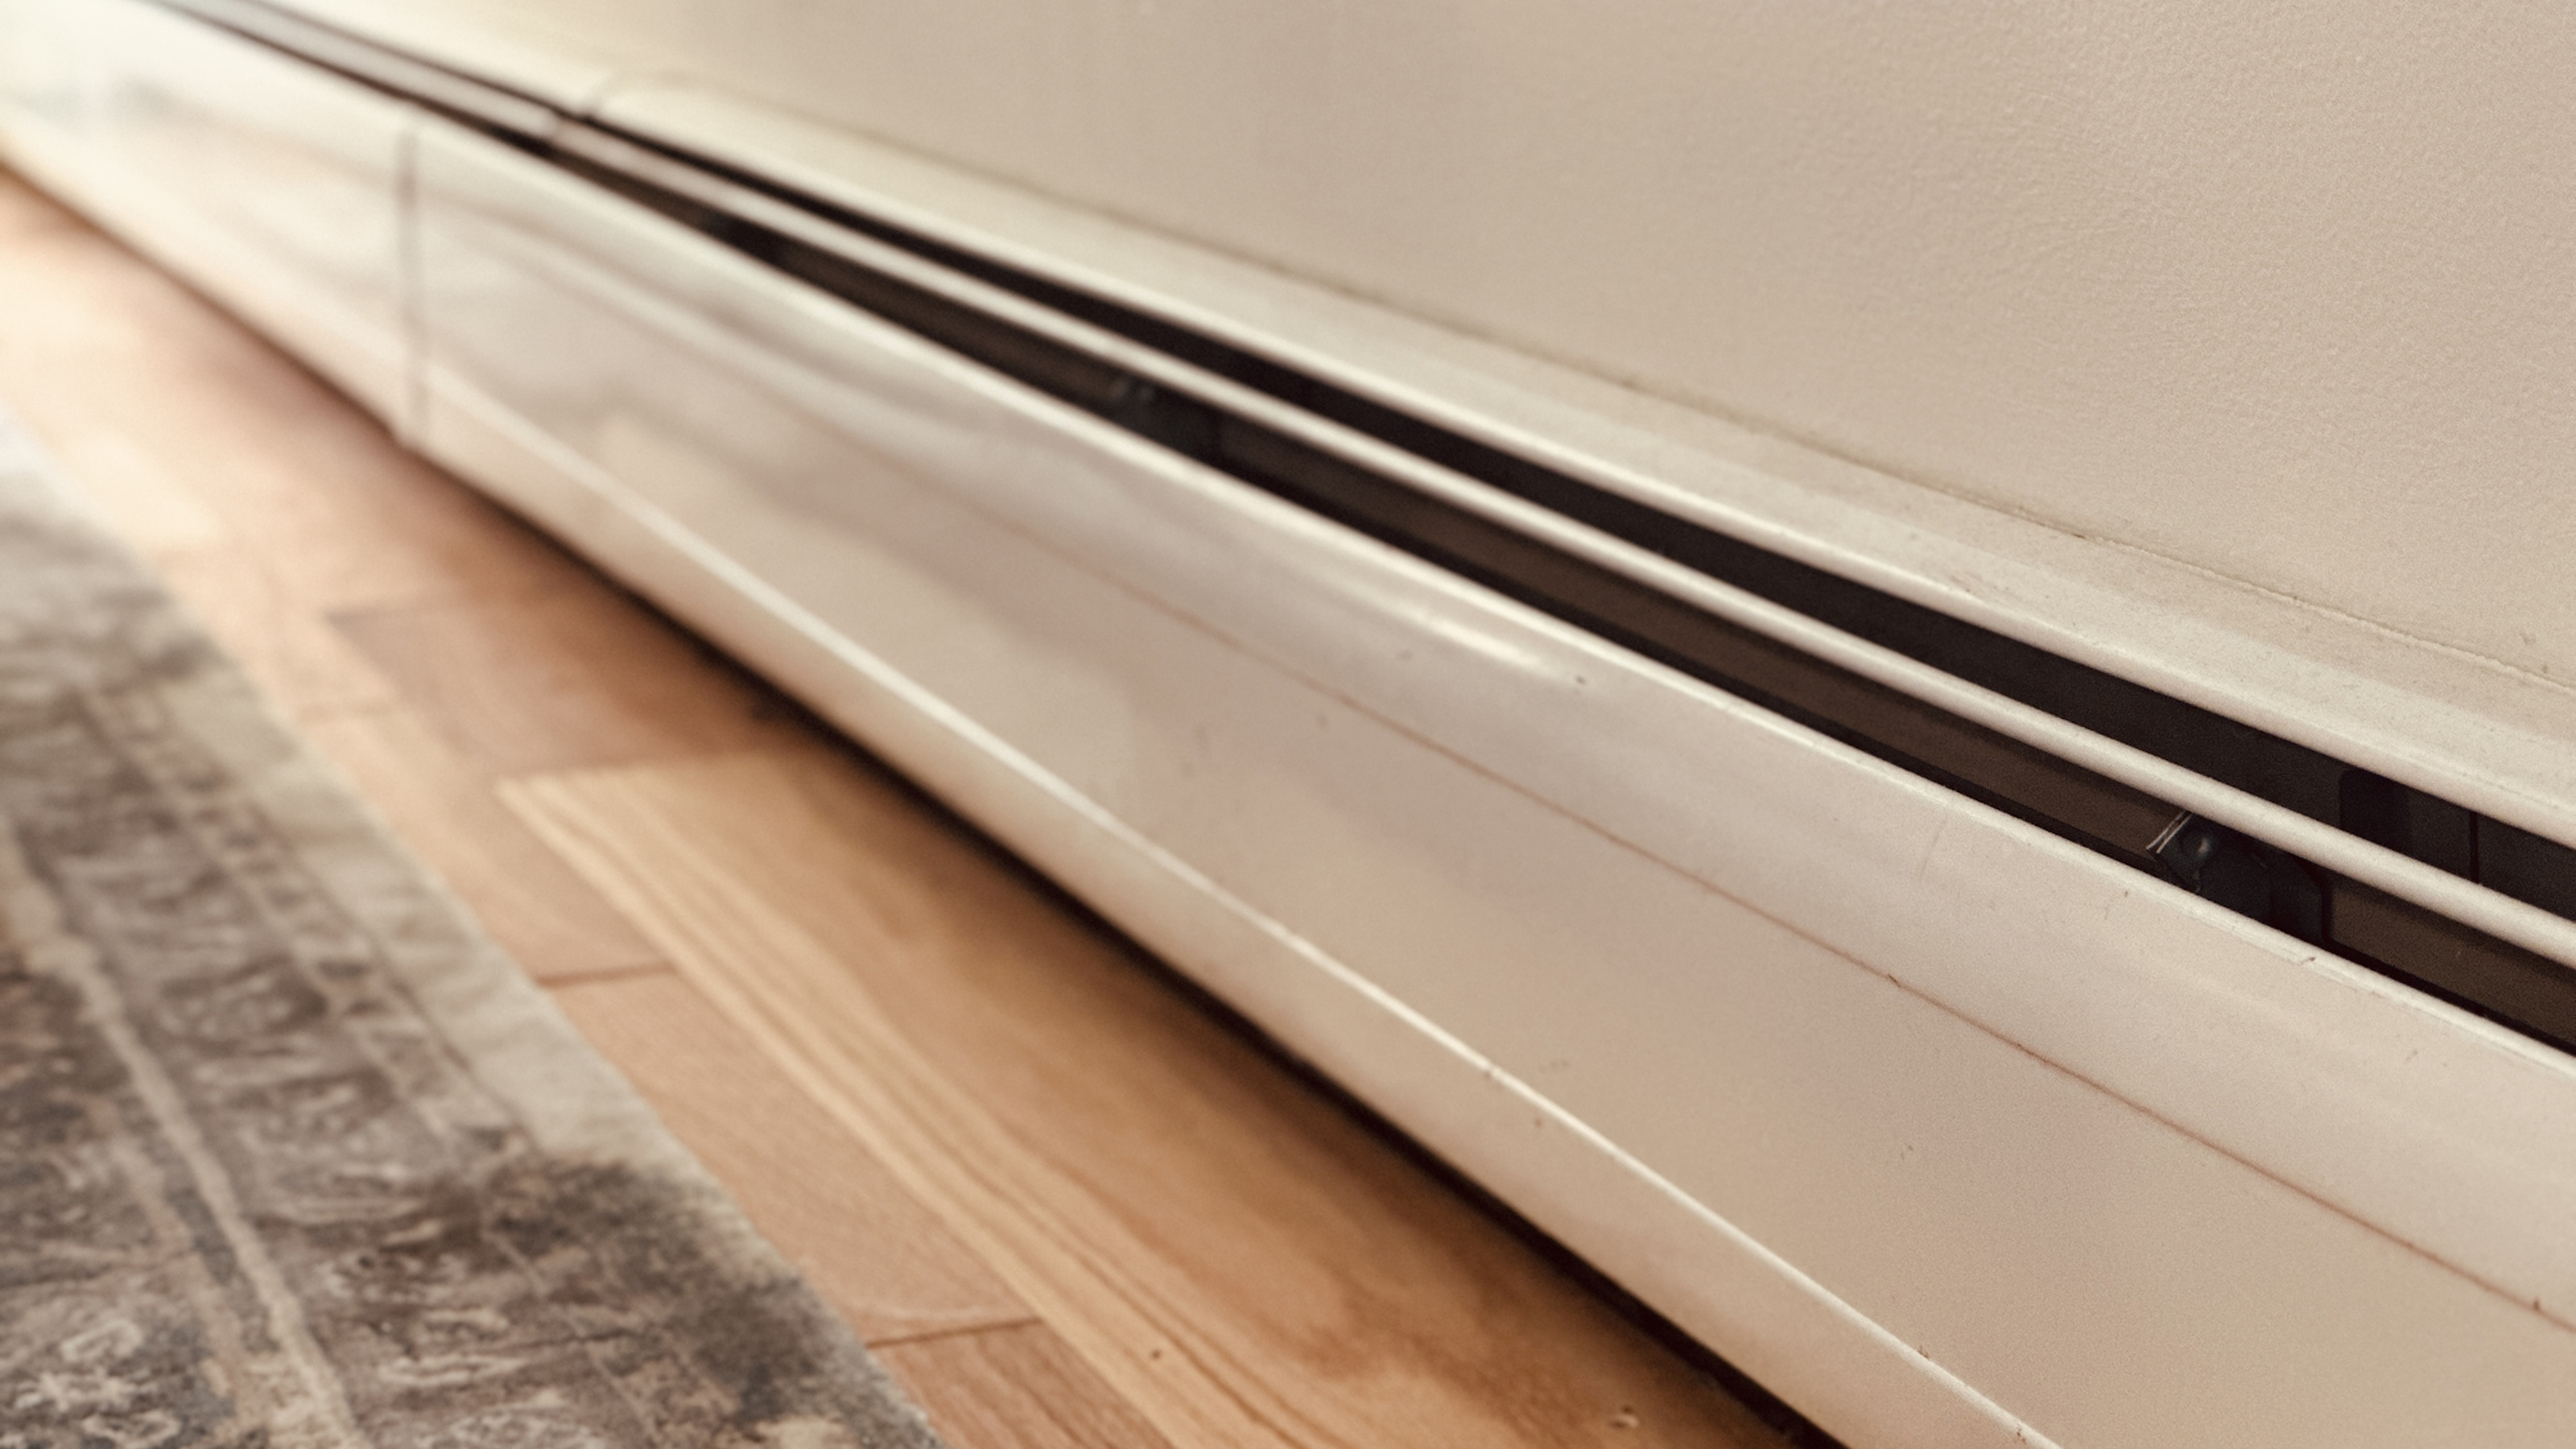
- Electric convection baseboard heater
- Stud finder
- Tape measure
- Combi drill (with a masonry drill bit, if drilling into brick)
- VDE screwdriver (like this set for $19.19 at Amazon)
- VDE pliers (like this model for $32.99, Amazon)
- Electrical safety gloves
Generally, it is not recommended to install a baseboard heater without help from a professional. However, if you’re determined to do the job yourself, you can complete parts of the project by following a careful, specific process.
In this guide, experts from Frontdoor, the homeowner advice brand, share their knowledge on installing an electric baseboard heater safely. Be sure to get expert assistance with high-risk steps such as assessing your electrical circuits.
Even the best baseboard heaters are old-fashioned and typically used to heat areas central heating can’t reach. They’re often installed on the baseboards near bathroom fittings or under windows in older properties.
Most baseboard heaters are not as safe or desirable as the average modern electric heater, but they can be an affordable, efficient, and reliable option to use alongside your central heating system.
Please note that two types of baseboard heaters are in widespread use: convection and hydronic. This guide is specific to electric convection baseboard heaters (like these models available at Lowe's).

John Bell is a Virtual Electrical Expert with Frontdoor. The Frontdoor team of expert advisors are available seven days a week to help app users with any home care or maintenance issue, including baseboard heater installation.
How to install an electric baseboard heater: quick steps
- Prepare the space
- Check your household electrics
- Install thermostat (if required)
- Mount the heater
- Wire in the heater
How to install an electric baseboard heater: Step by step guide
Disclaimer
*Installing a baseboard heater can be dangerous. Before you start, safely turn off all relevant electricity supplies (or other connected utilities such as gas and water) from your consumer unit or other utility source.*
1. Prepare the space
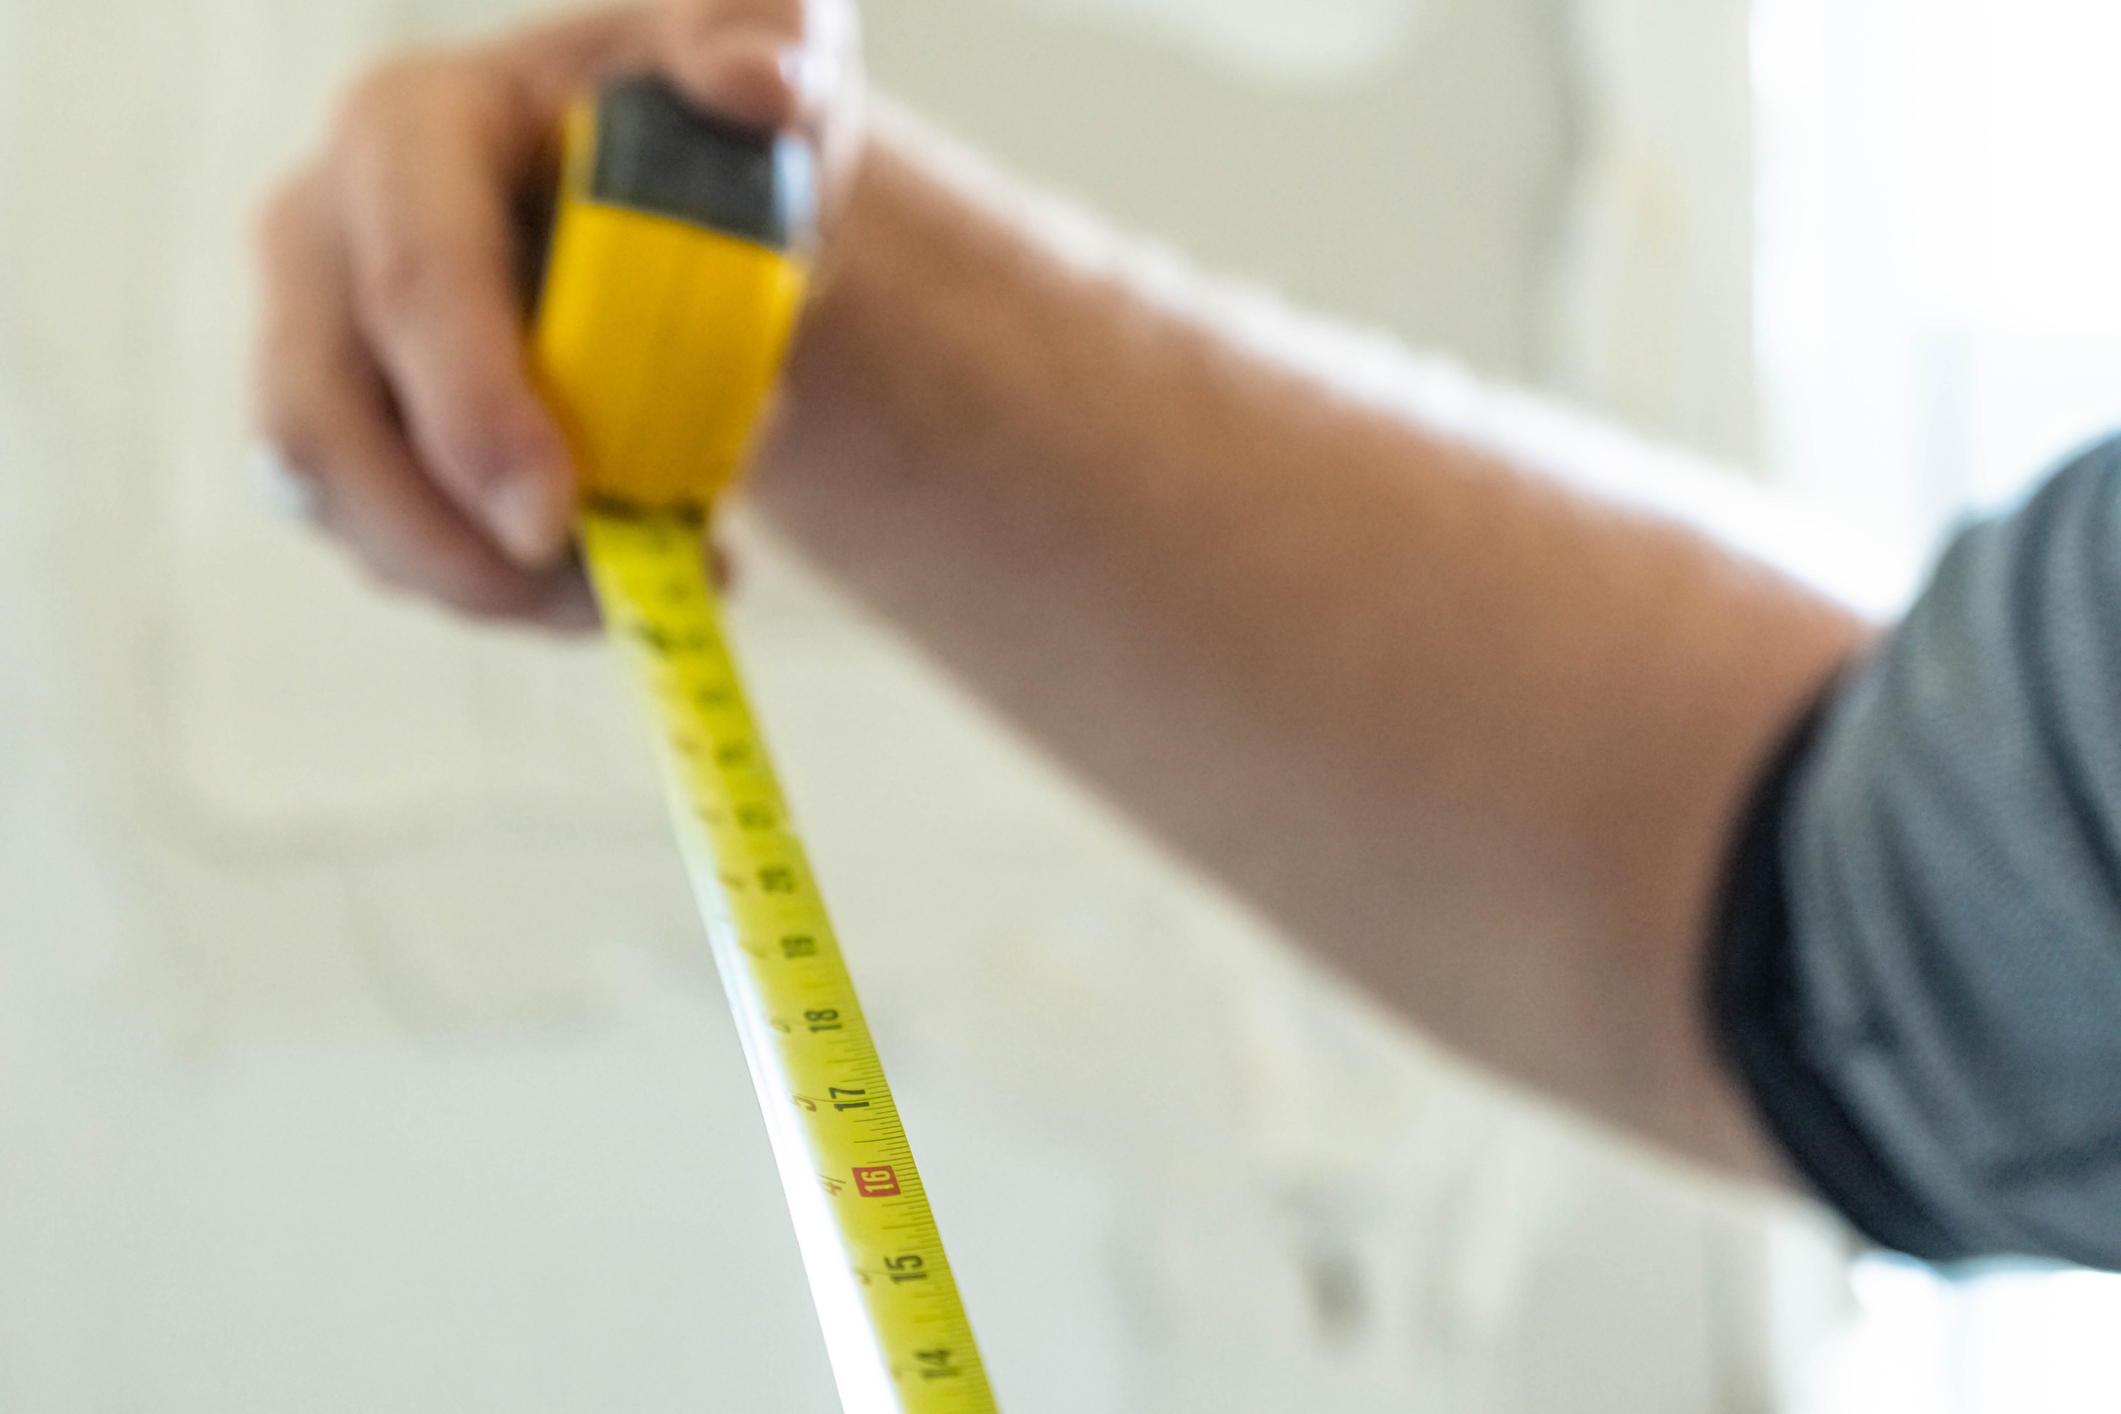
The first step required for installation is to find the location for your new baseboard heater.
“Look for a centrally located area to heat the room or area properly, and make sure you will have at least 12 inches of clearance in front of the heater before installing it,” says John Bell, a Virtual Electrical Expert at Frontdoor.
“Also, use a stud finder to ensure the place where you’ll install the heater is between the studs in your wall,” he adds.
So you can choose a baseboard heater that’s powerful enough to heat the space, measure the area you intend to keep warm using a tape measure and compare your measurements to the specs of the heater you’re interested in buying. The product description should indicate the volume of space the heater has been designed to heat.
“You should also eliminate any potential fire hazards, which include being near a curtain or carpet,” says Gelasio Lechuga, an HVAC Expert with Frontdoor.

Gelasio Lechuga is a HVAC Expert with Frontdoor. The Frontdoor team of expert advisors are available seven days a week to help app users with any home care or maintenance issue, including baseboard heater installation.
Disclaimer
*This step requires expert input from an electrician.*
2. Check your household electrics
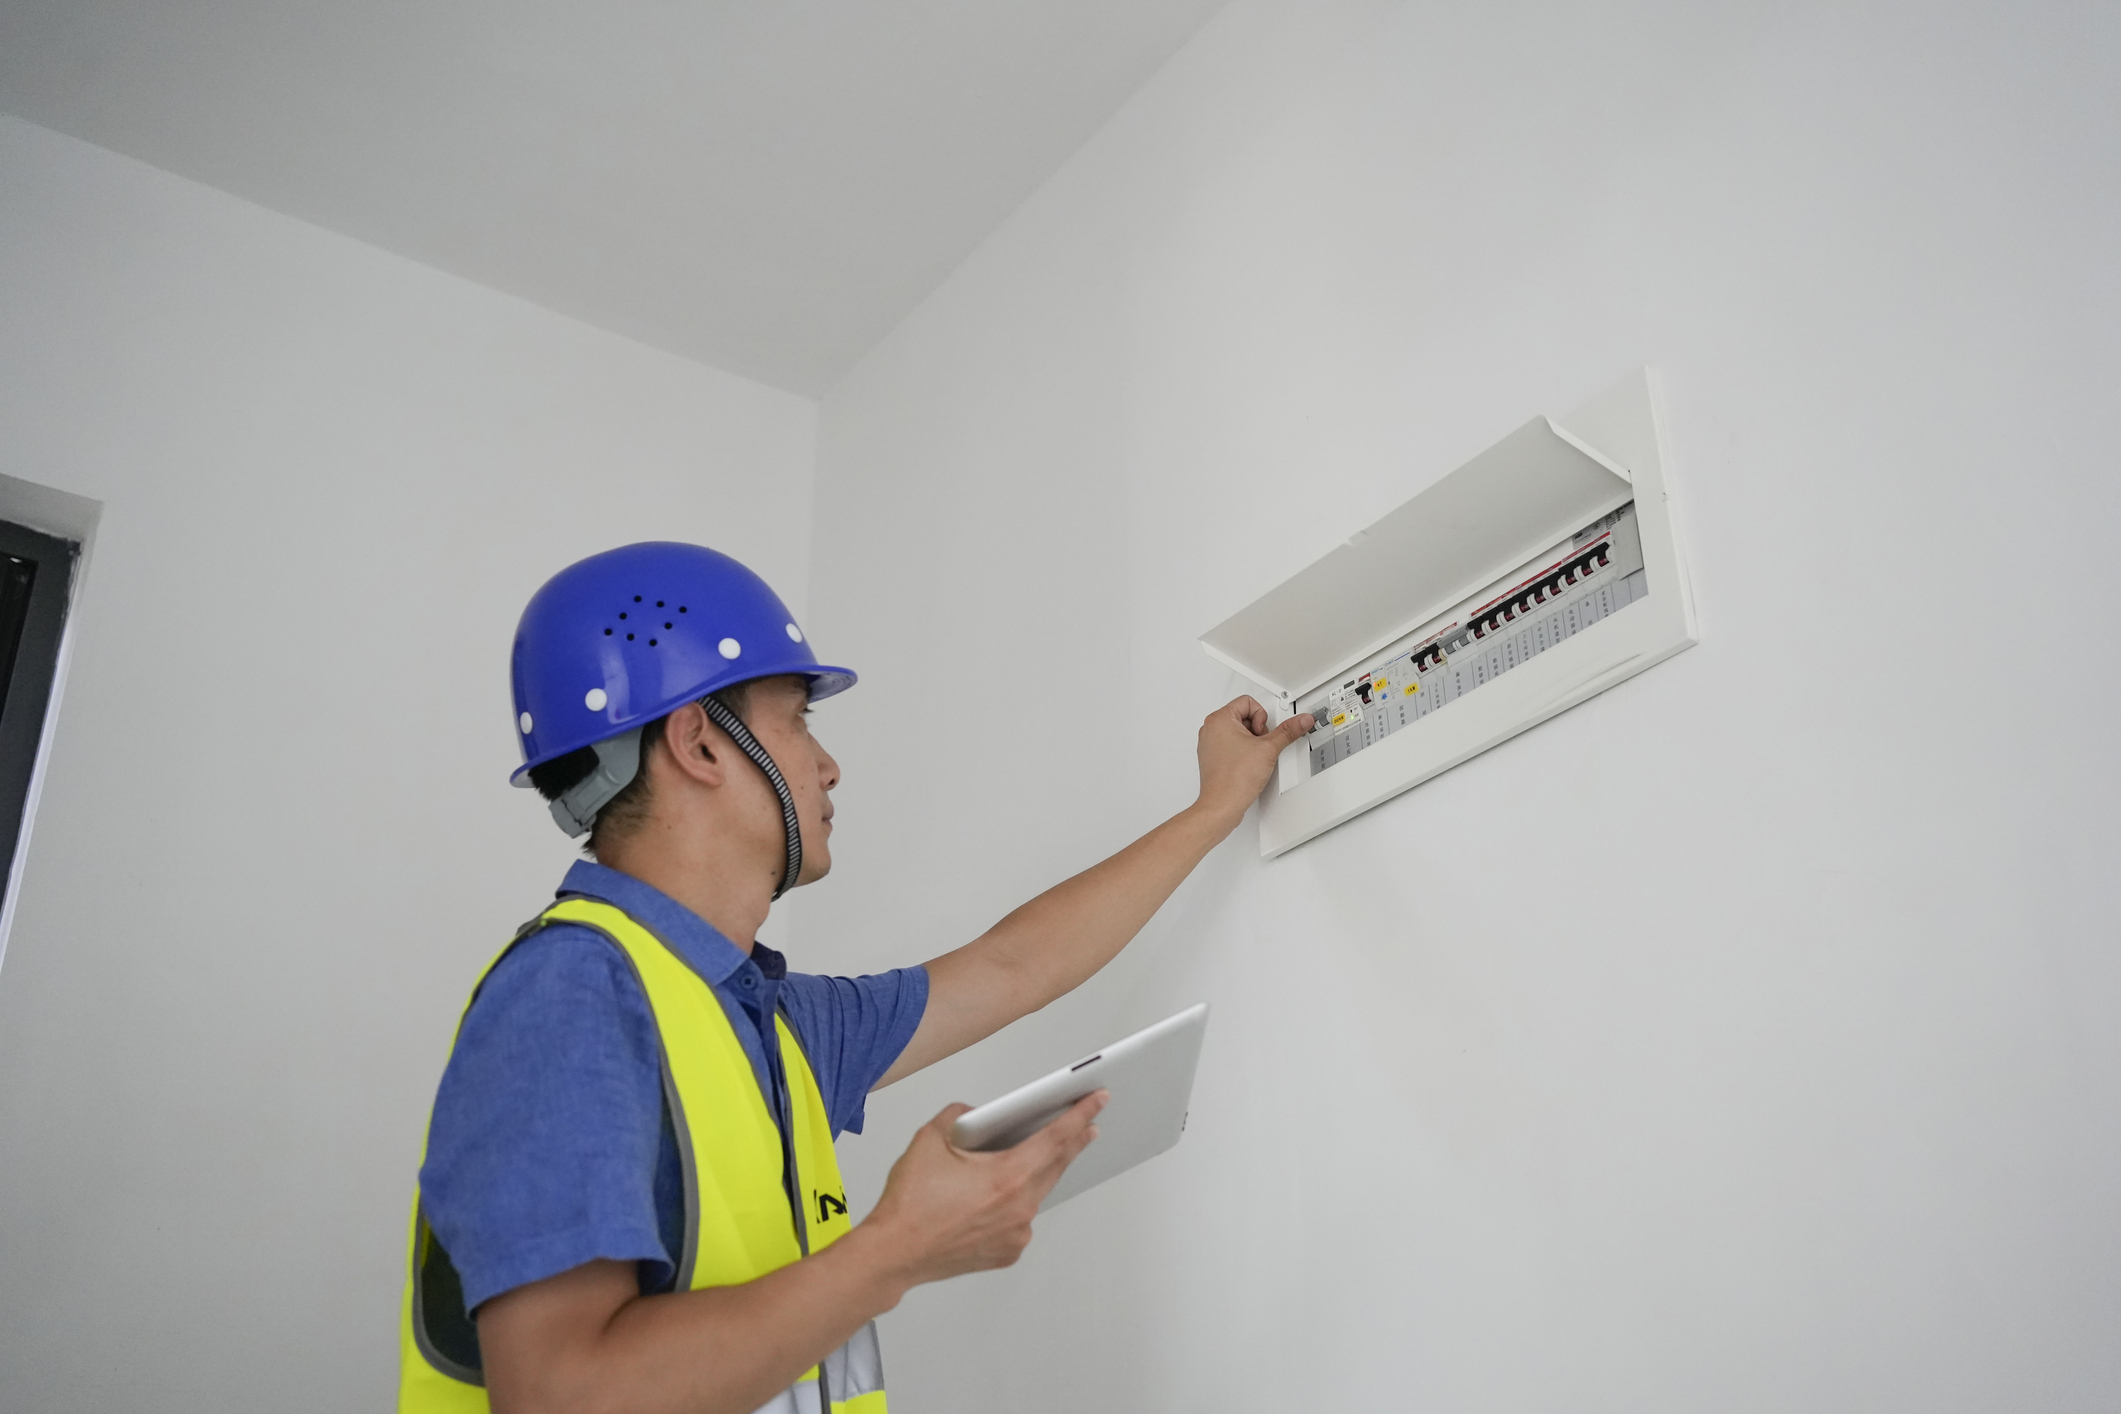
Your new electric baseboard heater will require a power input from your household electricity supply. Consult your heater’s manual to identify the model’s specific requirements.
“You’ll need to install a dedicated electrical circuit from the panel using the manufacturer’s electrical specifications for the heater unit,” says John.
But before you do this, getting expert input from an electrician is vital.
“An important next step – and please don’t skip this – is to contact an electrician to ensure that your circuit panel and breakers can handle the load necessary to run the new heaters and for advice on getting the proper sized wires to the heaters themselves,” says Gelasio.
Most electric baseboard heaters are wired on both the left- and right-hand sides. Choose whichever side best fits the circuitry layout in the room.
Of course, suppose you are replacing an existing baseboard heater. In that case, you can simply shut off the electricity supply (and any other utilities) to the heater and safely uninstall its components. You’ll need to remove the old heater’s cover panel so that you can unfasten the screws connecting the heater to the wall or surface.
3. Install the thermostat (if required)
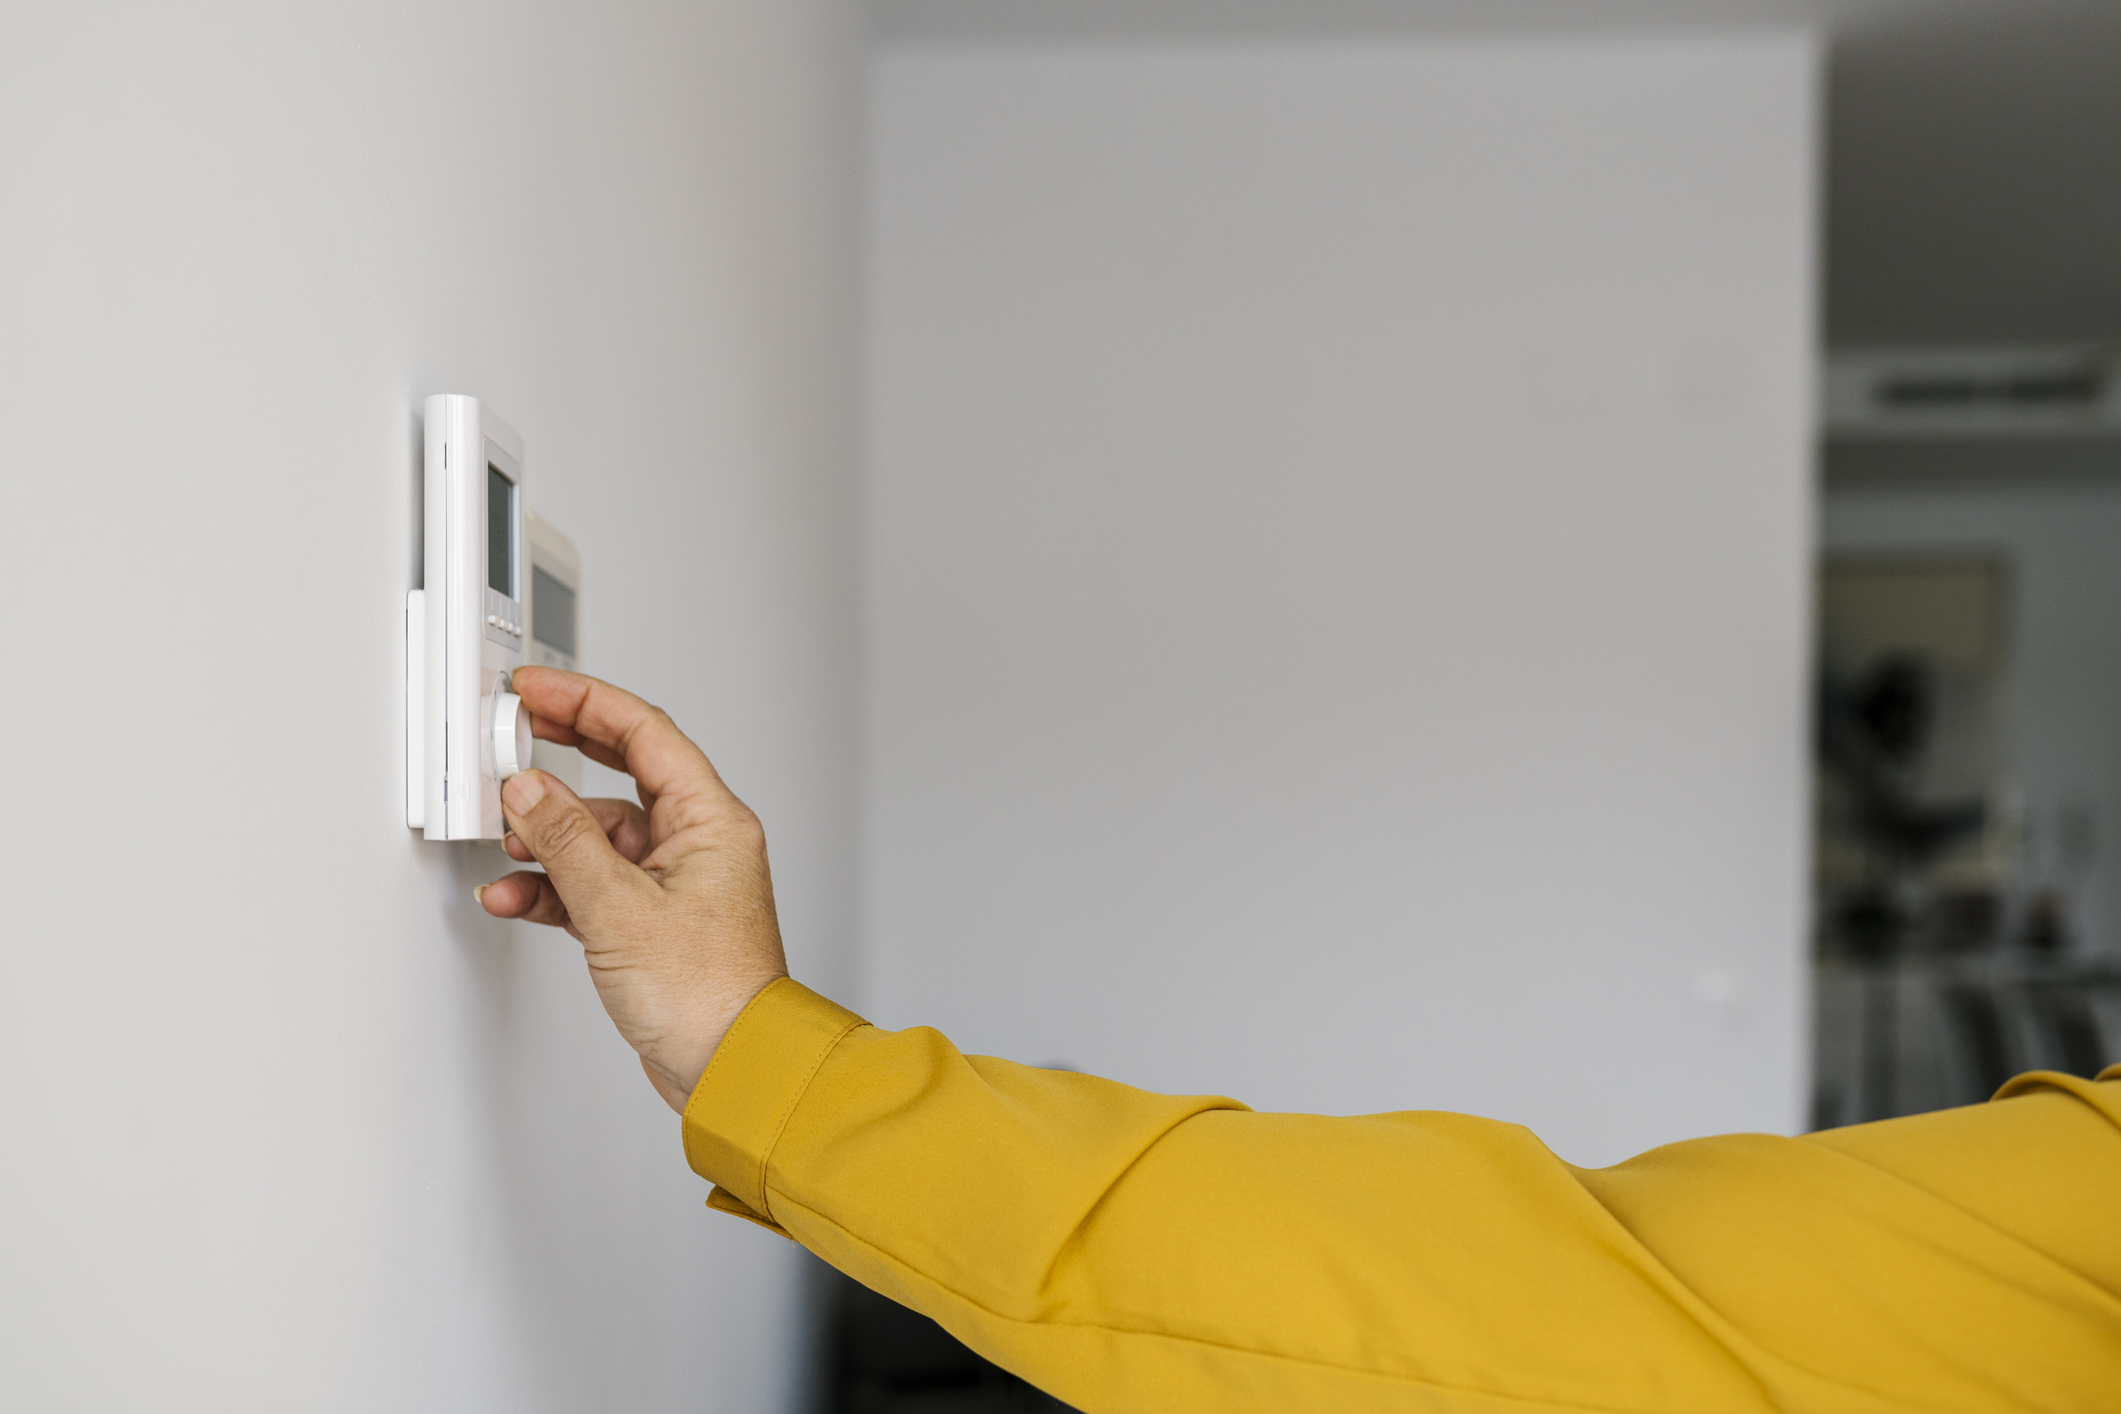
Some electric baseboard heaters come with a remote thermostat, allowing you to operate it from another position (above ground level!)
Many baseboard heaters do not have a remote thermostat feature – they feature an integrated thermostat instead. If this is true in your case, you can skip to Step #4.
“If your heater has a remote thermostat, you’ll need to install the thermostat and run any necessary wiring from the thermostat to the heater,” says John.
To do this, identify where the thermostat will be fixed (e.g., on a wall near the baseboard heater, close to eye level), then install the thermostat module on the wall using a drill and the fixings supplied.
If your heater comes with a wired thermostat module, you’ll need to run wiring between the heater and thermostat as per the manufacturer’s instructions (and in compliance with official regulations).
4. Mount the heater
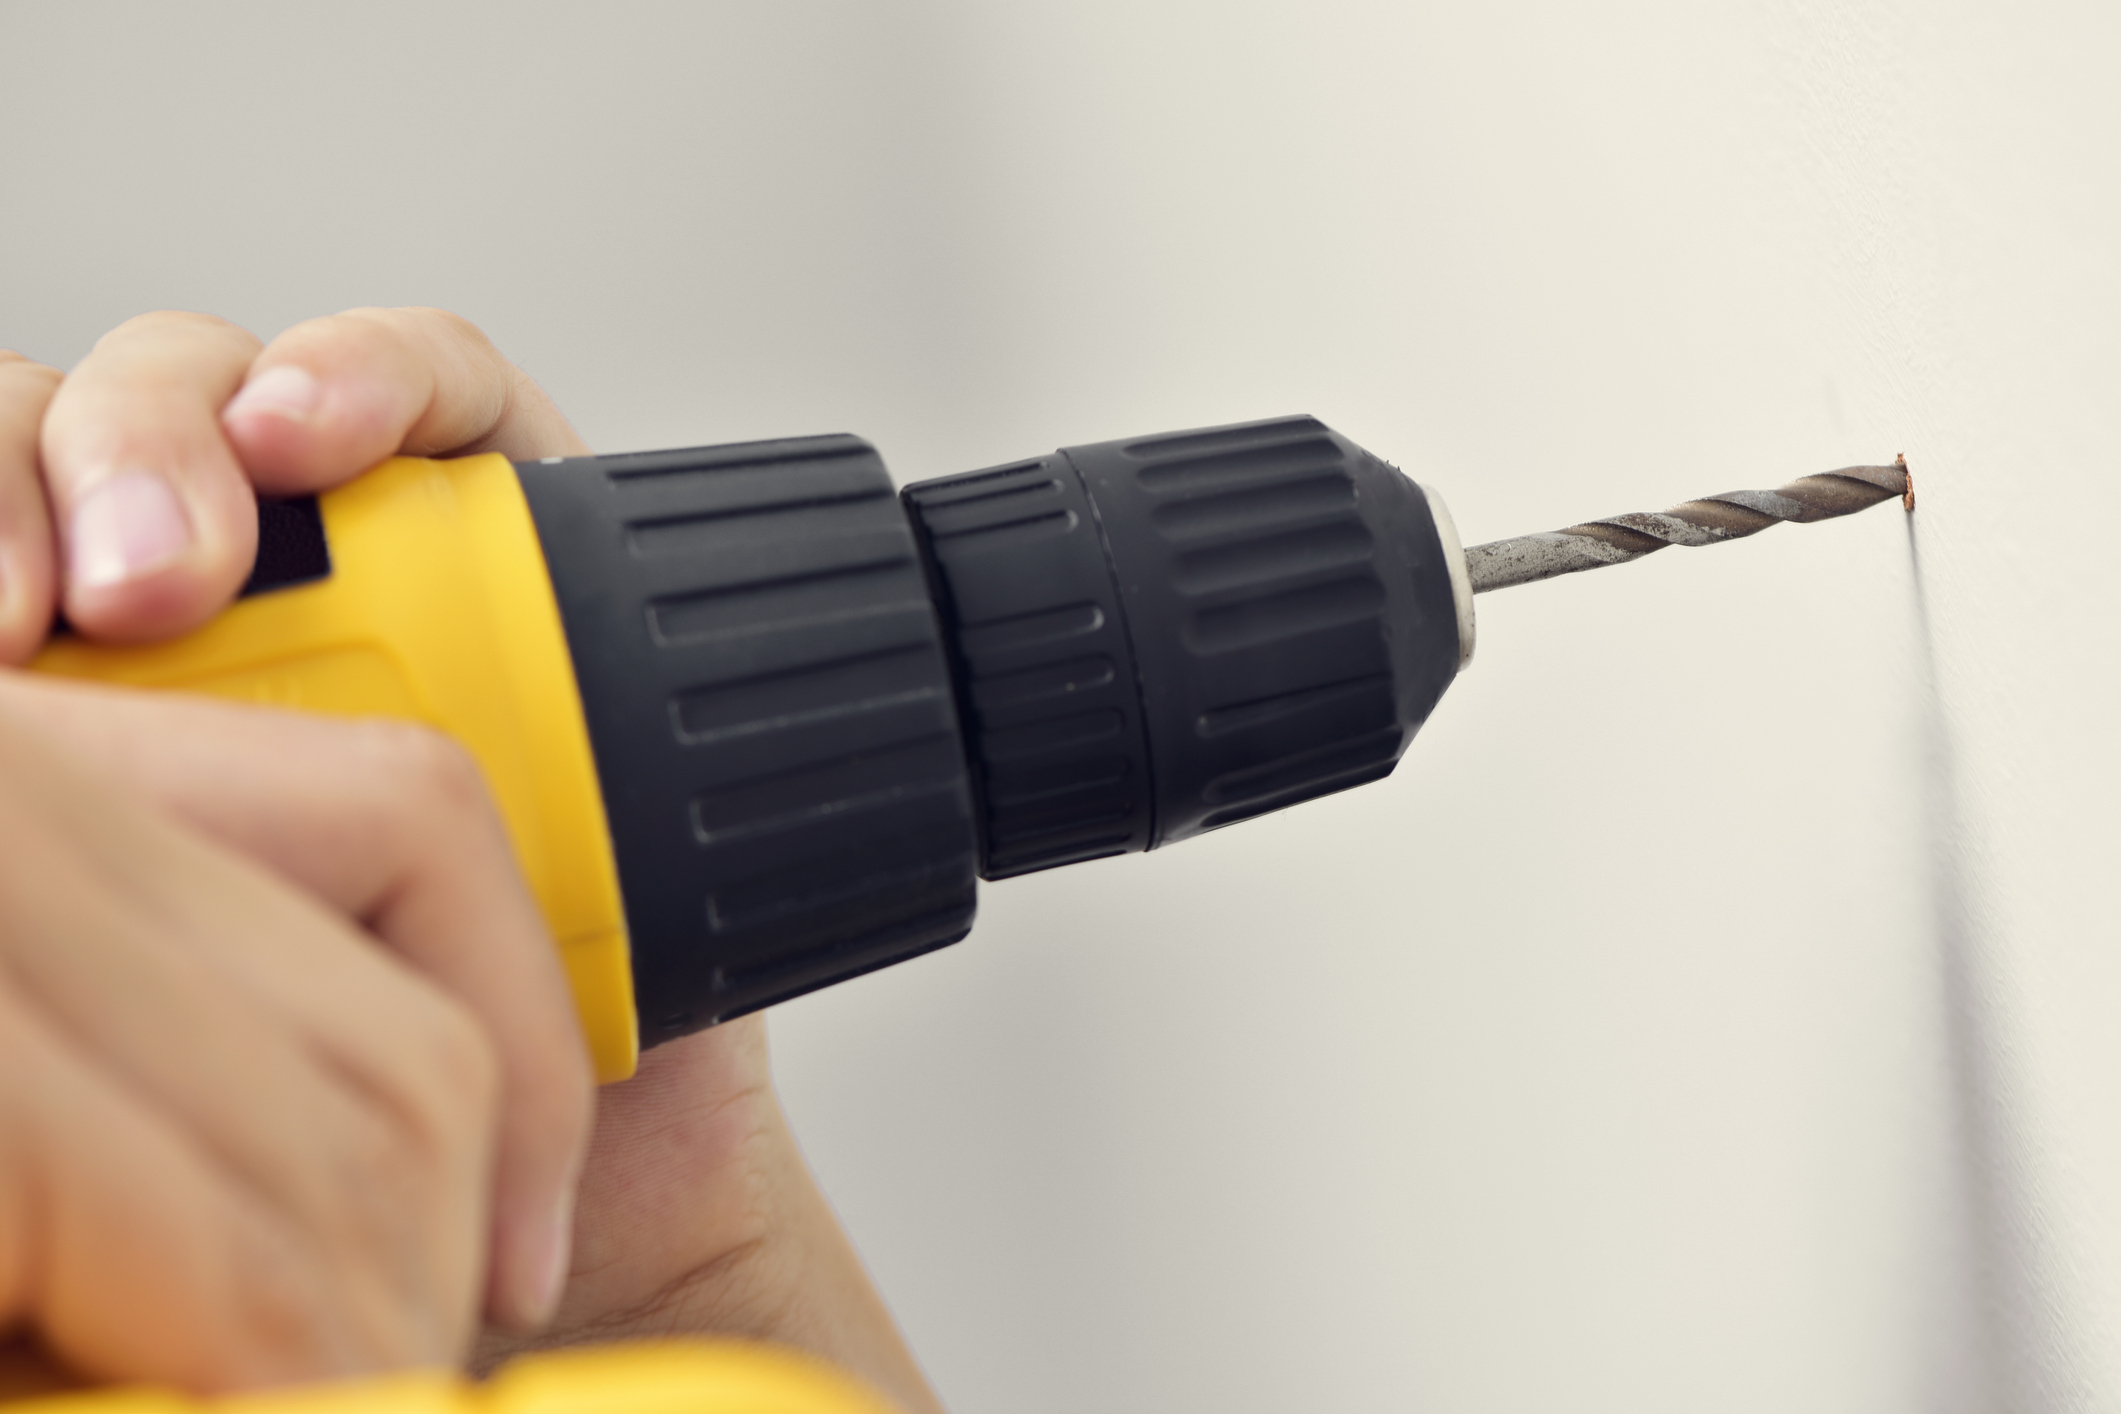
Mounting is the simplest hands-on step involved in installing an electric baseboard heater.
“One of the main differences between baseboard heaters is how they’re mounted. Some are flush mounted, and some are surface mounted,” says Gelasio.
Flush-mounted baseboard heaters should be fixed vertically to a wall or baseboard, while surface-mounted models are designed to be fixed horizontally onto an appropriate surface. Whichever mounting option you choose, the heater should be provided with fixings to fix it into the supporting structural feature.
Taking care to avoid underlying pipework, wiring, and studs, drill holes into the surface so that you can screw the heater’s mounting brackets into place. Then, snap the heater onto the brackets.
The wiring on either the left or right-hand side of your heater should align with the wiring from your household electricity supply so that the two can connect neatly through the back of the heater.
Disclaimer
*Wiring in an electrical appliance is a job for professionals. If you are not a qualified electrician, get help from a qualified expert.*
5. Wire in the heater
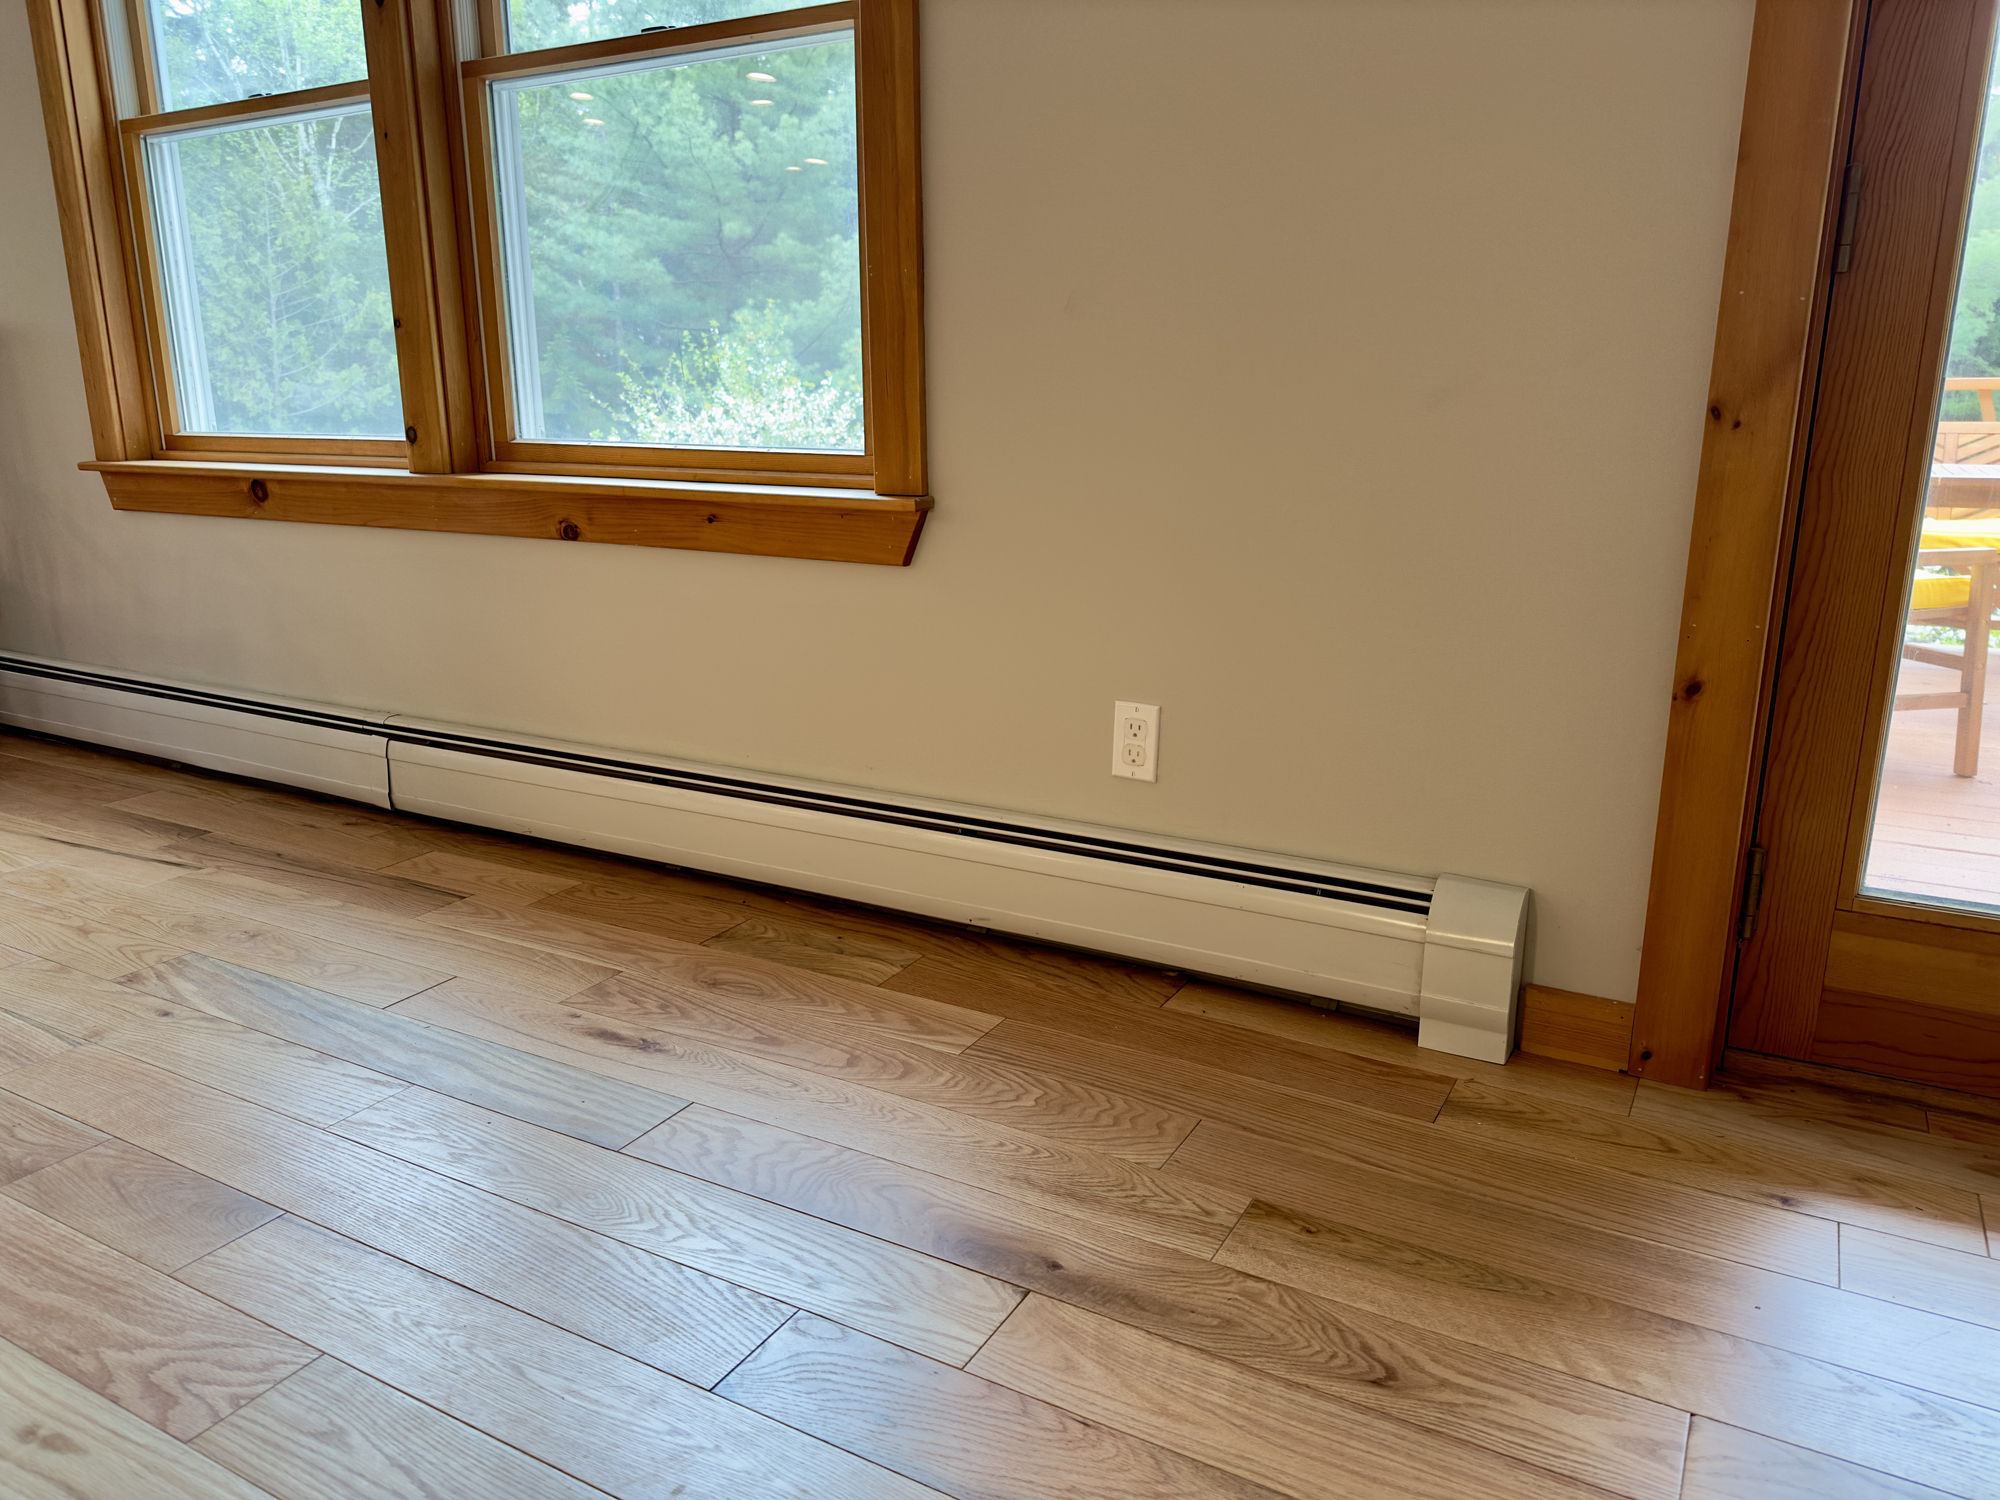
The appliance will require a household electricity supply because you’ve chosen an electric convection baseboard heater. (If your heater requires a water connection, please disregard this article and search for an applicable guide to installing a hydronic baseboard heater.)
Before wiring in your heater, ensure the room has the appropriate wiring. You’ll need to consult your heater’s instruction manual for specific details, but the appliance will require a wired connection to your household electricity.
“Make up all wiring and connections needed by following the manufacturer’s instructions, and check the local electrical and fire codes for any specific requirements,” says John.
You must be certain that the power supply to the relevant power point is shut off at the consumer unit before you attempt to wire in your baseboard heater. Equally, you need to be 100% confident that you can connect the heater’s wiring to your household electricity correctly and safely. Please contact an electrician or heating technician for guidance if you have any doubts about this.
When you’ve finished wiring the heater, reattach the cover panel and reactivate the household electricity supply to it. Finally, you can turn it on and test it.
How to install an electric baseboard heater: FAQs
Should I hire a contractor to install my electric baseboard heater?
Installing your baseboard heater will save on installation costs, but it’s much safer to hire a trusted professional contractor to do the job for you.
“Safety is paramount on a project like this,” says John.
“We only recommend handling the task independently if you are familiar with or comfortable with the installation process. Heaters can be dangerous if not installed correctly.”
Gelasio agrees that installing a baseboard heater will usually require professional input.
“It is highly recommended to have a professional handle this job due to safety and code compliance issues and requisites,” he says.
“You will need to contact an electrician to ensure that your circuit panel is capable of handling the load of the new heater.”
How does the installation process differ between electric baseboard heater models?
Electric baseboard heaters differ from one model to the next in terms of their installation requirements. For instance, a baseboard heater with a remote thermostat requires a whole extra step in the installation process.
“There are several differences between baseboard heater models, including size, how quickly they heat, and the space they are suited for,” says John.
“There are also different types of heat, including convection, radiant, fan, and mica.
“Each heater will have different specifications and installation requirements for each model. However, everything will be similar to the installation,” he adds.
Final thoughts
As you may have noticed, we want you to understand that installing a baseboard heater is not a project that's safe or possible for most ordinary homeowners, mainly due to the electrical skills and knowledge required.
If you want to learn how to do electrical work, why not study for a Basic Electrical Certificate or similar qualification? For a reasonable investment, you'll acquire skills that will keep you safe and empower you to work safely with circuits.
