How to froth milk with an espresso machine (plus, the mistakes to avoid)
Create barista-style milky coffees at home with these five steps

- Espresso machine with a steam wand
- Stainless steel milk jug
- Thermometer (optional, but recommended)
- Fresh, cold milk (dairy or non-dairy, depending on your preference)
- Clean cloth for wiping the steam wand
Knowing how to froth milk with an espresso machine can elevate a good cup of coffee to a great one, especially for almost exclusively milk-based drinks, such as cappuccinos and lattes.
In this instance, the quality of the coffee and even which of the best espresso machines you use can only do so much of the work for you. The so-called mouthfeel – how the texture of the coffee feels on your tongue – is directly influenced by various factors, including the fat content of milk, the temperature, and how foamy and thick it is.
It's why barista training focuses as much on milk frothing as it does on brewing and why coffee from your local cafe likely tastes much richer and full-bodied than the brews you make at home.
That's not to say you can't create barista-style milky coffees at home, though. In this guide, we discuss the tools and skills you need for professional-style milk frothing and get advice from James Bellis, CEO and founder of Balance Coffee, and Celeste Wong, coffee influencer, founder of The Girl in the Cafe, and Melitta barista.
How to froth milk with an espresso machine: quick steps
- Pour cold milk
- Submerge steam wand
- Position to introduce air
- Create a vortex
- Tap and swirl
How to froth milk with an espresso machine: Step by step guide
1. Pour cold milk
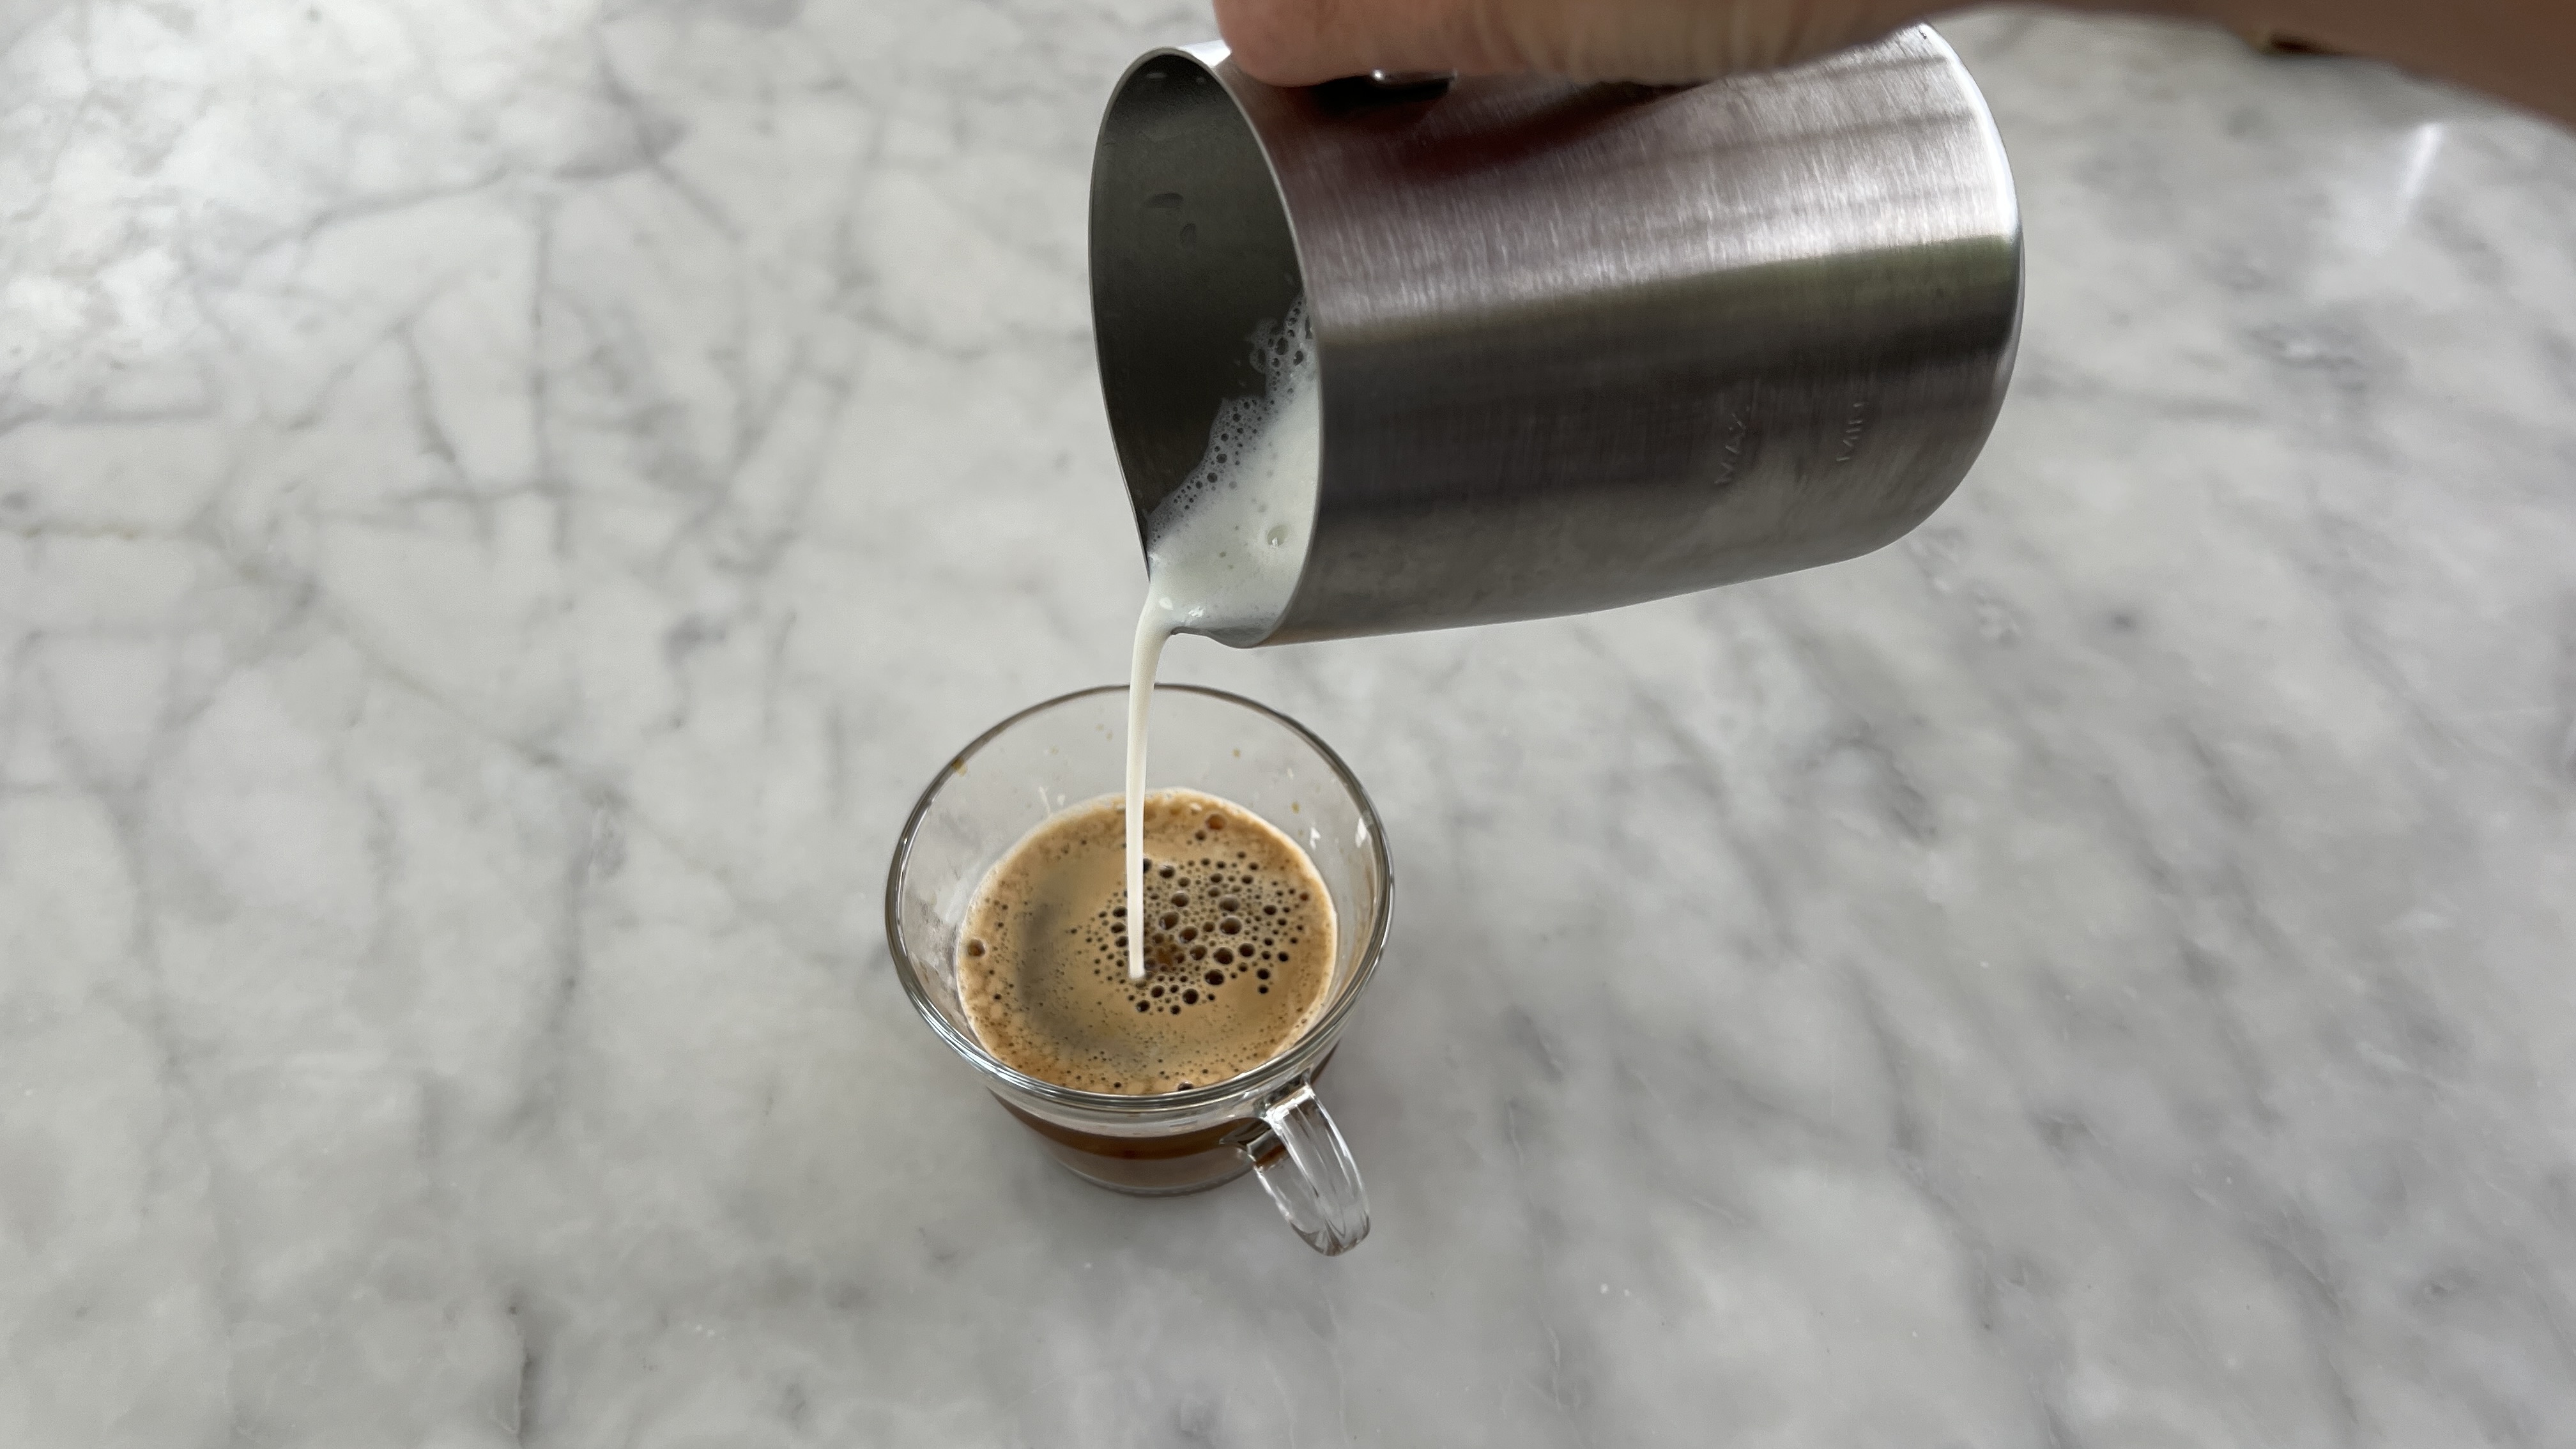
Start by pouring your preferred cold milk into a stainless steel jug, filling it about halfway to allow space for the milk to expand as it froths.
"Starting with cold milk gives you more control over the steaming process," explains Bellis, CEO and founder of Balance Coffee. "Cold milk allows you to stretch the milk and introduce air slowly, which creates fine microfoam."
"It is the chemical reaction between the fat, protein, and lactose that produces foam when heated," adds Wong.
If you don't have a stainless steel jug, you can use a glass container or similar, but stainless steel is the go-to for baristas because it's strong enough to withstand the high temperatures from steam wands, conducts heat well, and is easy to clean.

James Bellis is a professional barista, and CEO and founder of Balance Coffee. He was previously a barista trainer for UCC Coffee and Sales Director at Italian espresso machine manufacturer, Sanremo.
2. Submerge the steam wand
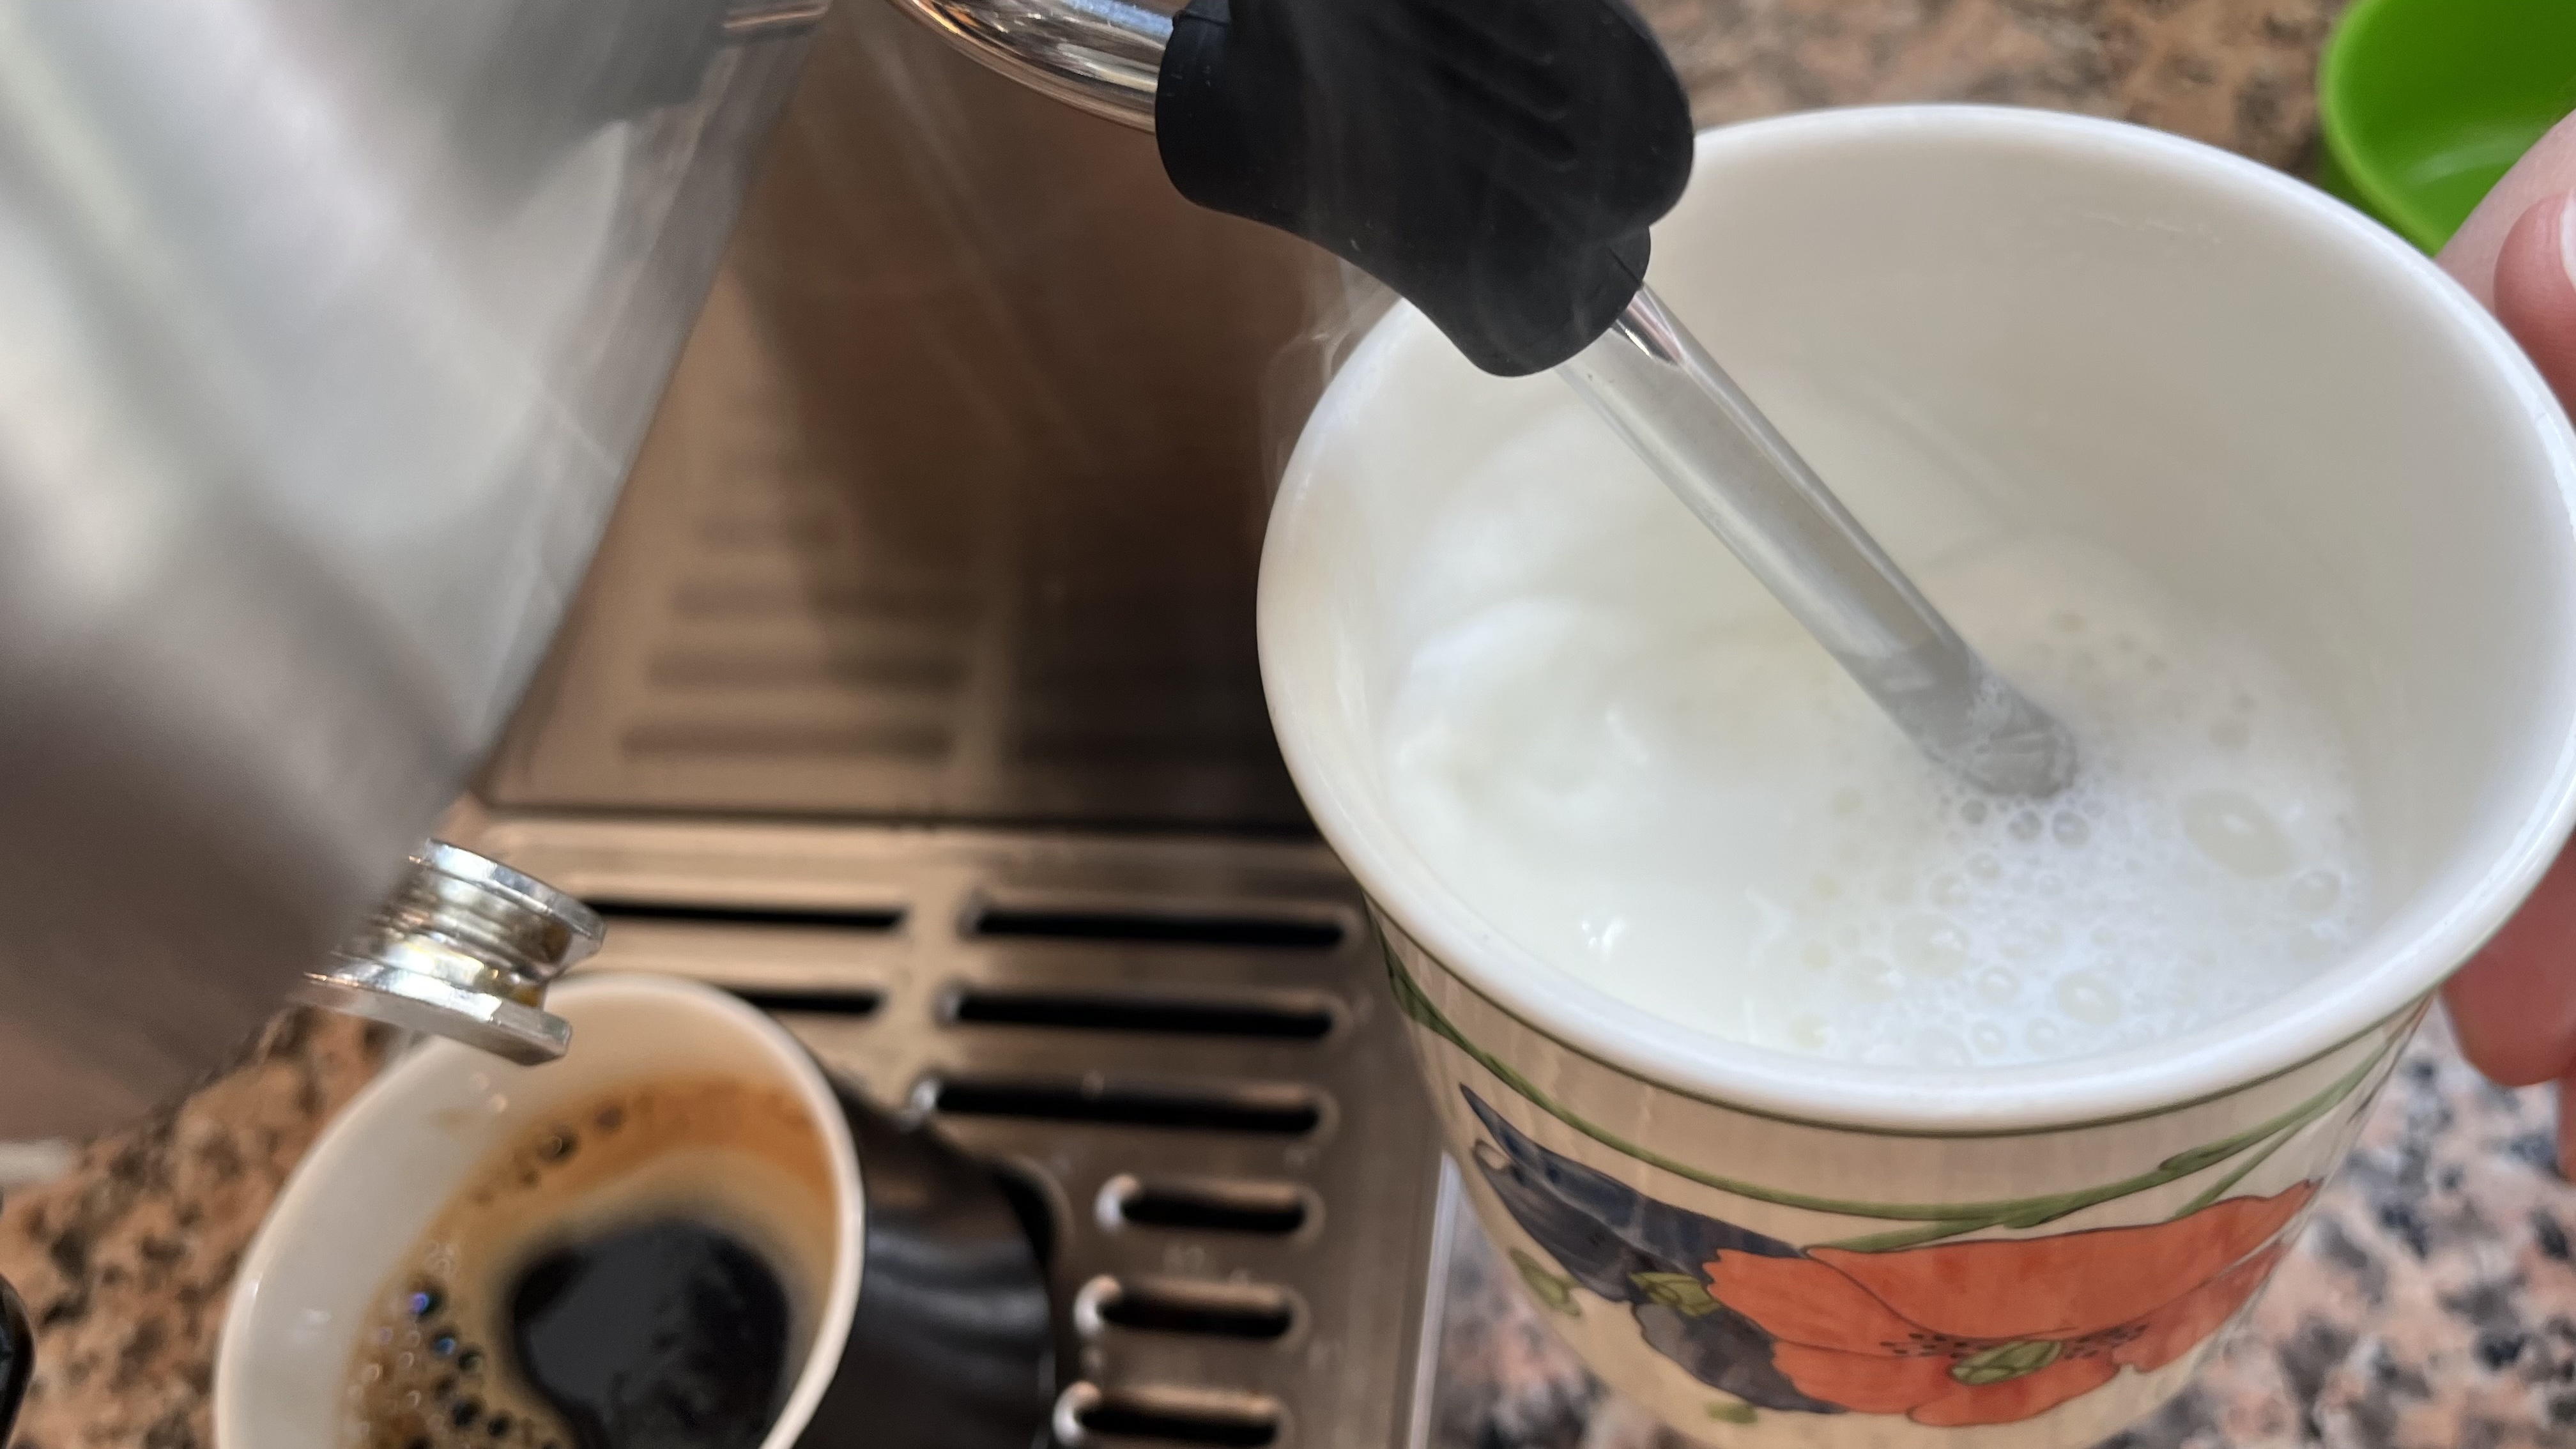
Next, place the steam wand's tip just below the milk's surface. At this stage, you want to make sure the wand isn't too deep or too shallow.
If the wand is too shallow, you’ll hear a loud, screeching noise, suggesting that too much air is being introduced too quickly. This can create an excessive amount of foam and potentially ruin the texture. On the other hand, if the steam wand is too deep, you won’t introduce enough air, and you’ll end up with warm milk instead of foam.
When the steam wand is positioned correctly, you should hear a gentle hissing sound – air being introduced into the milk. This stage is often called "stretching the milk" because you create volume by introducing air into the milk. Stretching is key to achieving the creamy microfoam needed for lattes and cappuccinos.
“The key is maintaining a gentle balance between air and heat,” explains Bellis. Positioning the wand just below the surface gives the milk enough time to stretch and expand gradually, creating the fine bubbles that form the silky microfoam everyone loves.

Celeste is a coffee and lifestyle influencer who has held top positions in artisan cafes around the globe for more than a decade. She was named one of London's top five baristas by The Financial Times and offers consultancy services for cafes and lifestyle brands. Additionally, Celeste has launched her own coffee beans, under her The Girl in the Cafe brand, and is author of Coffee Creations.
3. Position to introduce air
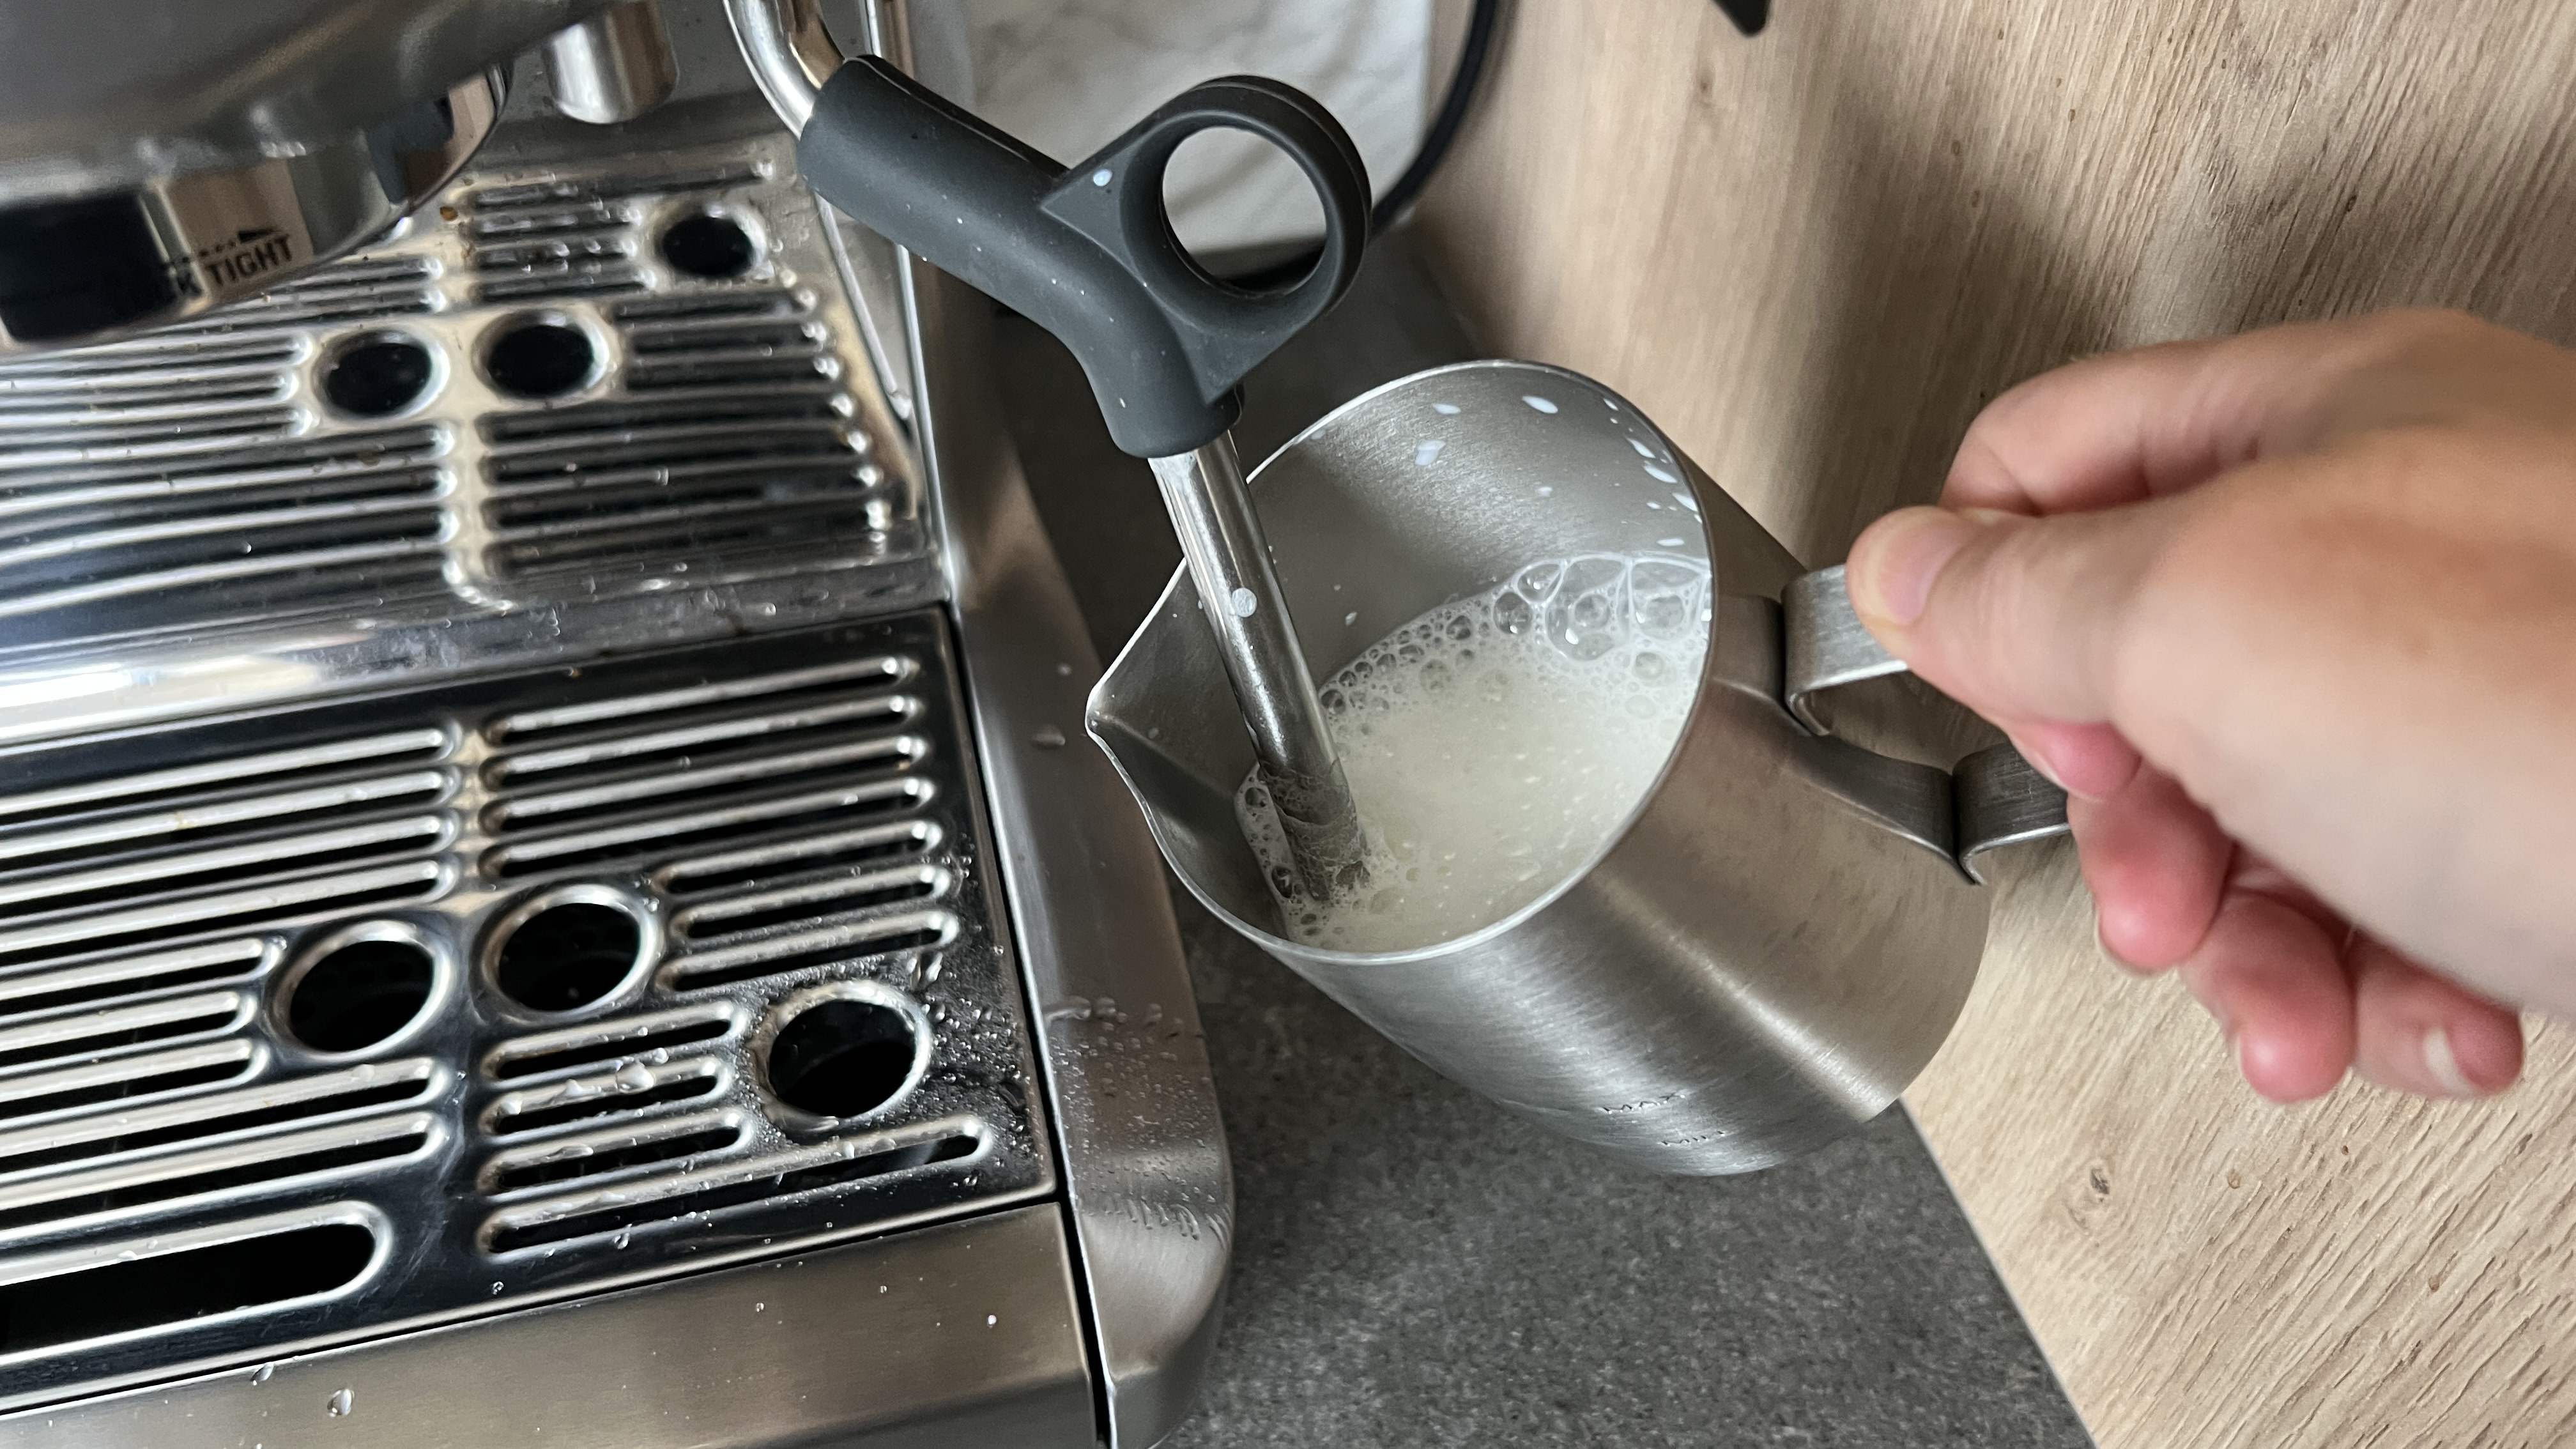
Once you’ve introduced enough air – usually within the first 5-10 seconds – you can lower the wand deeper into the milk to heat it further and develop the smooth texture.
"Depending on what kind of coffee you're making, the placement of the wand in the milk jug will vary," says Wong. For cappuccinos, you’ll want more air for froth so the wand can sit higher in the milk. You want a smoother texture for lattes so you can place the wand deeper.
4. Create a vortex
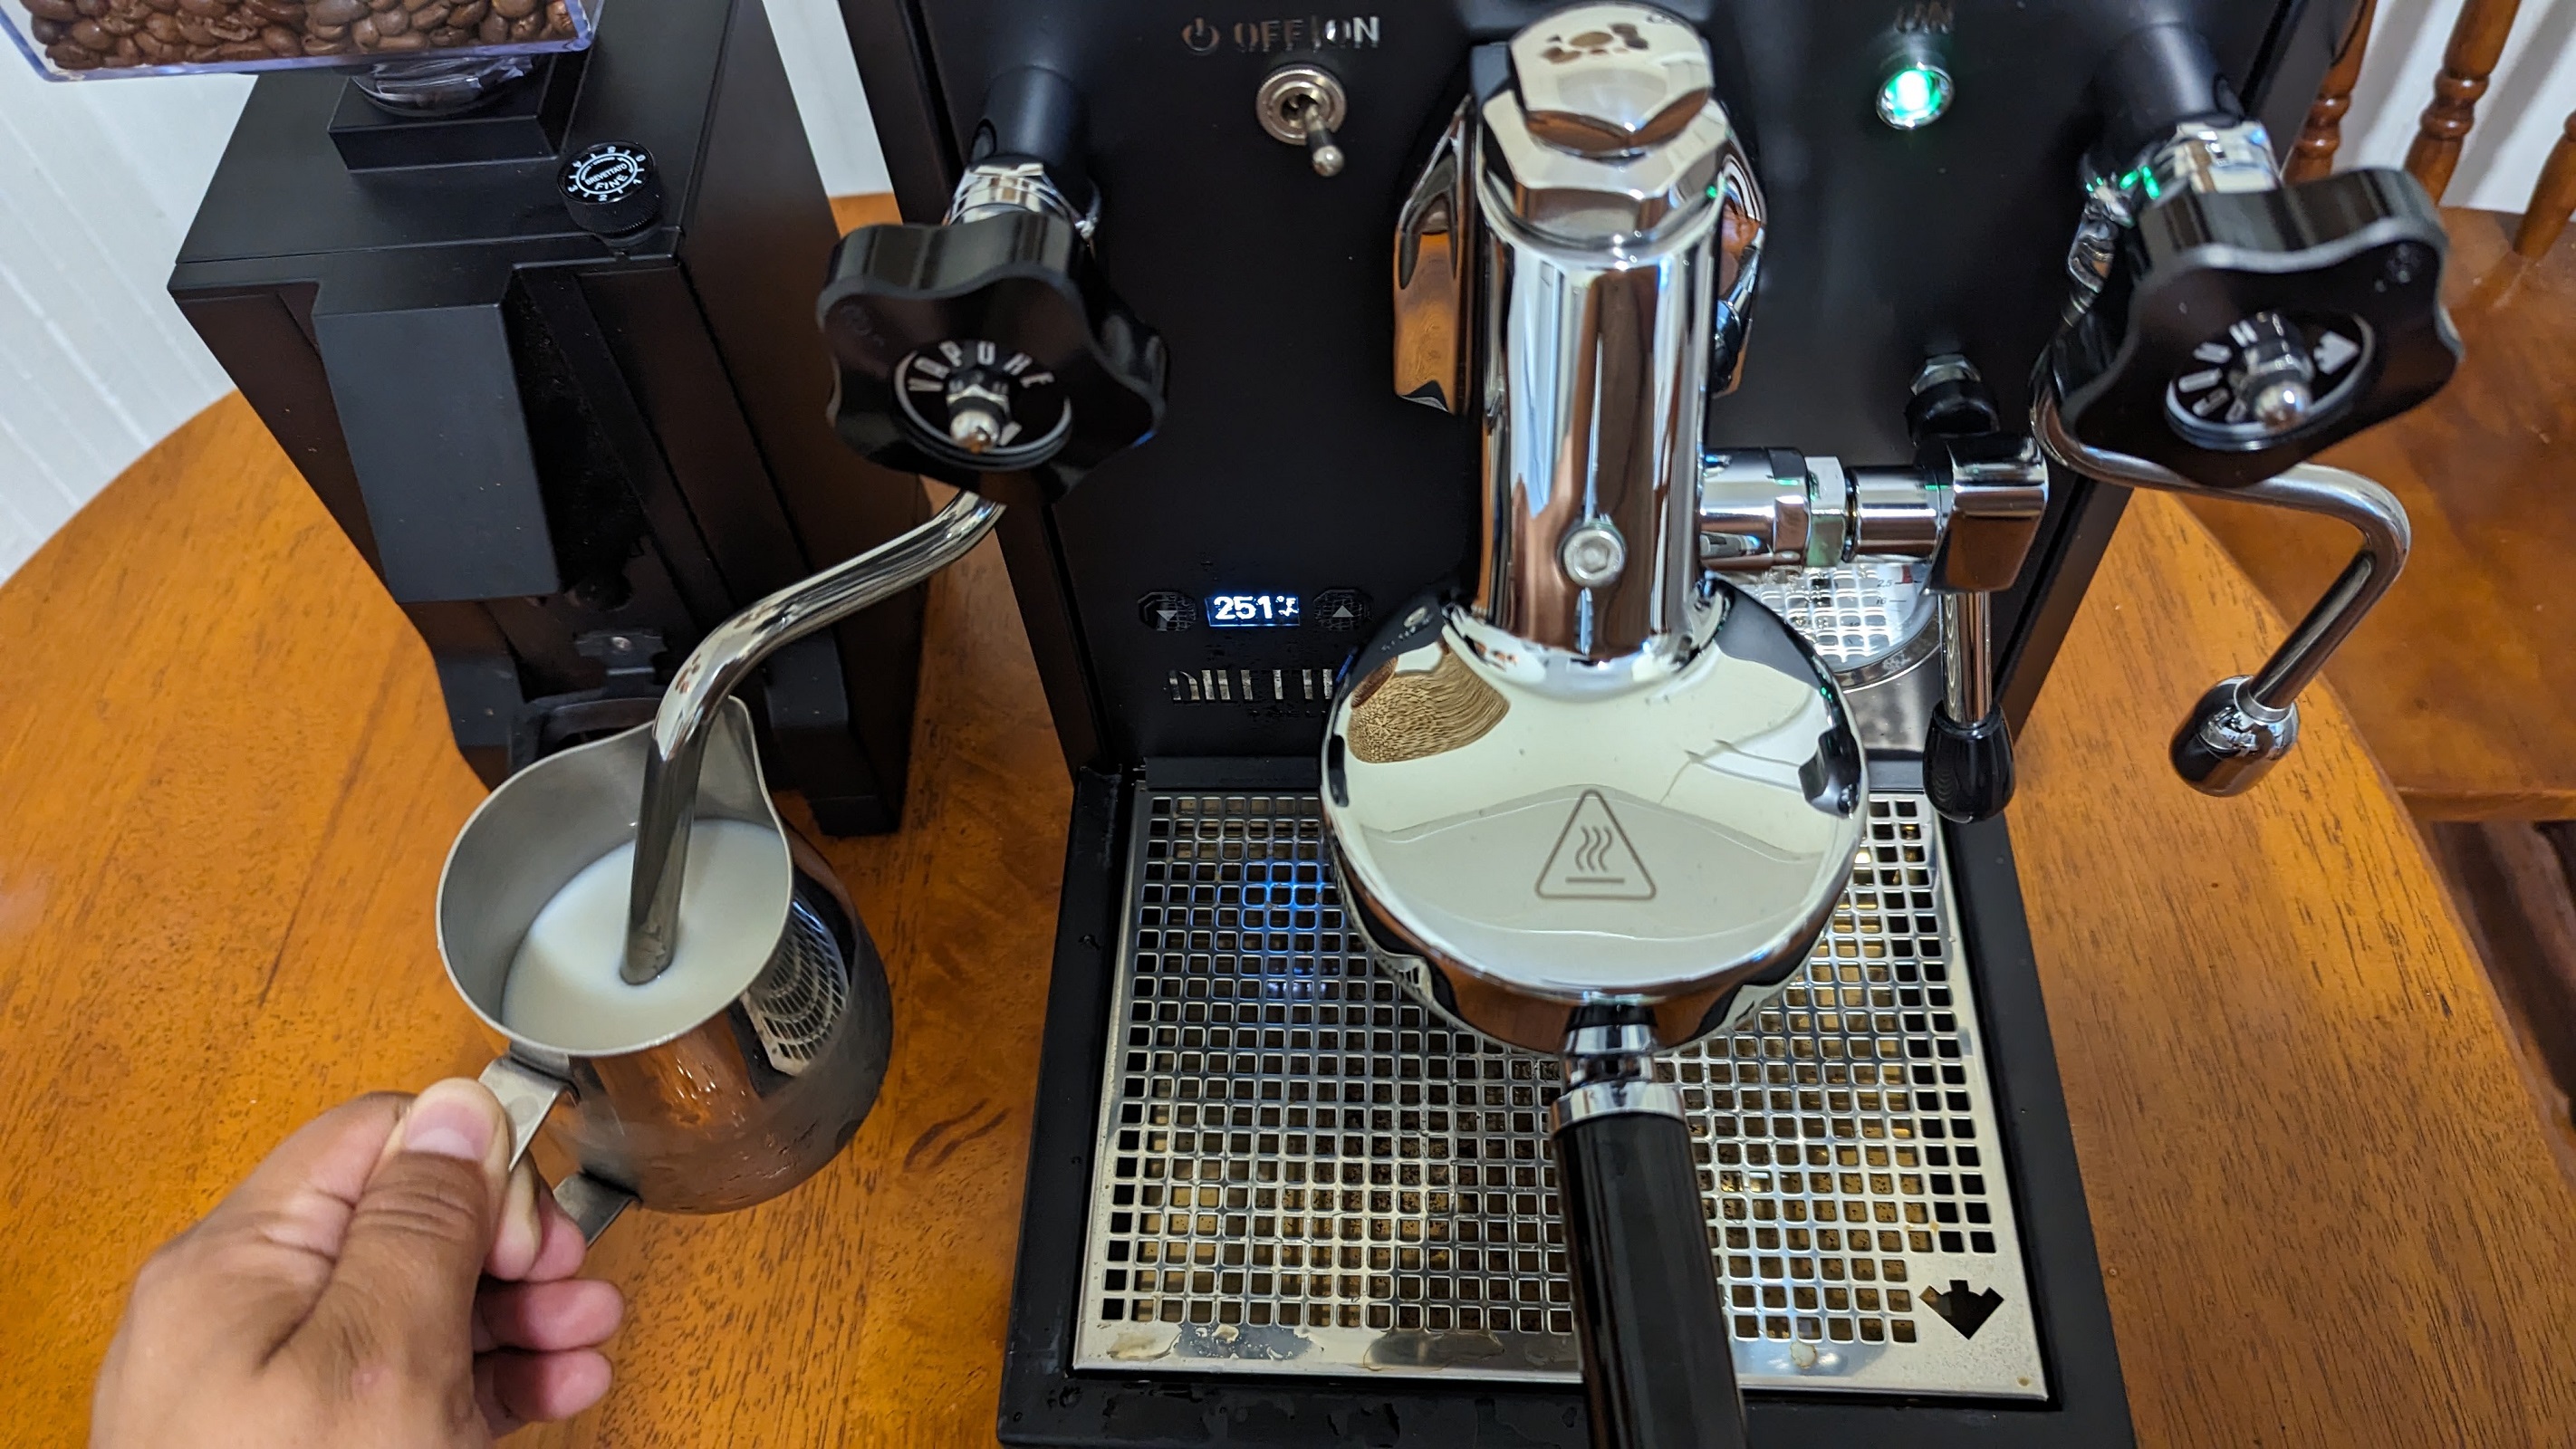
Once the steam wand is in position, tilt the jug slightly so that the wand is angled at about 45 degrees. This will create a vortex of swirling milk around the wand.
"Getting a swirling vortex is key to texturizing the milk perfectly, meaning you don’t end up with too many bubbles," says Bellis. This step is crucial if you’re looking to create microfoam for latte art. Practice angling the wand and maintaining a steady swirling motion to achieve the smooth texture needed for pouring art.
Keep the steam wand at this angle and continue swirling until the milk reaches the desired temperature. The ideal temperature range for frothing milk is between 140-150 F / 60-65 C. If you don’t have a thermometer, a good rule is to stop frothing when the milk jug becomes too hot to touch but not scalding.
"You want to heat the milk slowly and gradually so that the chemical reaction between the fat, protein, and lactose that produces foam when heated can take place and be optimized," adds Wong.
5. Tap and swirl
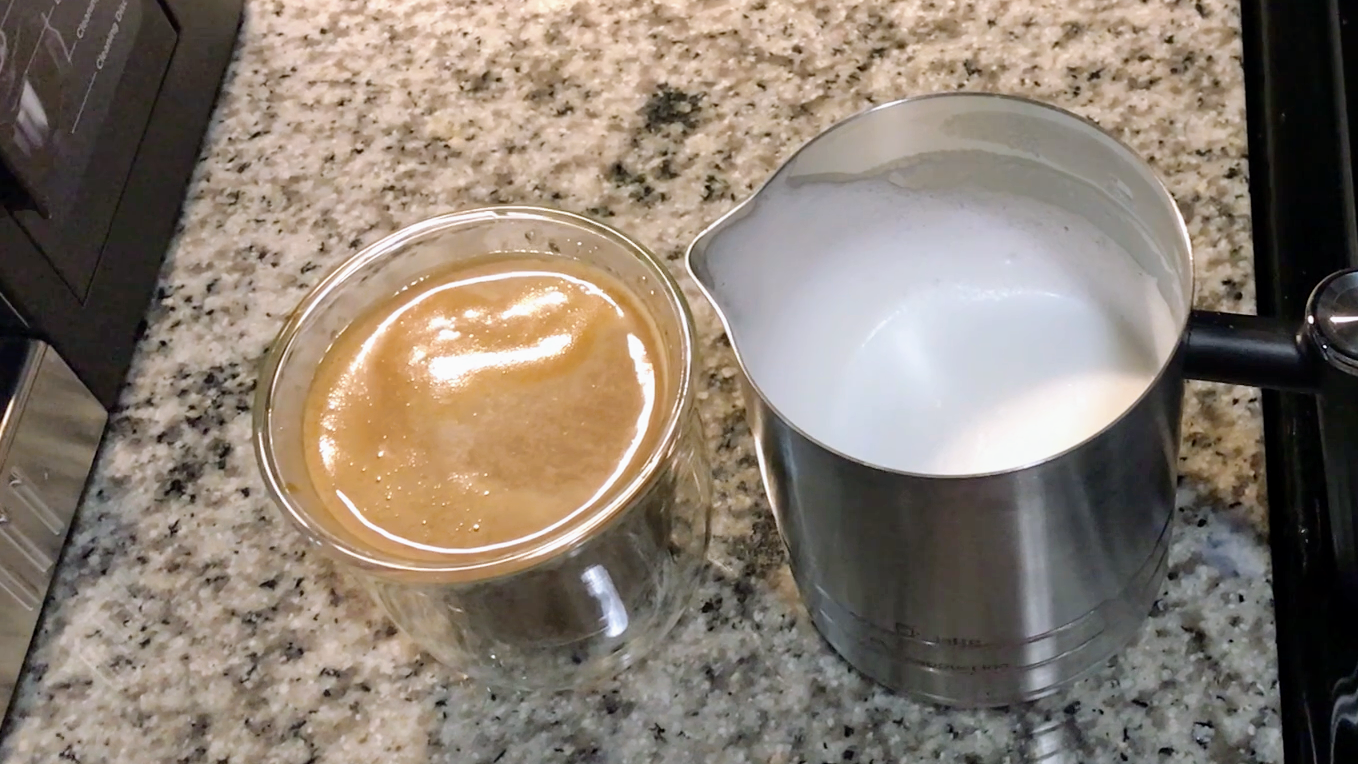
Once the milk reaches the right temperature and texture, turn off the steam and remove the jug from the wand.
Tap the jug on the countertop to eliminate large bubbles, then swirl the milk to keep it well-textured. "This helps maintain the silky texture before it separates," says Bellis. "Proper swirling ensures the foam stays creamy and doesn’t break apart when you pour it over your espresso."
How to froth milk with an espresso machine: FAQs
Does the type of milk make a difference?
Due to its higher fat content, full-fat milk tends to create a richer, creamier foam. "Dairy milk froths the best," says Bellis. It creates a rich, creamy texture that’s hard to beat."
Non-dairy alternatives, like oat milk, can also froth well, though they tend to produce a slightly thinner foam. Wong suggests looking for a "barista-style" version of non-dairy alternatives where possible. According to Wong, "barista-formulated oat milk tends to have good foaming capabilities because the right amount of fat is added. "
What common mistakes can you make when frothing milk?
One of the most common mistakes is overheating the milk. As Bellis says, “If the milk gets too hot, it’ll burn, ruining the texture and flavor.”
Sign up to receive the latest news, reviews, buying guides and deals direct to your inbox
Milk steamed beyond the ideal temperature of 140-150F / 60-65C loses its natural sweetness and becomes scorched. The proteins break down, causing milk to lose its texture and create a bitter, burnt taste.
The second mistake is not positioning the steam wand correctly. This seemingly small detail can greatly impact the quality of the foam. If the steam wand is placed too high above the surface of the milk, it will introduce too much air too quickly. “Letting too much air into the milk results in weak, thin foam,” says Wong. The foam won’t integrate well with the coffee, causing it to sit on the drink instead of creating a smooth texture that blends with espresso.
Similarly, “stretching the milk” should not be overdone. Stretching too much air into the milk will result in overly frothy milk. Instead of creating that glossy, velvety foam, you’ll end up with a stiff foam.
"Baristas need to watch that they don't use too much or too little milk, don't overheat the milk, and don't let too much air into the milk when frothing; otherwise, the foam will be weak, thin, and not very smoothly textured," says Wong. "Depending on what kind of coffee you're making, it will also dictate how low or high the steam wand is placed within the milk jug. You should aim to see a smooth, quiet swirl within the milk while it's being steamed. "
Reviews
Bosch TQU60703 800 Series VeroCafe Espresso Machine review: a smart coffee maker that can do it all
Casabrews 5700Pro Espresso Machine review: an all-in-one espresso machine with a learning curve
Jura E8 review: the best-selling bean-to-cup coffee maker from the brand
De'Longhi TrueBrew Drip Coffee Maker review: truly a marvelous brewing experience
De'Longhi Eletta Explore review: a bean-to-cup coffee maker with hot and cold brew options
L’OR Barista Coffee & Espresso System review: espresso shot or cup of coffee?
Finally, don't skip the tapping and swirling step. Once you’ve steamed the milk, it’s important to tap the jug on the countertop to remove any large air bubbles.
Final thoughts
Frothing milk with an espresso machine can seem intimidating, but with the right technique and a little practice, you can master the art of creating a creamy, smooth microfoam.
Always start with cold milk, pay attention to your steam wand positioning, and avoid overheating the milk. With these tips, you can enjoy café-quality lattes and cappuccinos at home.
"Practice is key to perfecting your frothing technique. Once you get it, it makes all the difference," says Bellis.

Victoria Woollaston, with nearly 20 years of experience, has reviewed gadgets, beauty tech, and household appliances for WIRED, TechRadar, and Expert Reviews. She specializes in critiquing coffee makers and small appliances for Top Ten Reviews. Victoria is also the founder and editor of inclusive beauty and grooming sites mamabella and MBman.
