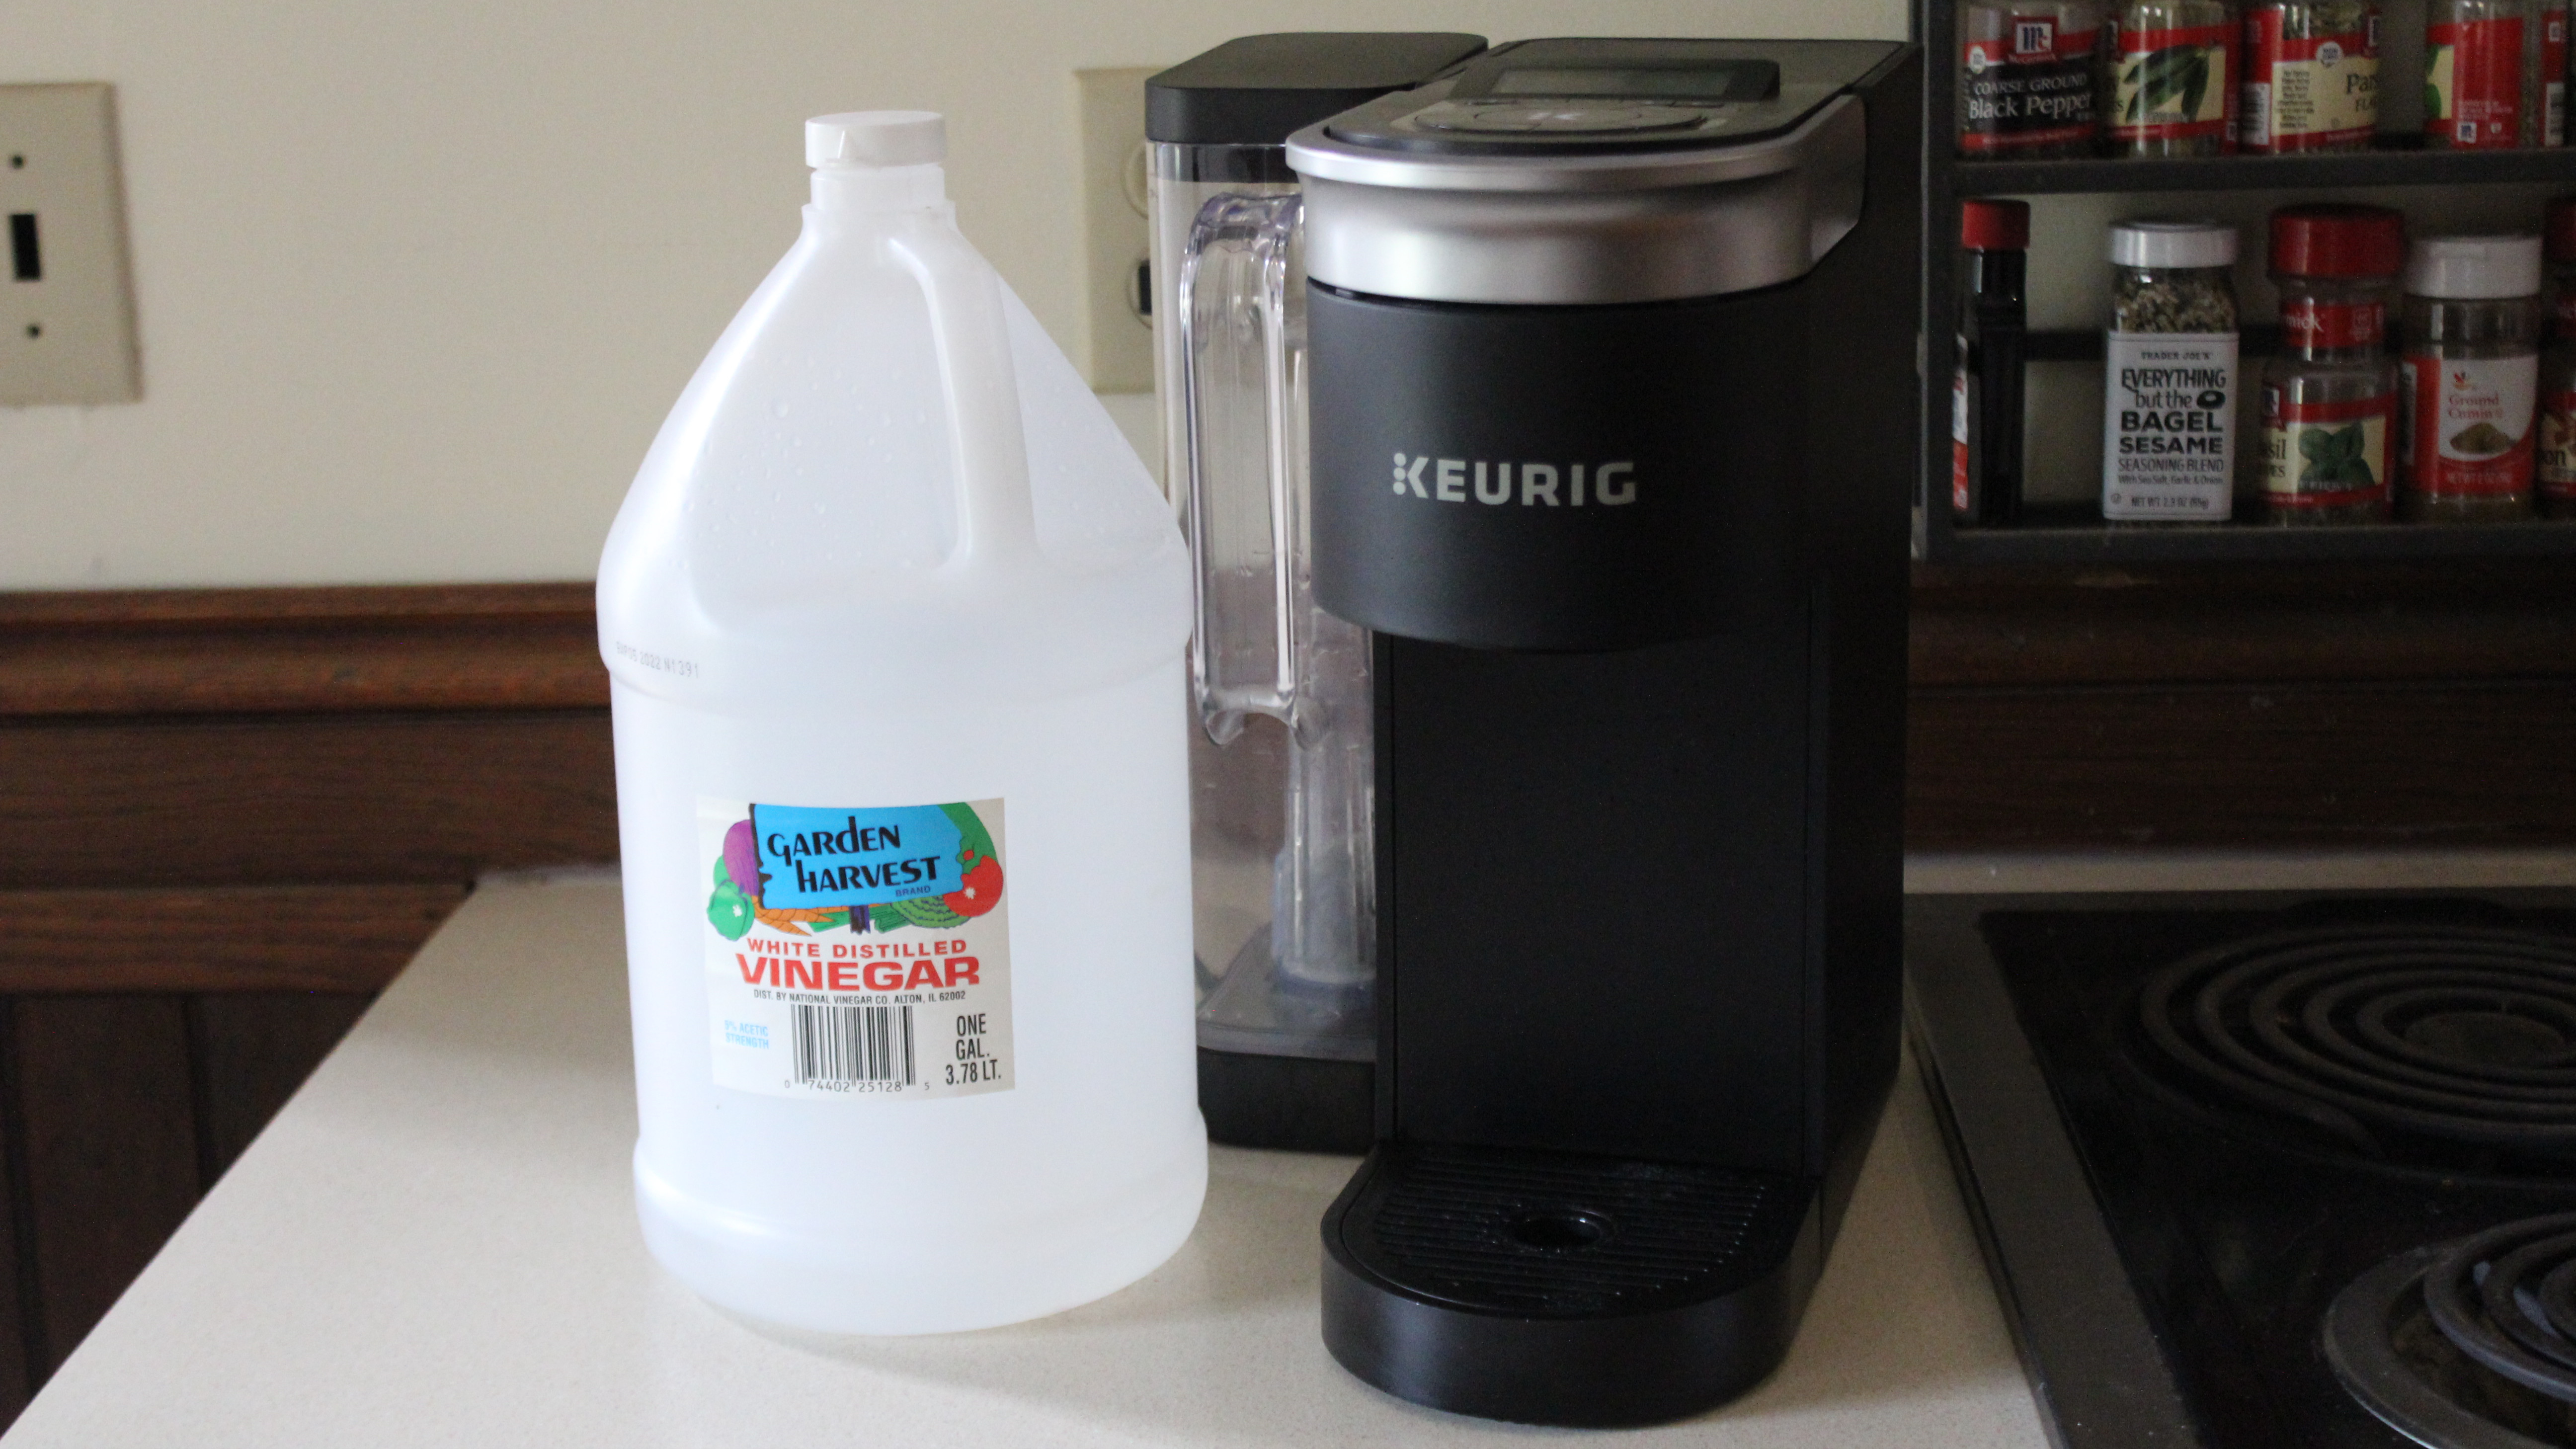
Even the best coffee makers need some TLC. Over time, minerals like calcium can build up on the inside of your machine, and this can make your drinks taste off while impacting the performance of the appliance. The good news is that descaling is quick and easy to do, and it will remove the deposits to keep your coffee maker working efficiently.
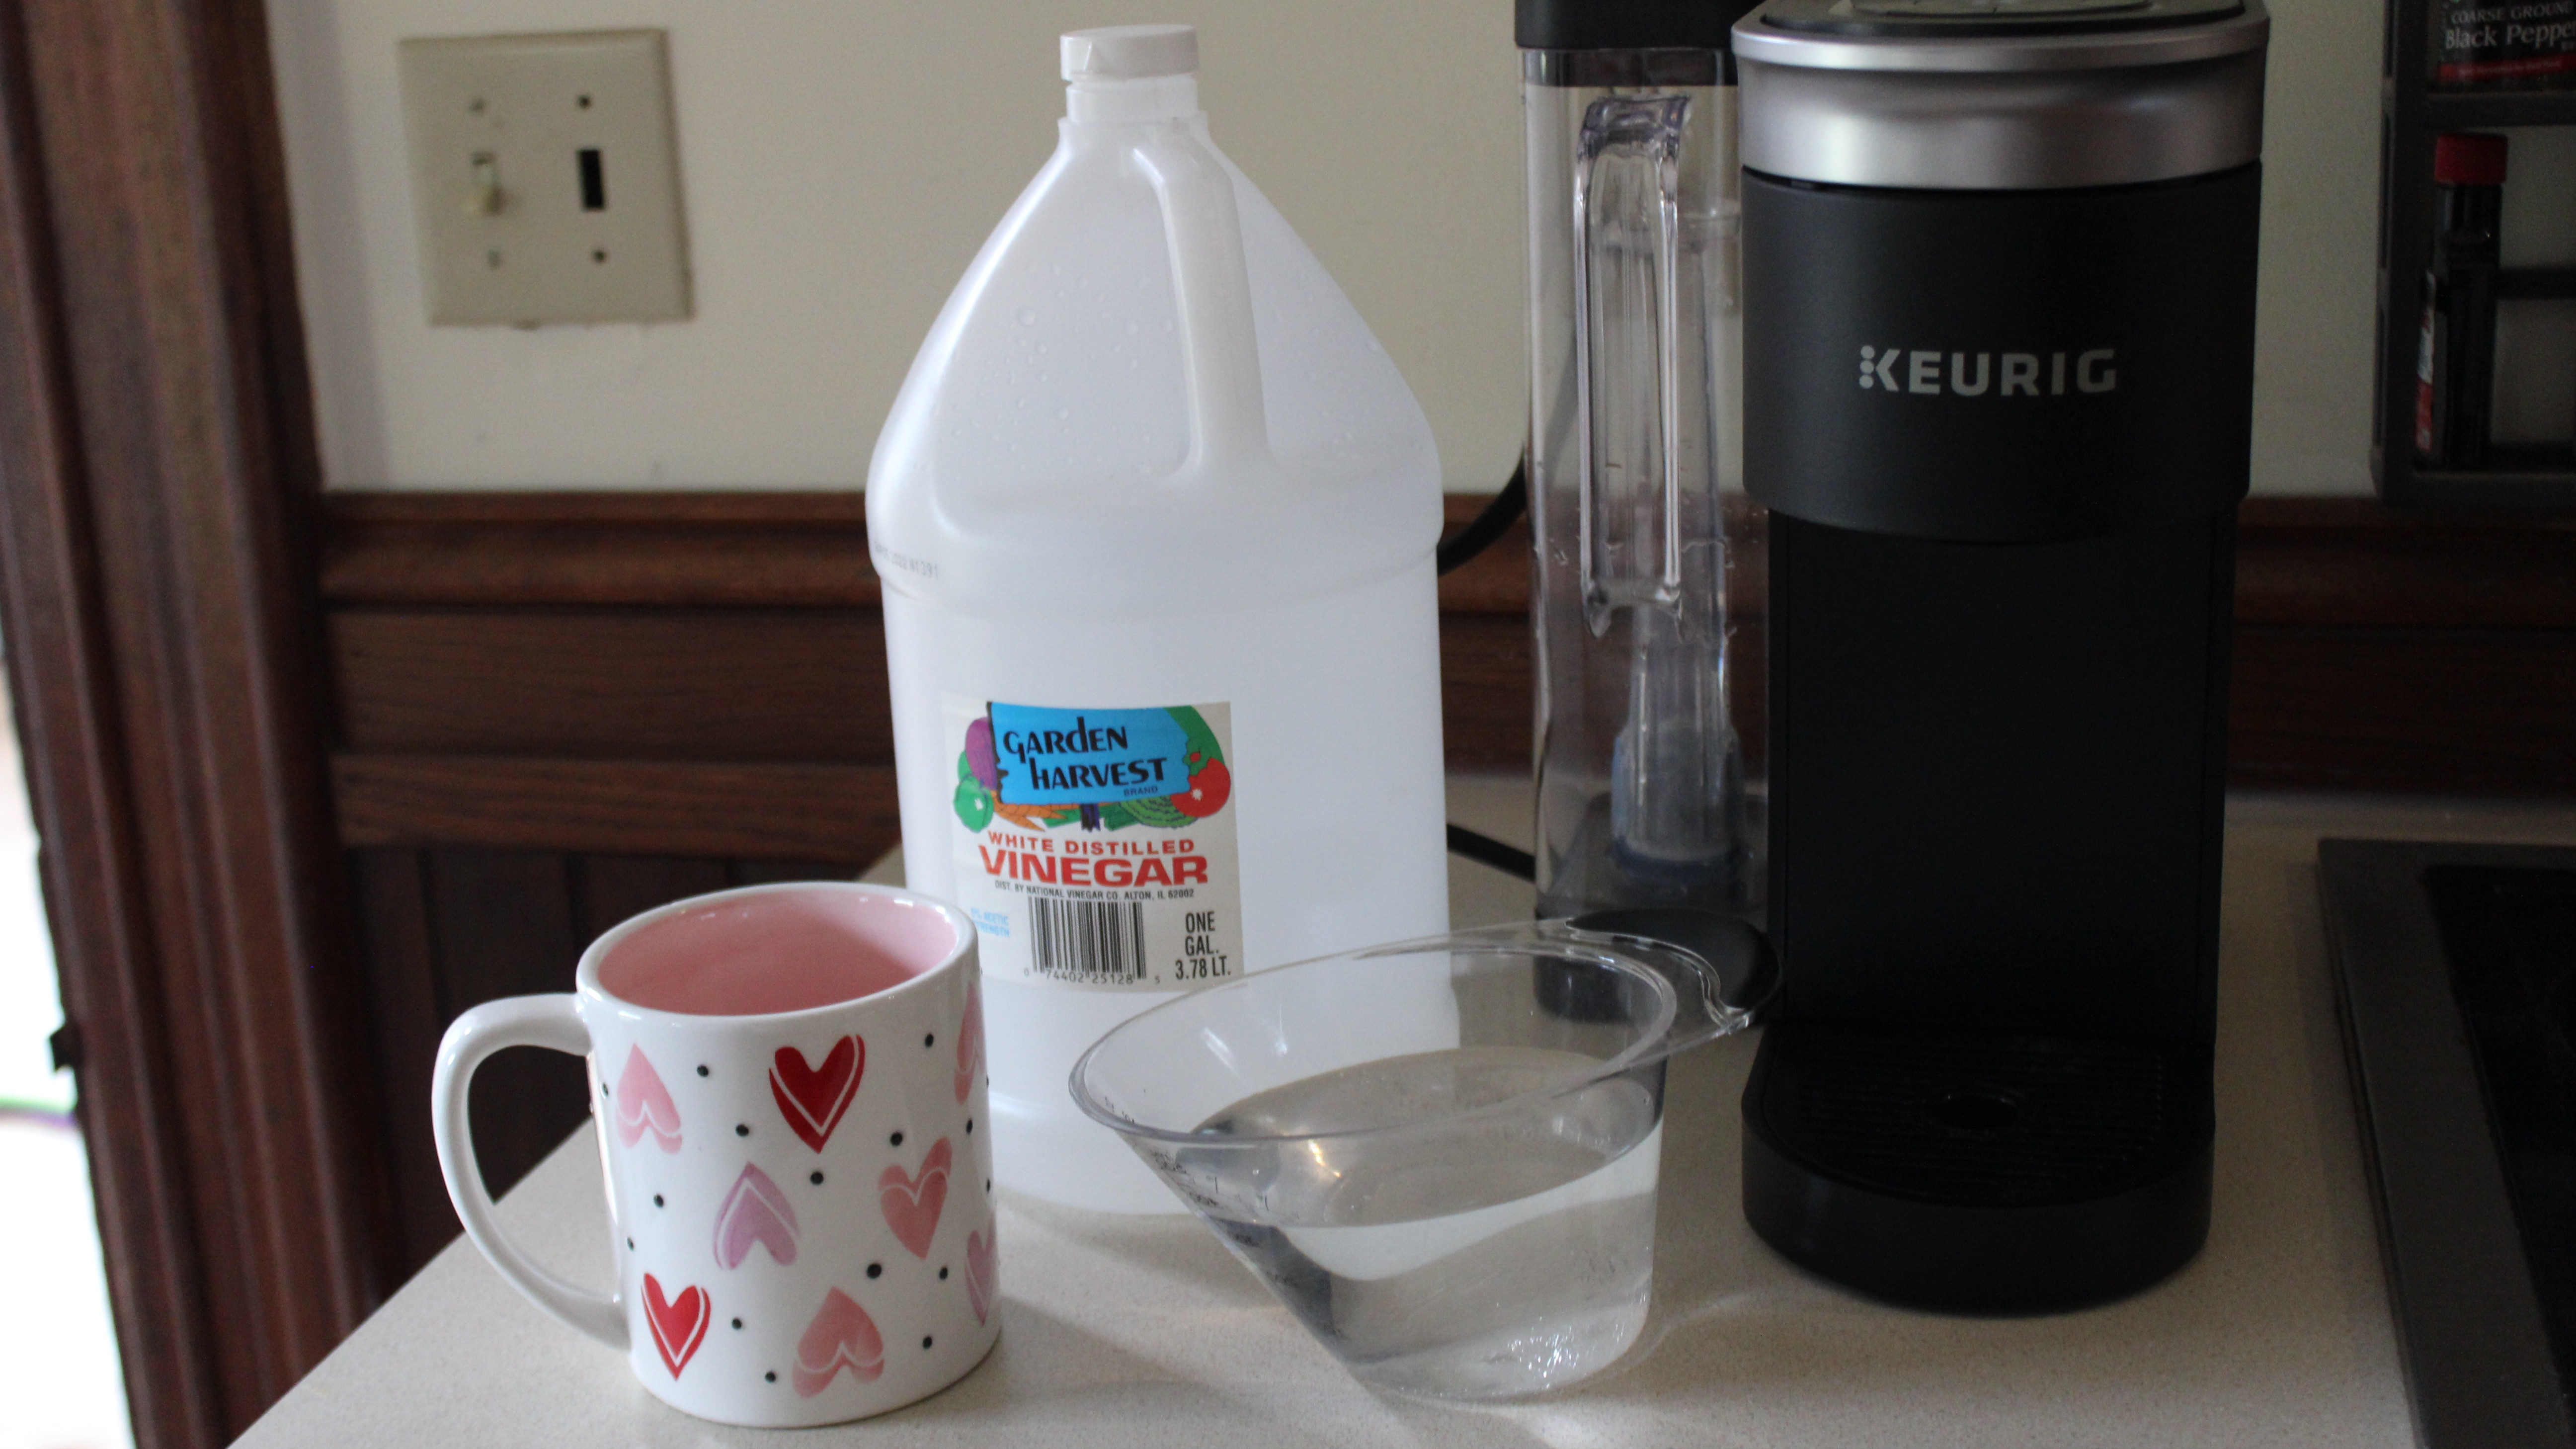
- Your Keurig owner’s manual
- White vinegar
- Water
- A large mug
However, if descaling isn't enough to revive your coffee maker and you're considering a brand new one, we've compiled the best Keurig Black Friday deals for 2023 in one easy list - it's the best time of year for an upgrade.
“Like any kitchen appliance, Keurig brewers need some basic maintenance to stay clean and continue operating at their best,” explains Lindsay Fermano, Senior Director of Marketing at Keurig.
“By performing these steps regularly, you can not only help extend the life of your brewer, but you’ll also continue to get a great tasting cup of coffee with each brew.”

Lindsay is a Senior Director at KDP and the Lead for the Keurig Brand. She has spent the last 12 years with Keurig serving in leadership roles across Innovation, Commercial and Brand Marketing.
Keurig sells a special descaling solution that can be used to clean its coffee makers, but it’s a bit pricey. Instead, you can simply use white vinegar to descale your Keurig - its acidic nature is just as effective at removing mineral build up. If you want to learn how to descale a Keurig with vinegar, just follow this step-by-step guide, which takes around 30 minutes and is effective on any Keurig single–serve coffee maker, such as the Keurig K-Mini Plus.
Quick steps for Descaling a Keurig with Vinegar
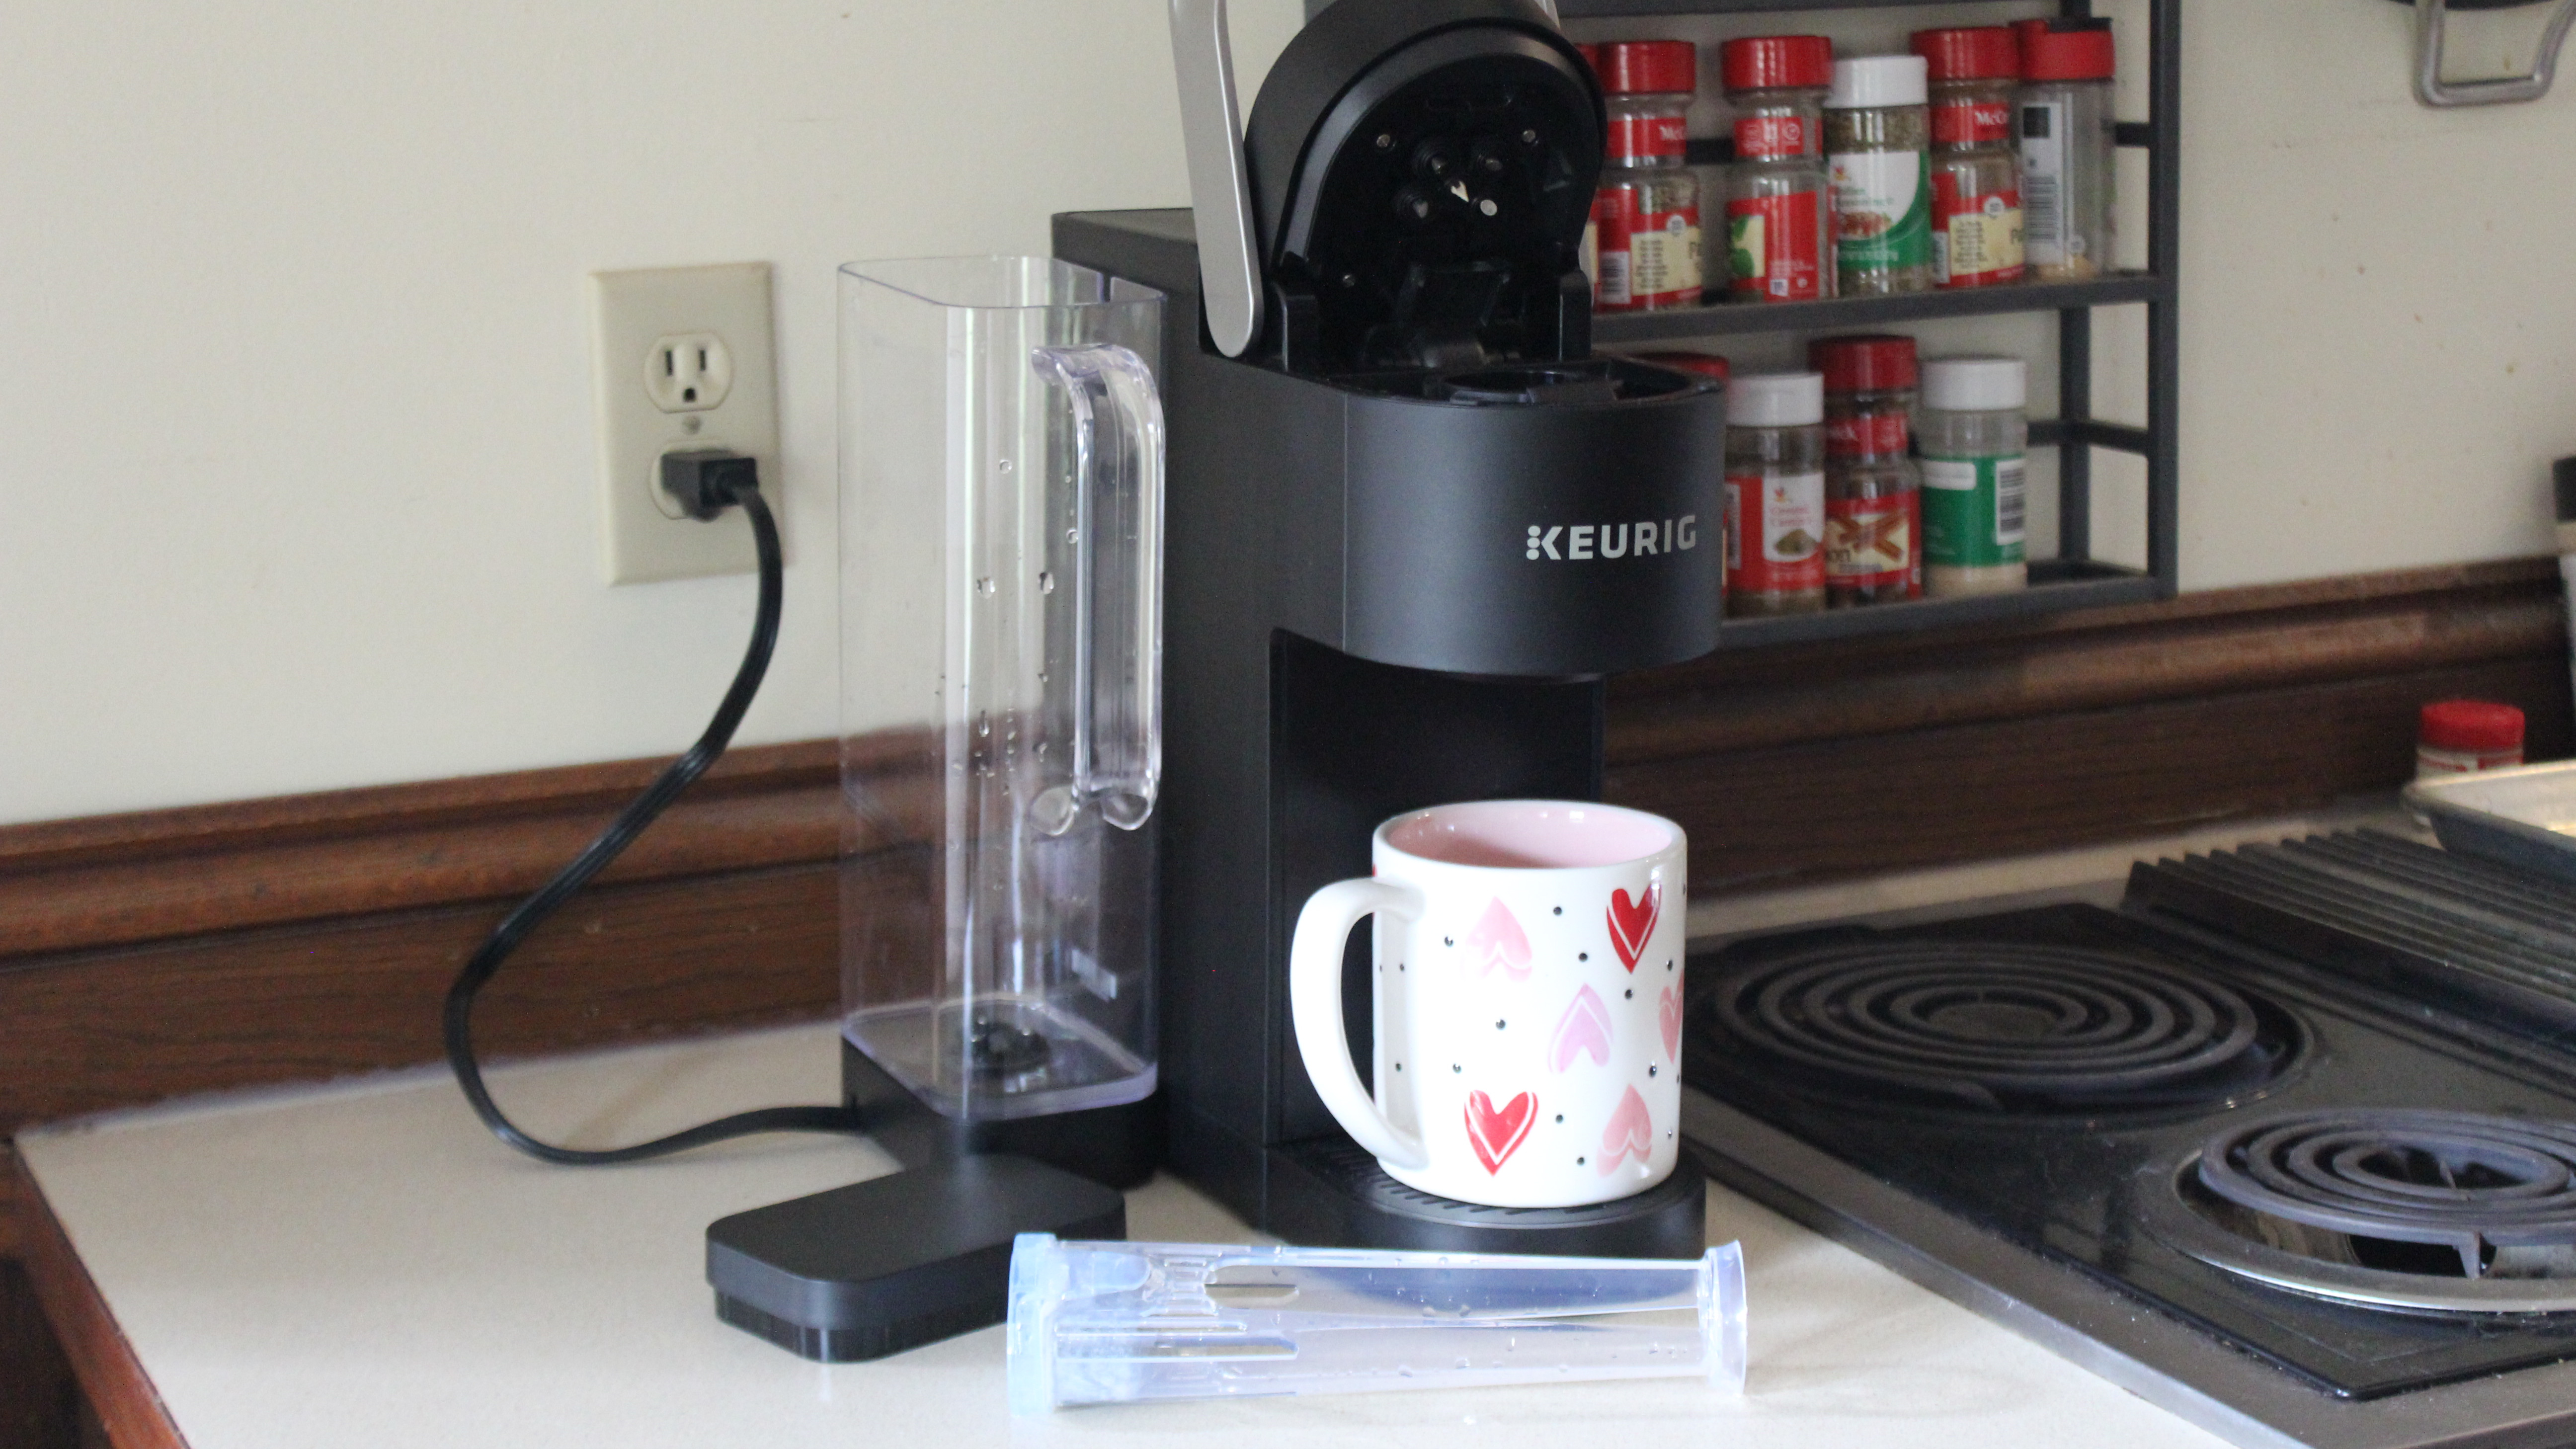
- Prep your machine by removing the filter and putting a large mug under the spout
- Fill the water reservoir with equal parts vinegar and water
- Run the vinegar mixture through the machine
- Rinse out the machine with fresh water
Step by step guide: How to Descale a Keurig With Vinegar
1. Prep your machine
There are a few things you’ll need to do before descaling your Keurig. Start by removing the water filter, if your machine has one, as you don’t want it to get saturated with vinegar. This is also the perfect time to swap out the filter if you haven’t changed it in a while.
You’ll also want to place a large mug under the spout, such as this Serami 28oz Extra Large Coffee Mug from Amazon, and make sure there’s no K-cup inside the machine.
2. Fill the reservoir
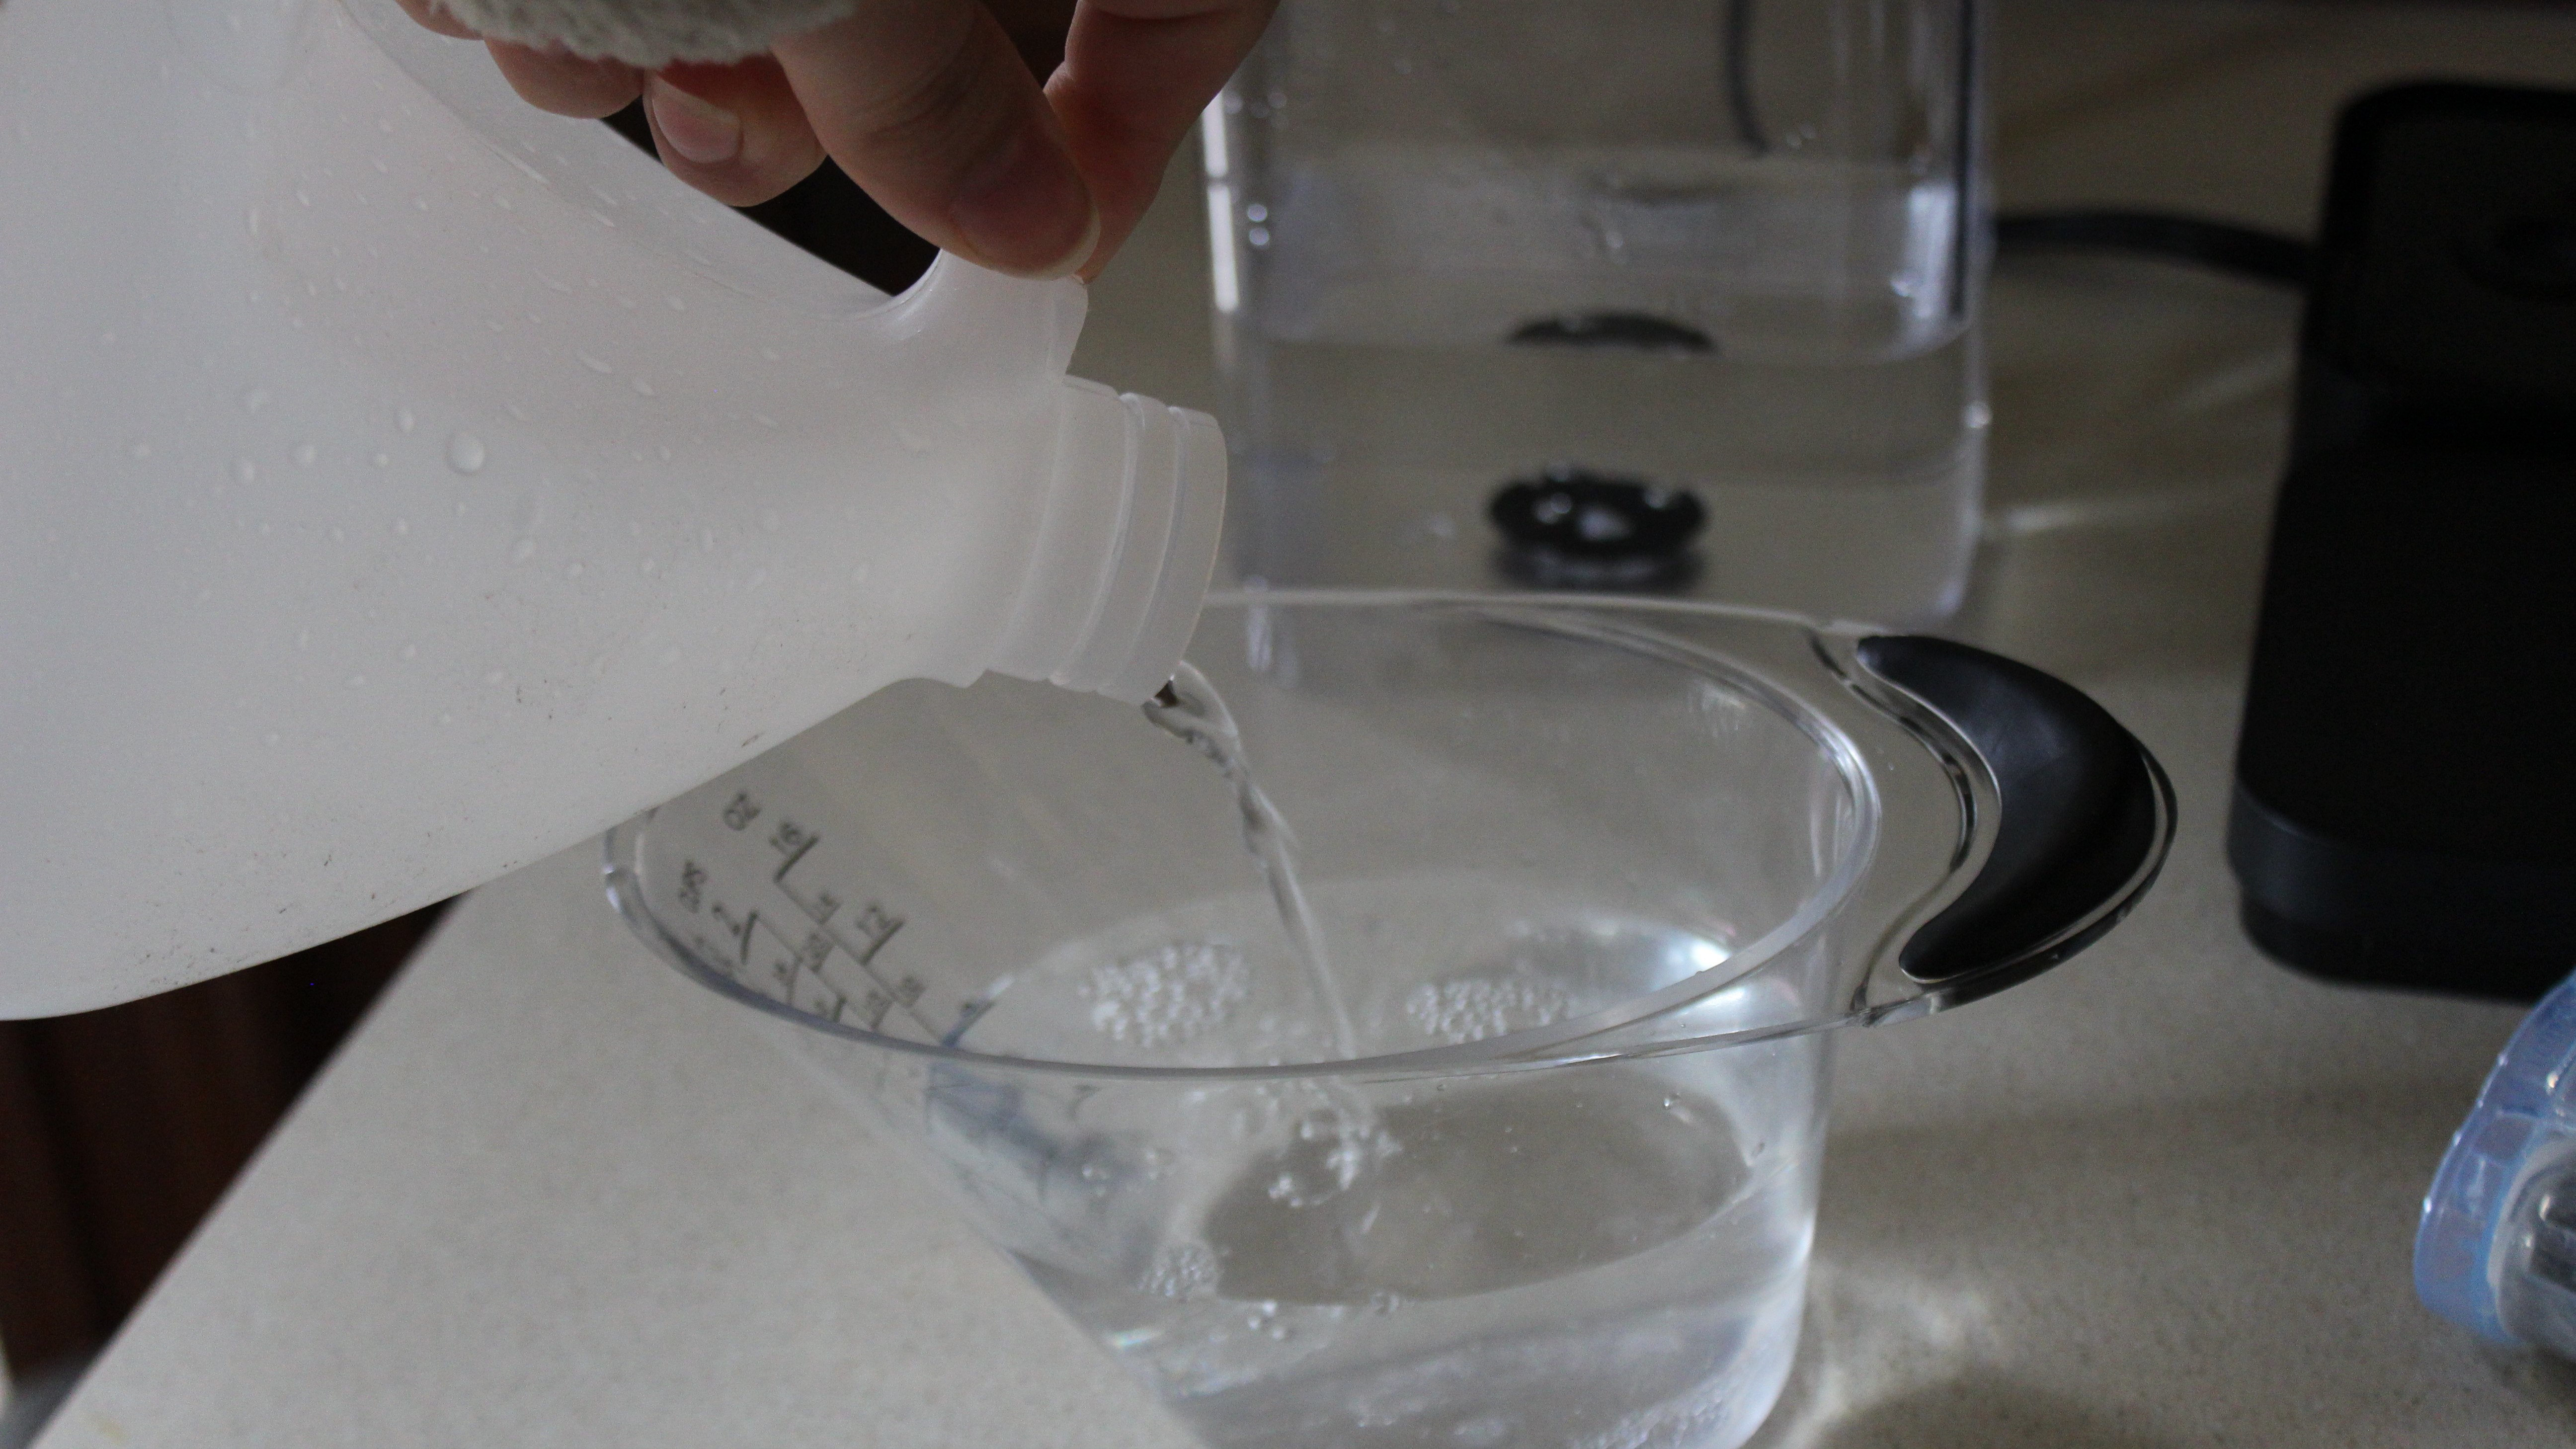
Next, fill up your Keurig’s water reservoir with equal parts white vinegar (such as this Happy Belly Distilled Vinegar on Amazon) and water—the exact amounts will vary depending on the size of your unit’s water tank, but for large machines, 12 ounces of both vinegar and water is ideal (a total of 24 ounces of liquid.) Vinegar is an effective—and affordable—alternative to the Keurig descaling solution thanks to its acidic nature, which helps dissolve mineral build-up inside your machine.
3. Descale the machine
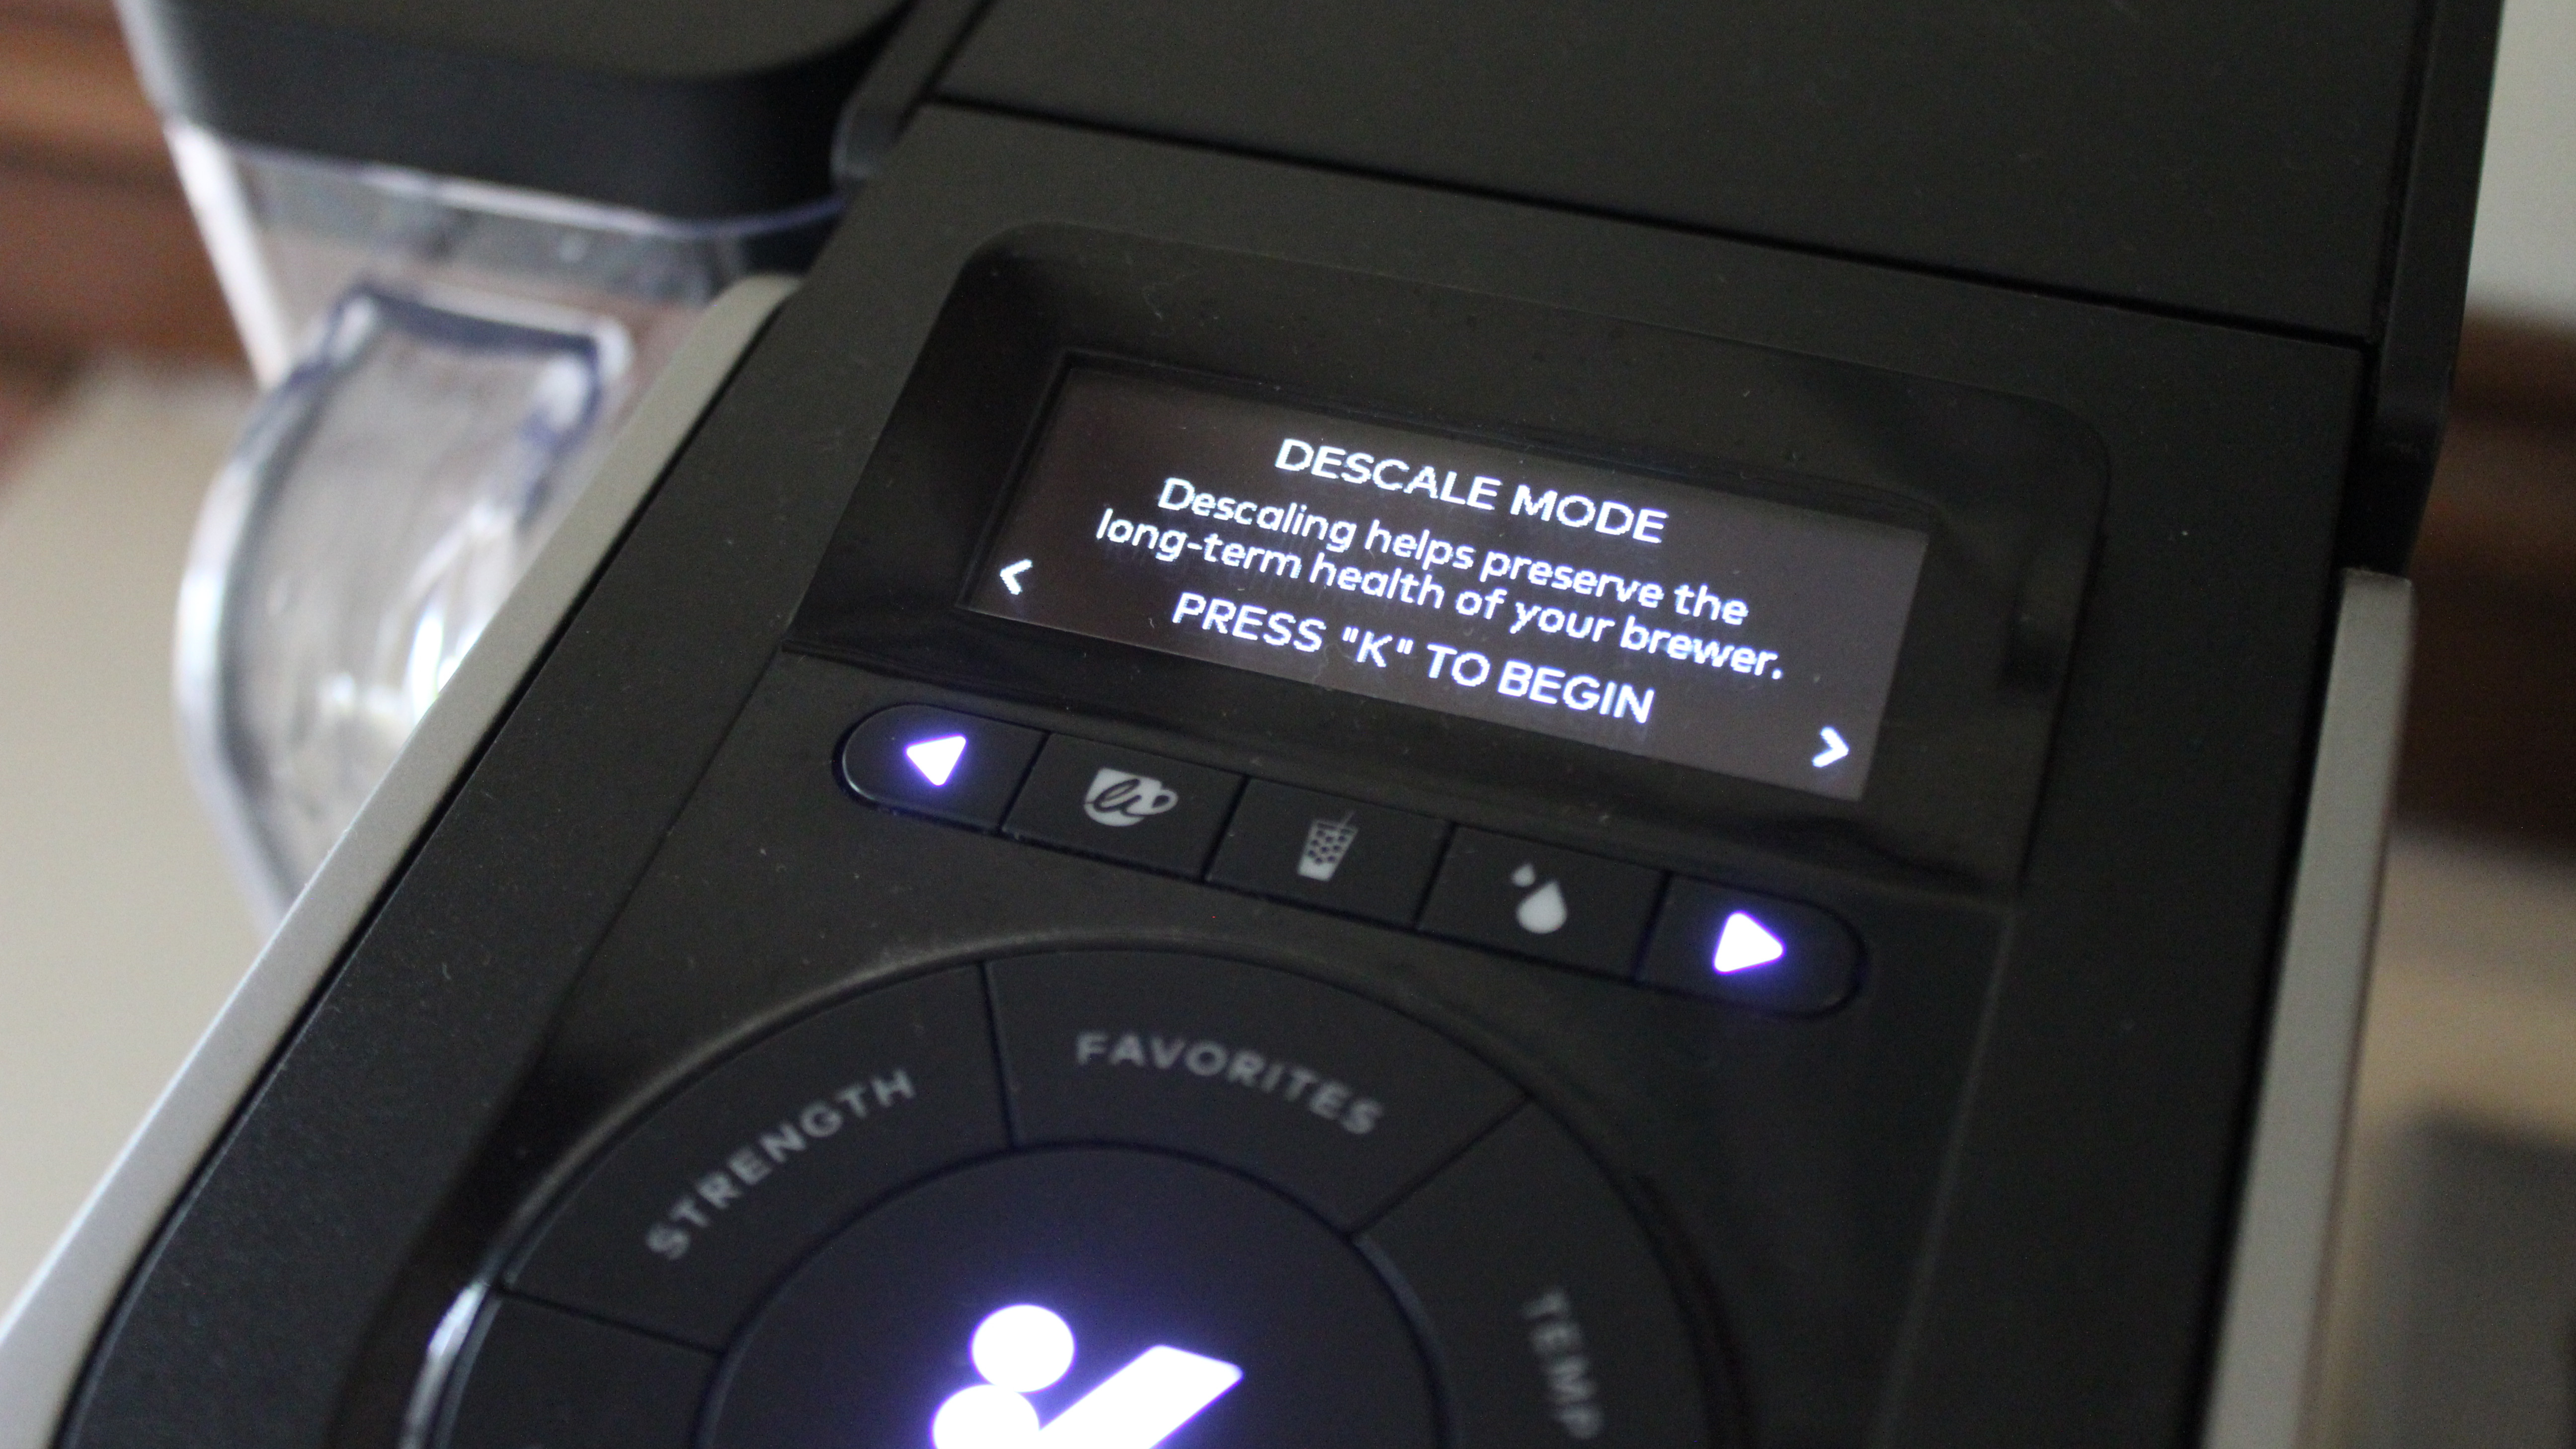
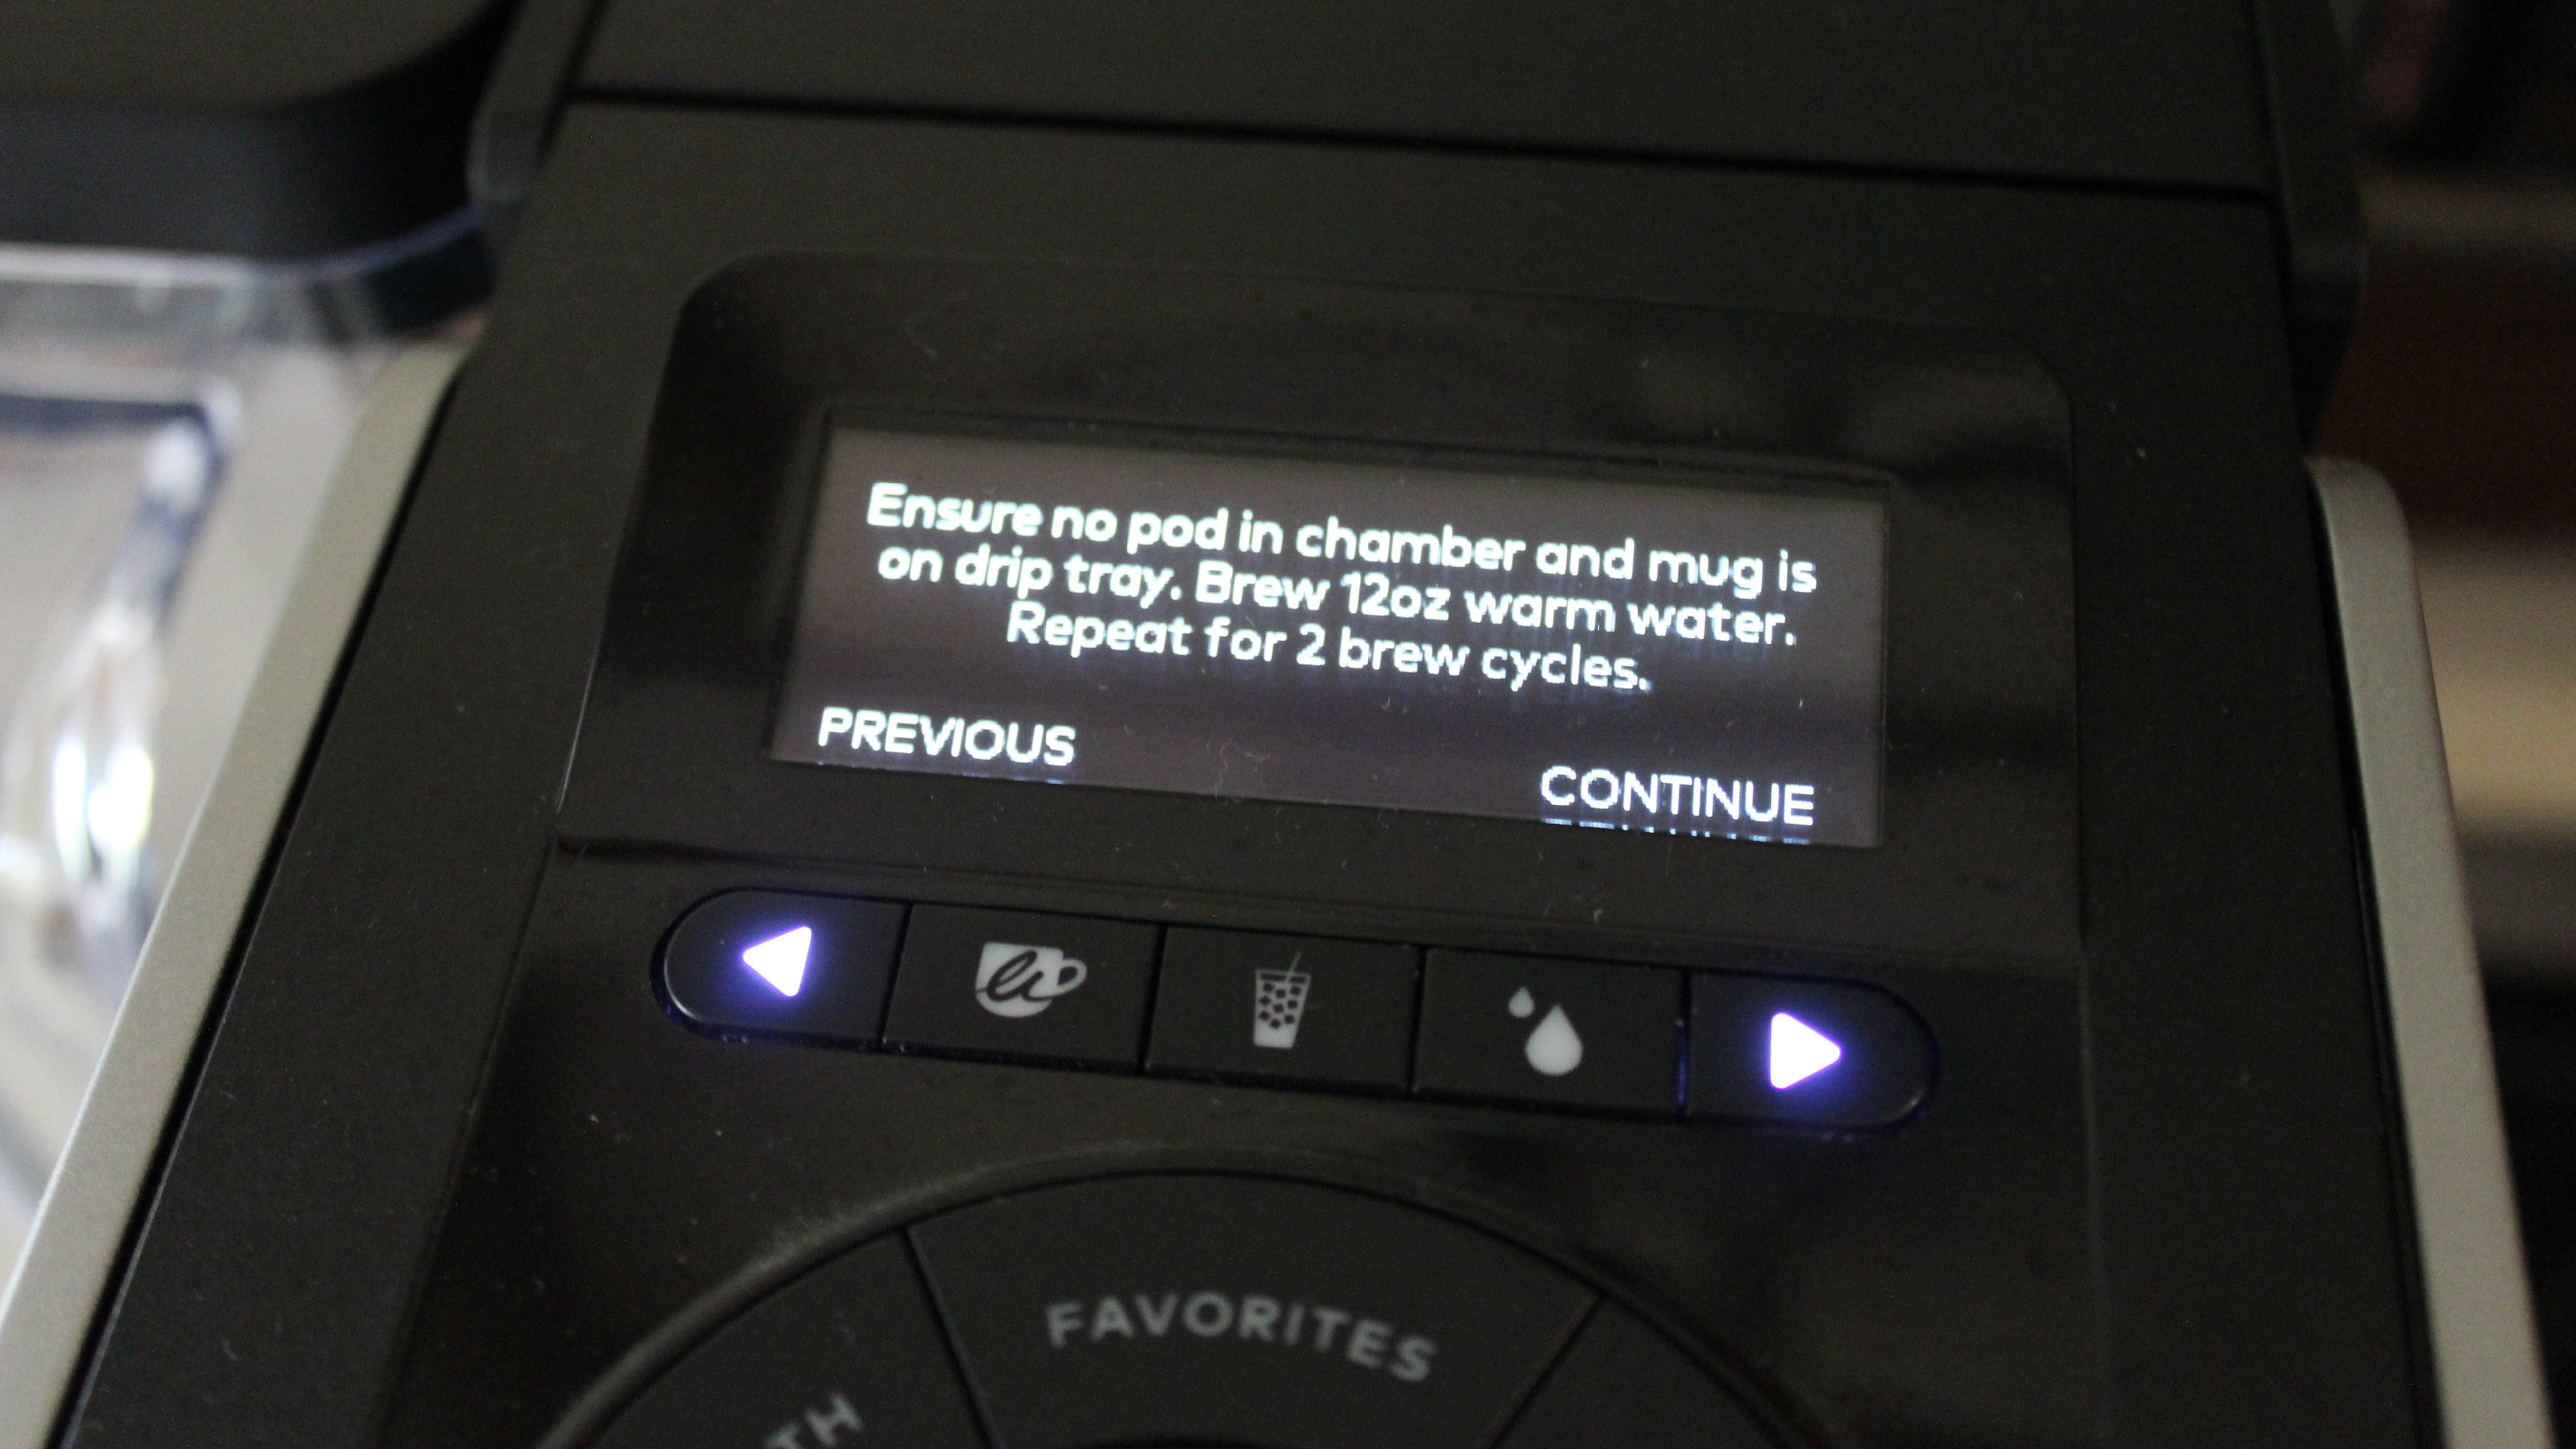
For this step, there are two ways to actually run the vinegar solution through your Keurig. More advanced models have a designated “Descale Mode,” which you can activate through the menu or by holding down certain buttons. This is different for every machine, so you’ll need to consult your owner’s manual to figure out exactly how to access it. For my Keurig K-Supreme SMART, I press both arrow buttons at the same time to enter the settings menu, then select the descale option.
In descale mode, your Keurig will automatically flush the vinegar mixture through the machine’s inner workings, and you won’t have to open and close the lid between each cup. Models with digital displays will also walk you through the process.
If your machine doesn’t have a descaling mode, you can also just select the largest drink size to run the vinegar through the Keurig. Just keep in mind that you’ll need to open and close the lid to reset it between each cup.
Either way, you’ll want to keep running the solution through the machine, emptying the cup when it gets full, until the water tank is empty. At this point, you can let the machine sit for 20 to 30 minutes to allow the remaining vinegar to soak the inner components.
4. Rinse with water
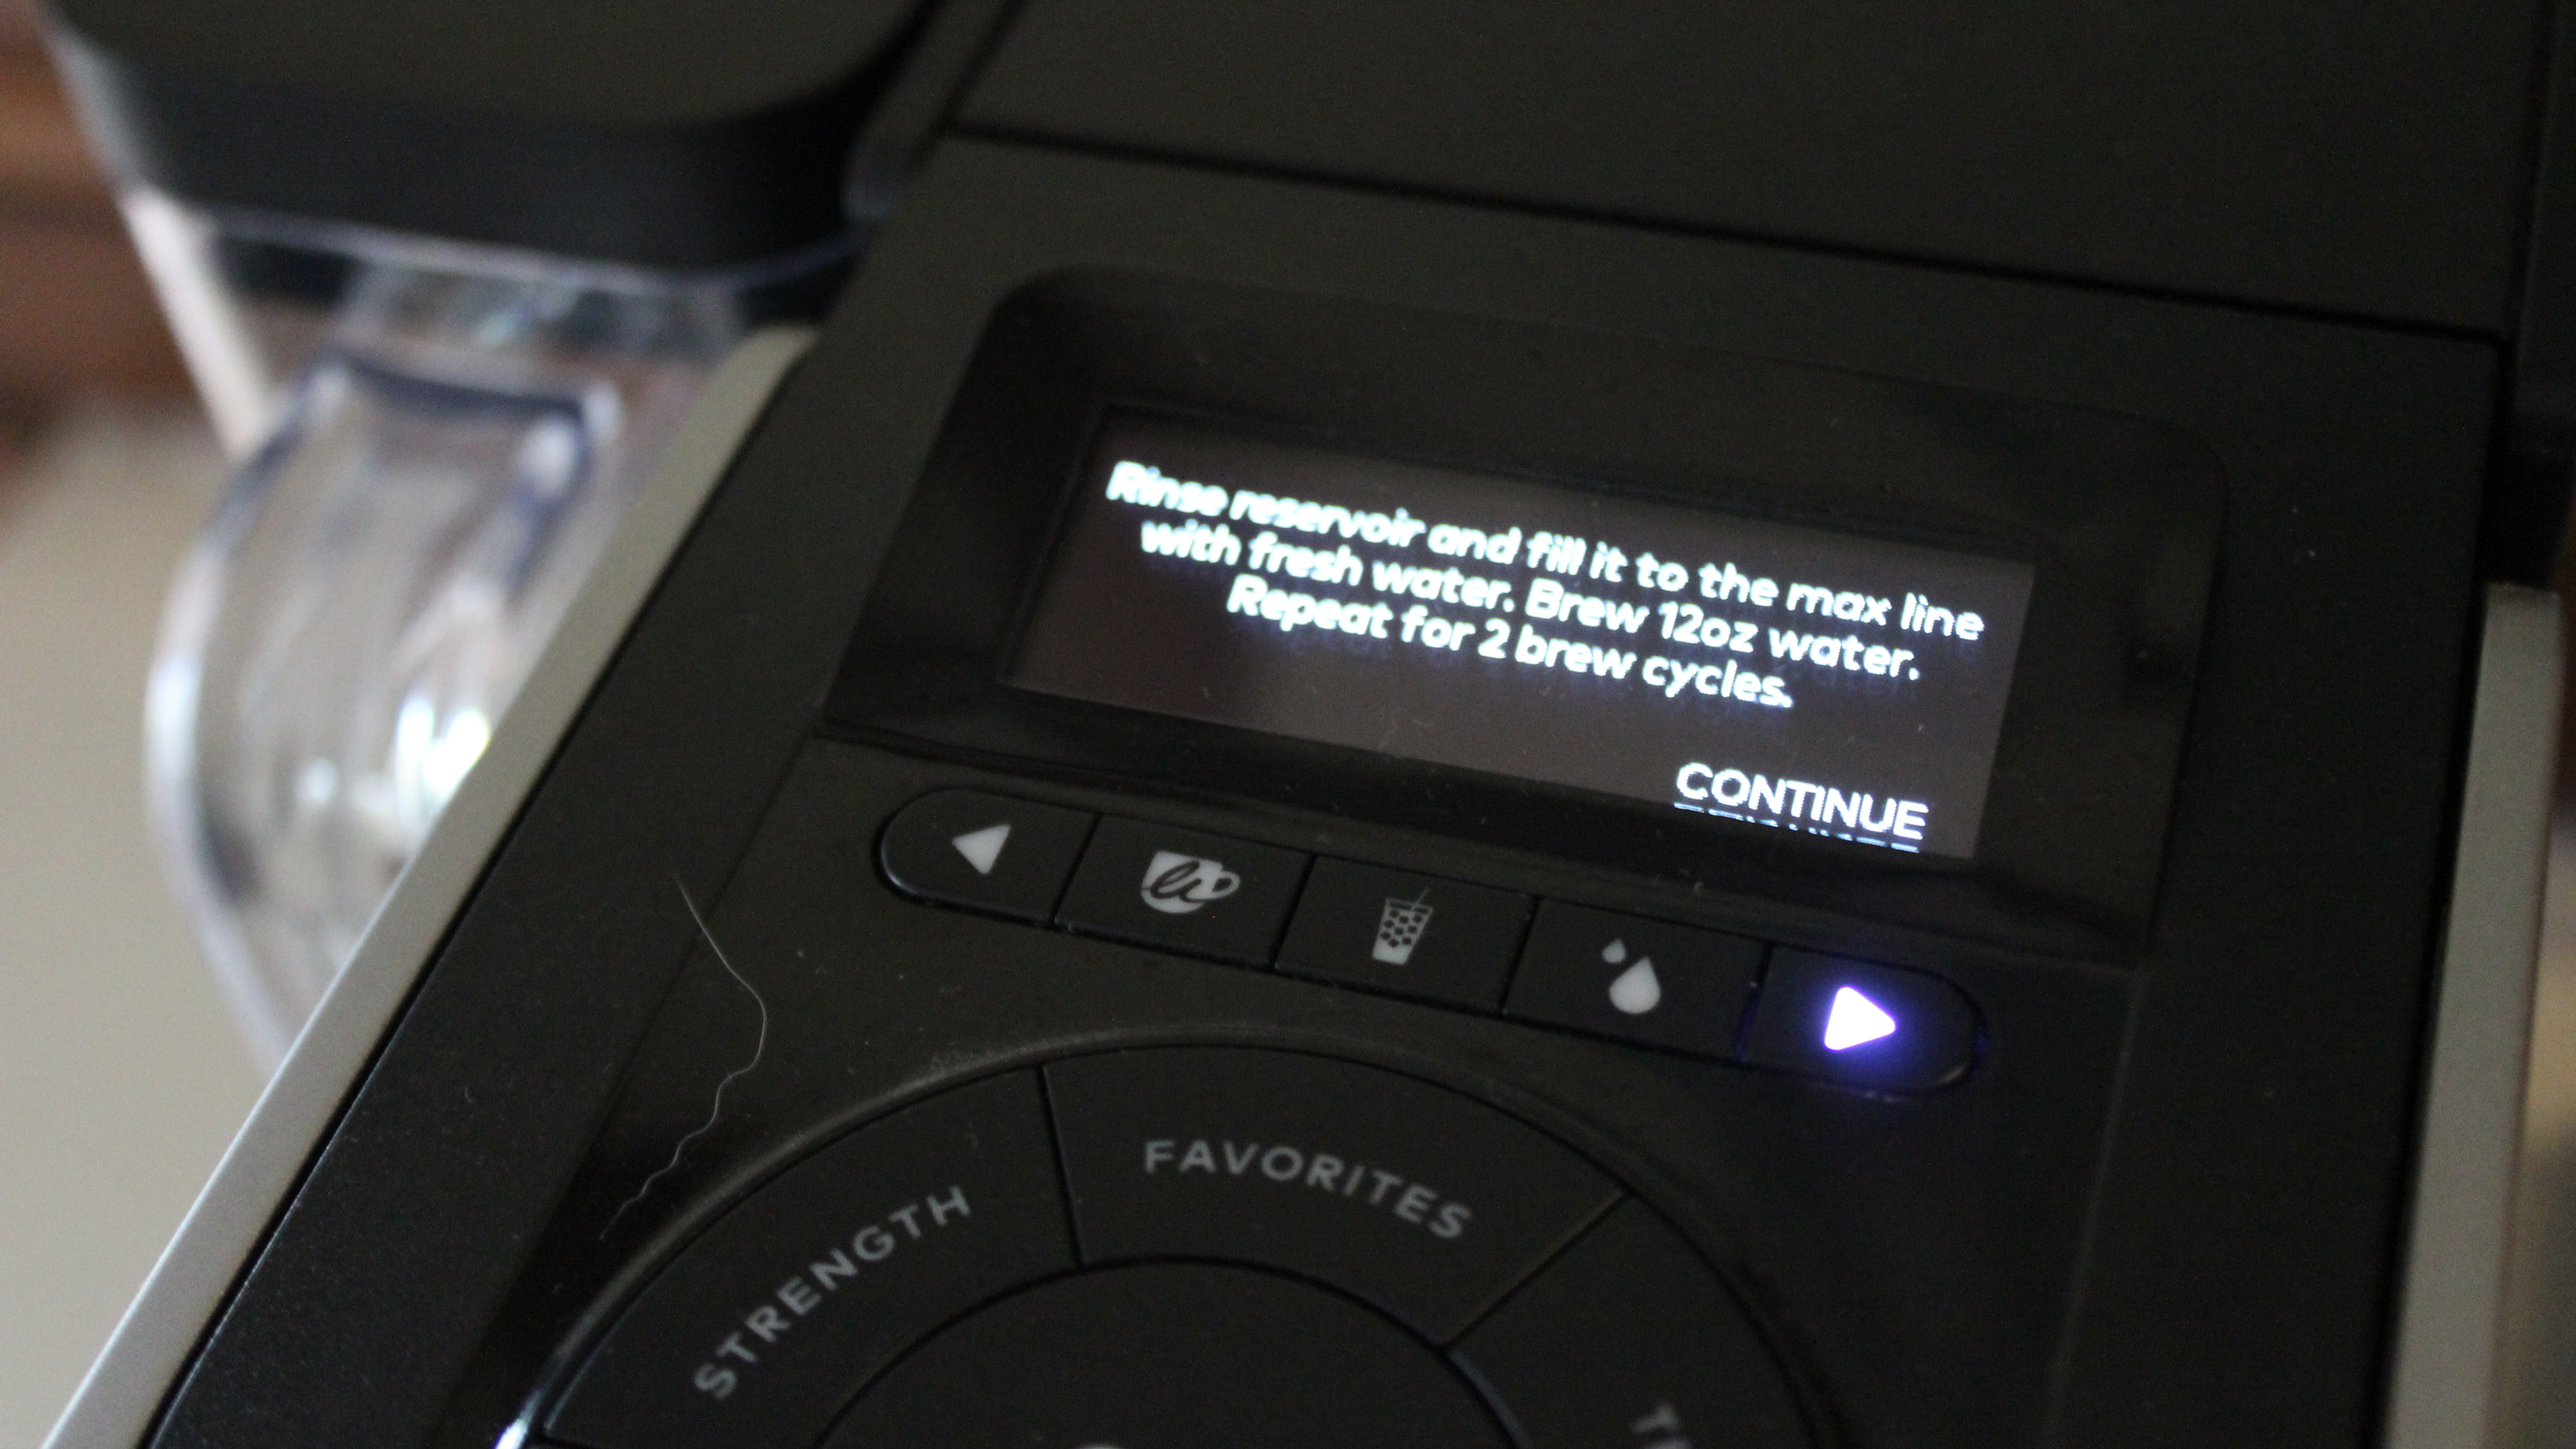
When you’re ready to rinse out the machine, rinse out the water reservoir and fill it with fresh water. You’ll need to repeat the process from step three, flushing all the water through the machine, one cupful at a time. This will remove any lingering vinegar taste from your Keurig to ensure your next cup of coffee is fresh and delicious.
How to Descale a Keurig With Vinegar: FAQs
How often should I descale my Keurig?
In general, you should descale your Keurig every three to six months, depending on how often you use it. If you use your machine daily, you’ll need to descale it more often to keep your coffee tasting fresh.
It can be hard to remember when and how to clean your Keurig coffee maker, so many of today’s Keurig models have a descaling light that will periodically turn on as a handy reminder.
Should I run straight vinegar through my Keurig?
You don’t want to run vinegar alone through your Keurig. Instead, you should use an equal mixture of vinegar and water. If you use straight vinegar, it will be much harder to get rid of the lingering taste, and you may end up having to flush out your machine several times.
How long do you leave vinegar in a Keurig to descale?
For best results, you’ll want to leave the vinegar solution inside your Keurig for 20 to 30 minutes, as this will give it time to soak away calcium and other mineral build-up inside the unit. However, if you’re in a hurry, you can skip the soaking step—a quick flush is still better than nothing!
Final thoughts
If you don’t want to purchase a descaling solution, you can very easily use vinegar to descale a Keurig coffee maker. This quick process removes mineral build-up from inside your machine, helping to keep it working properly and ensure your morning cup of joe always tastes great.
