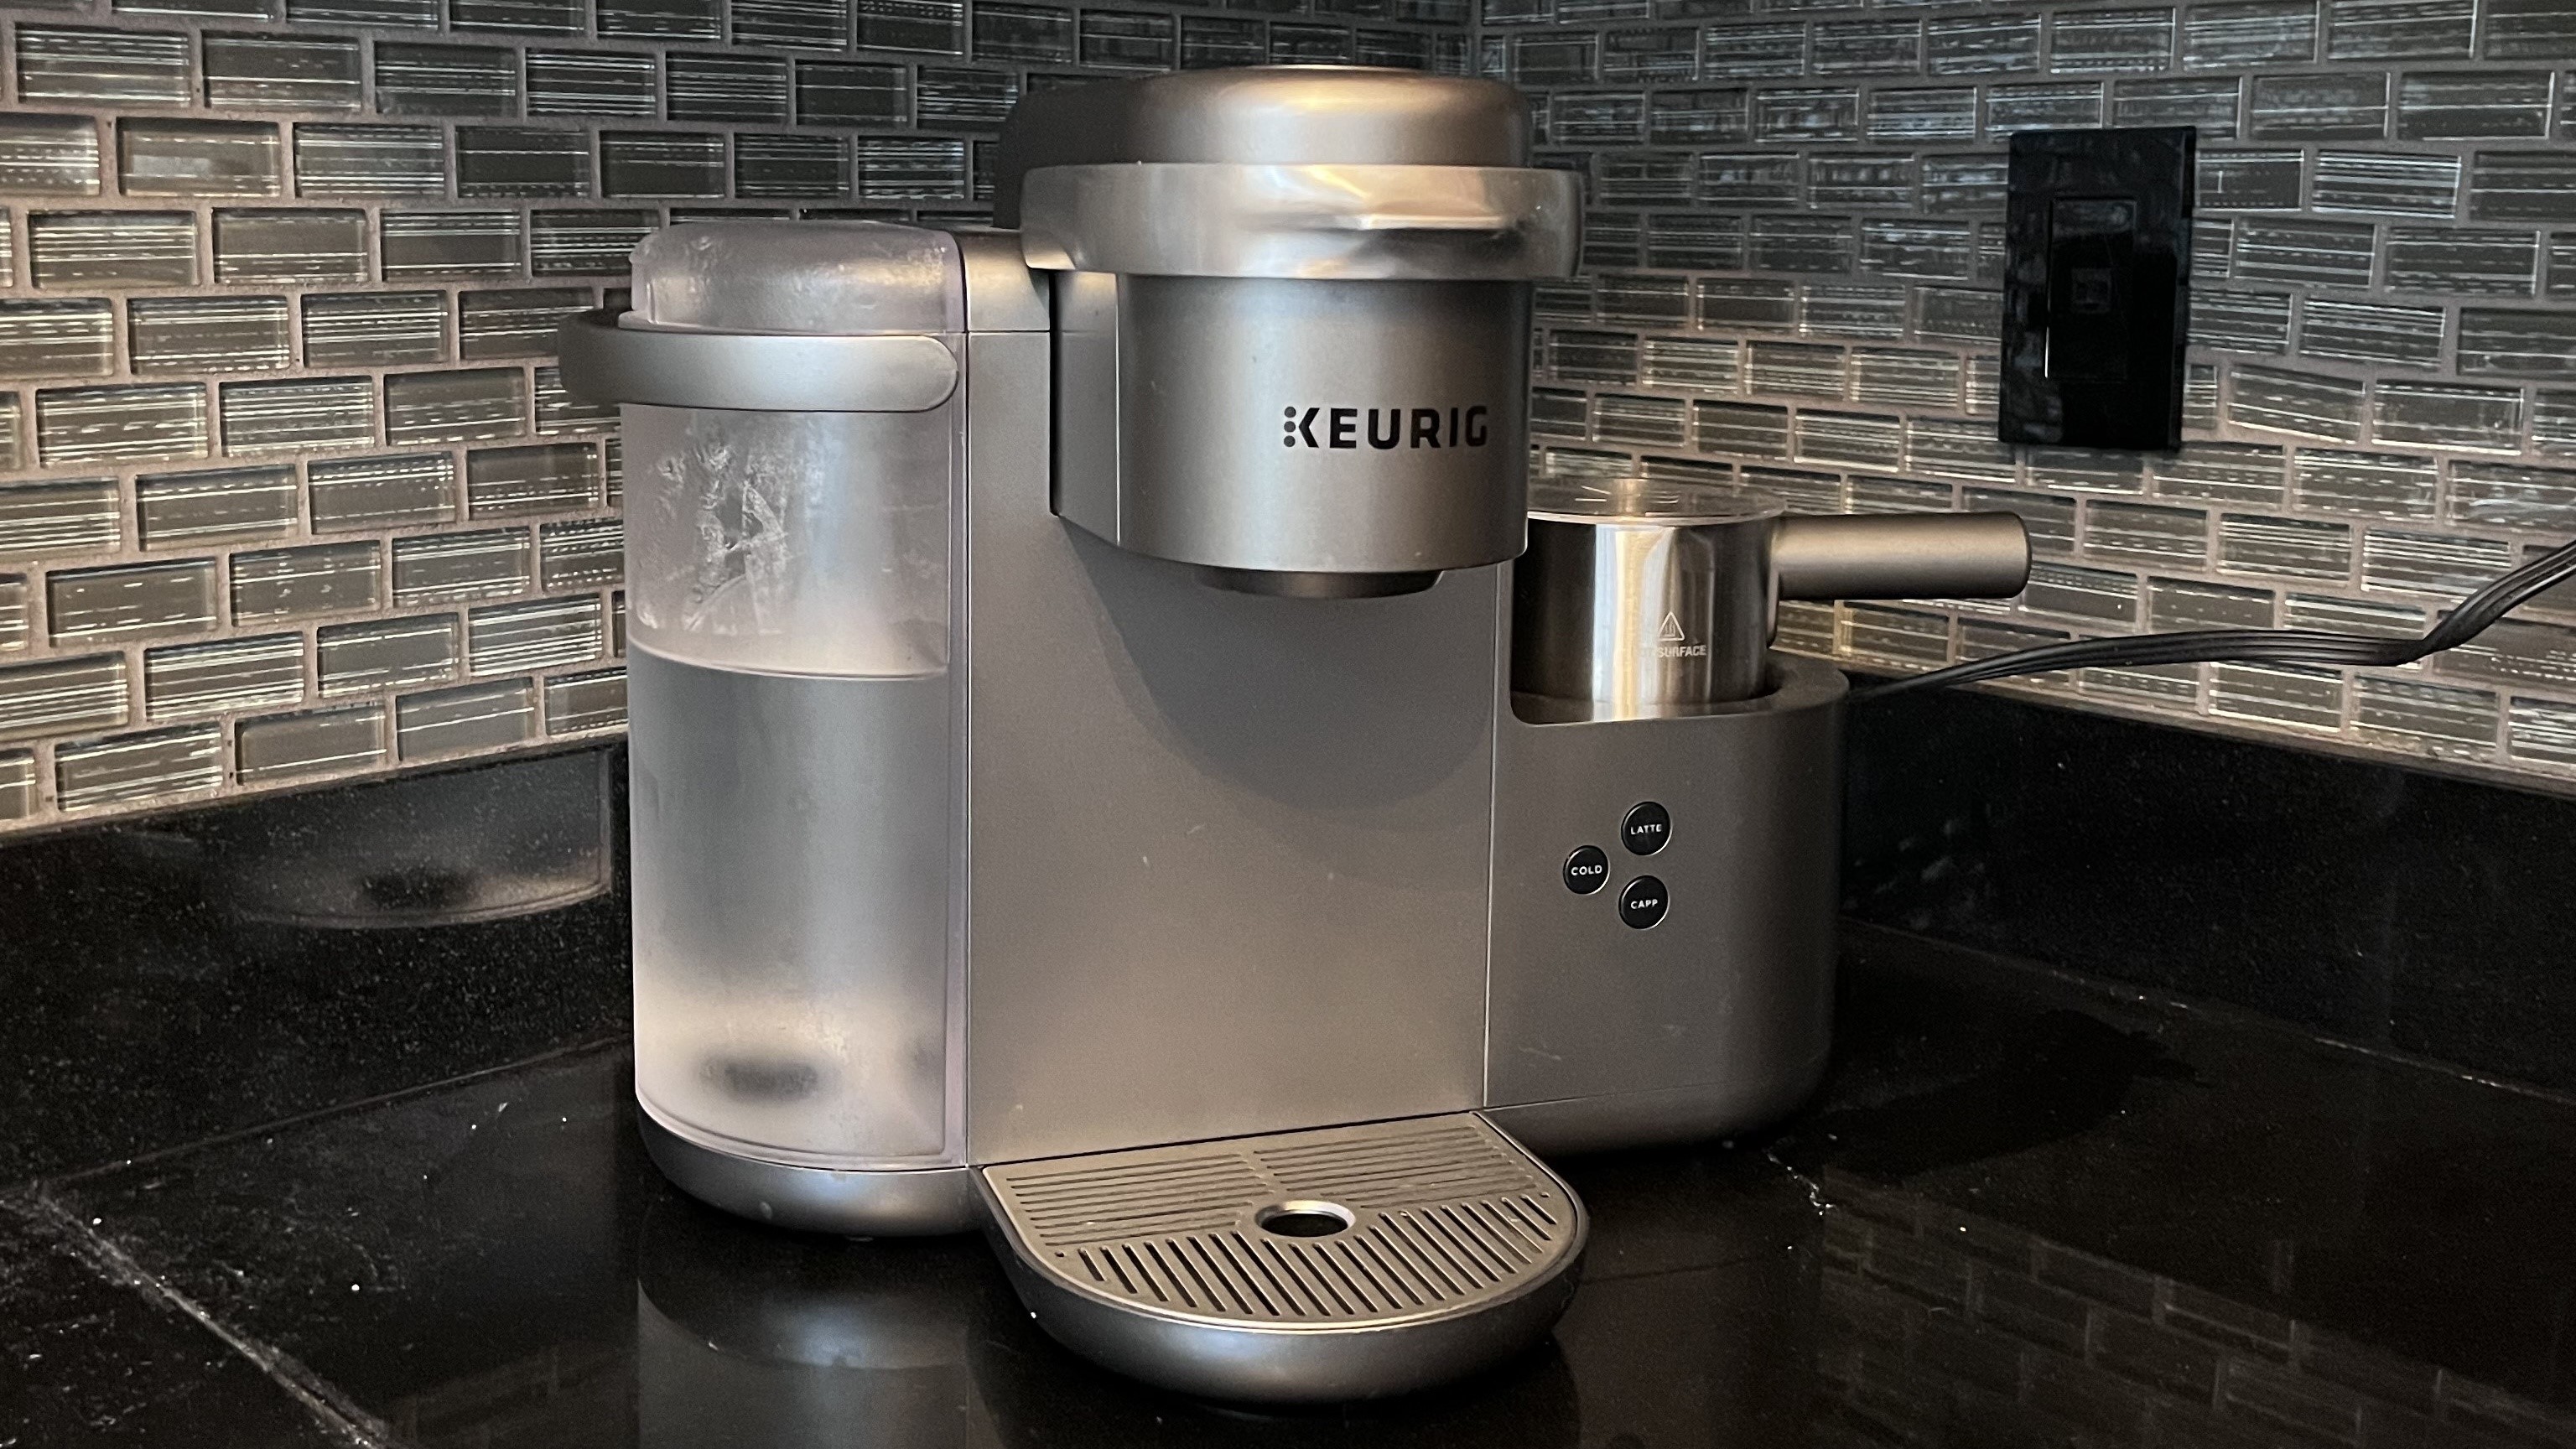
Keeping your Keurig brewer clean is essential for the safety of your brew and the longevity of your beloved appliance. But how often should you actually roll up your sleeves and get to cleaning?
Cleaning one of the best coffee makers, or any kitchen appliance really, is a daunting task for most, which is why many Keurig owners will opt to only wipe down the machine, clean the water reservoir and call it a day. But it's essential to clean not only what's visible but also what lurks inside the machine. Bacteria can build up on the inside and outside of the Keurig which may impact your health.
Regularly cleaning your Keurig is not only about preventing bacteria but also about ensuring consistently great cups of coffee. Both coffee grounds getting stuck in the Pod Holder Assembly (PHA) and calcium deposits building up within the brewers can hinder the performance of Keurigs over time.
- Antibacterial towelettes
- Paper clip
- Dish soap
- Keurig® descaling solution
Fortunately, Keurig cleaning is straightforward and, once you establish a routine, maintaining your favorite brewer will become second nature. In this guide, we'll dive deeper into each cleaning task and provide step-by-step instructions to help you keep your Keurig running smoothly.
Quick steps: How to clean a Keurig
- Remove used pods from the Keurig
- Wipe down Keurig
- Wash removable drip trays and water reservoirs
- Wash the PHA
- Clean Keurig needle
- Descale the Keurig
- Replace water filter (if applicable)
Step by step guide: How to clean a Keurig
1. Remove used K-Cup pods from the Keurig
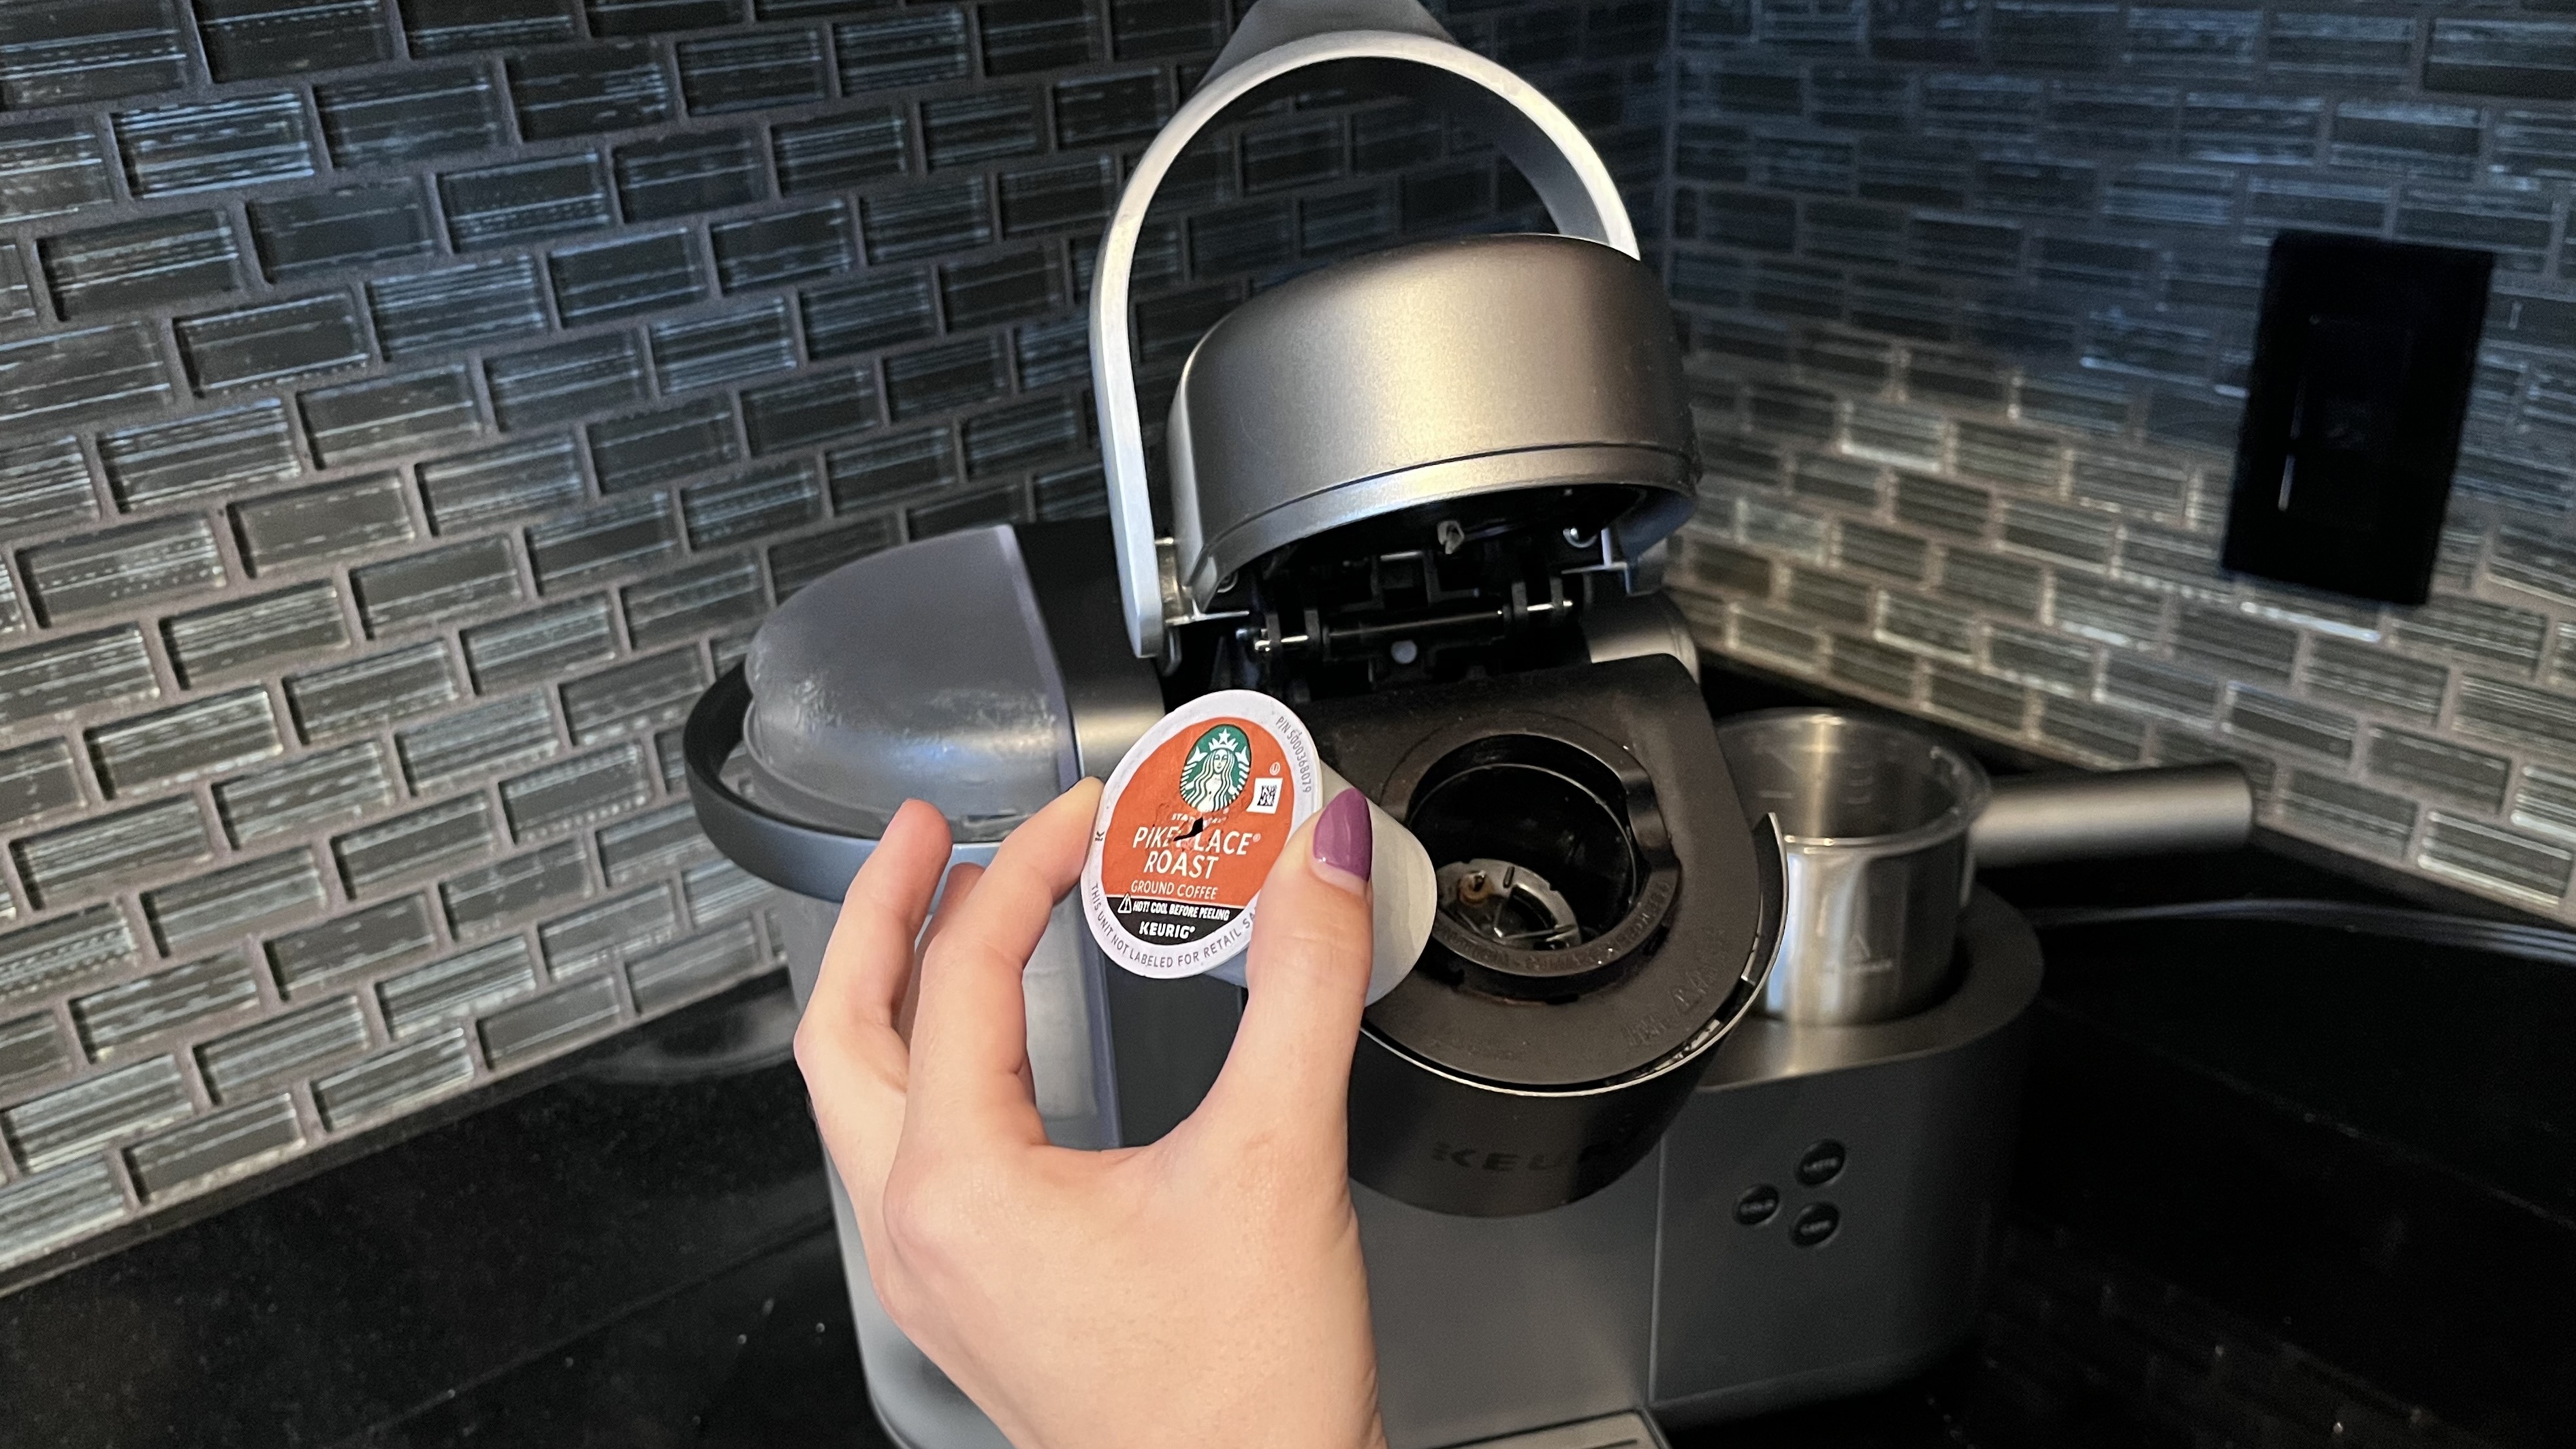
Once cooled, you should remove used pods from the Keurig after every brew. This not only maintains the cleanliness of the brewer, but it’s a small step that helps prevent bigger issues down the road.
2. Wipe down Keurig
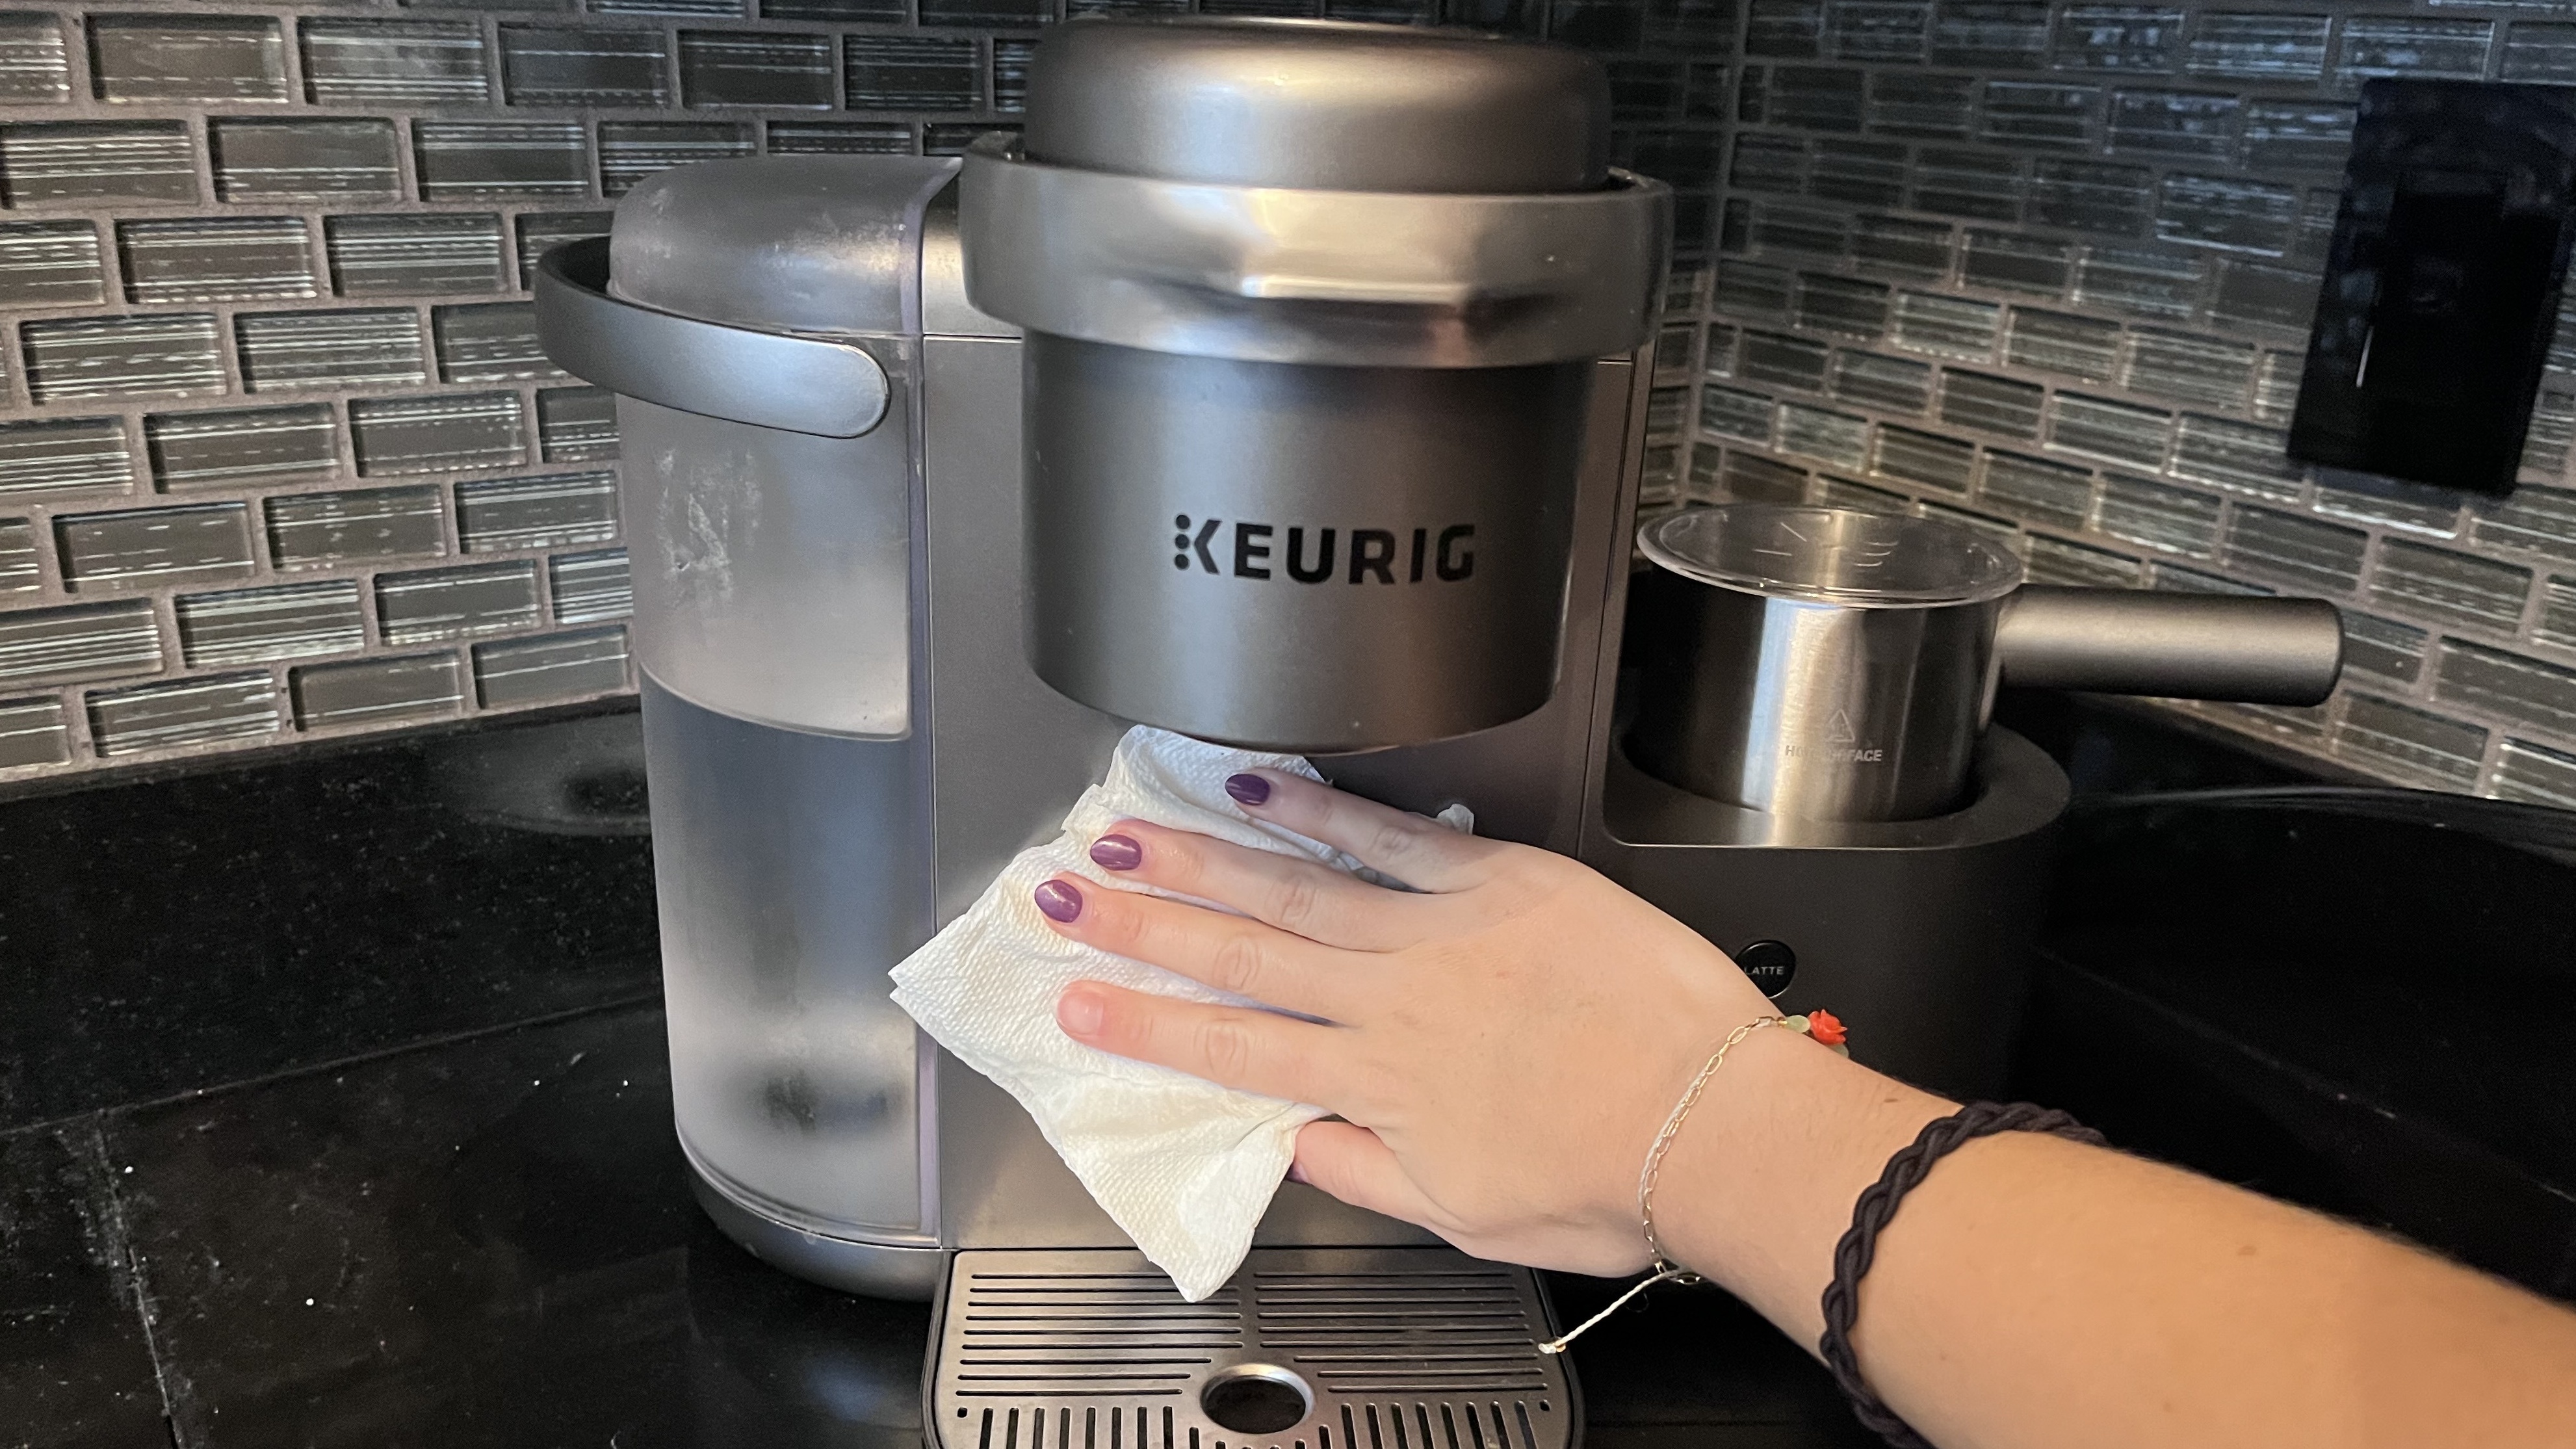
Whether it’s coffee or the usual dust build-up that happens in homes, don’t forget to wipe down your Keurig regularly, especially if multiple people use the brewer on a daily basis.
You can easily keep your Keurig spick and span by wiping it down with antibacterial towelettes, which will help prevent the spread of bacteria.
We recommend the Clean Conscious Wipes from The Honest Company (available at Amazon) as they have a sensitive formula and compostable design.
3. Wash removable drip trays and water reservoirs
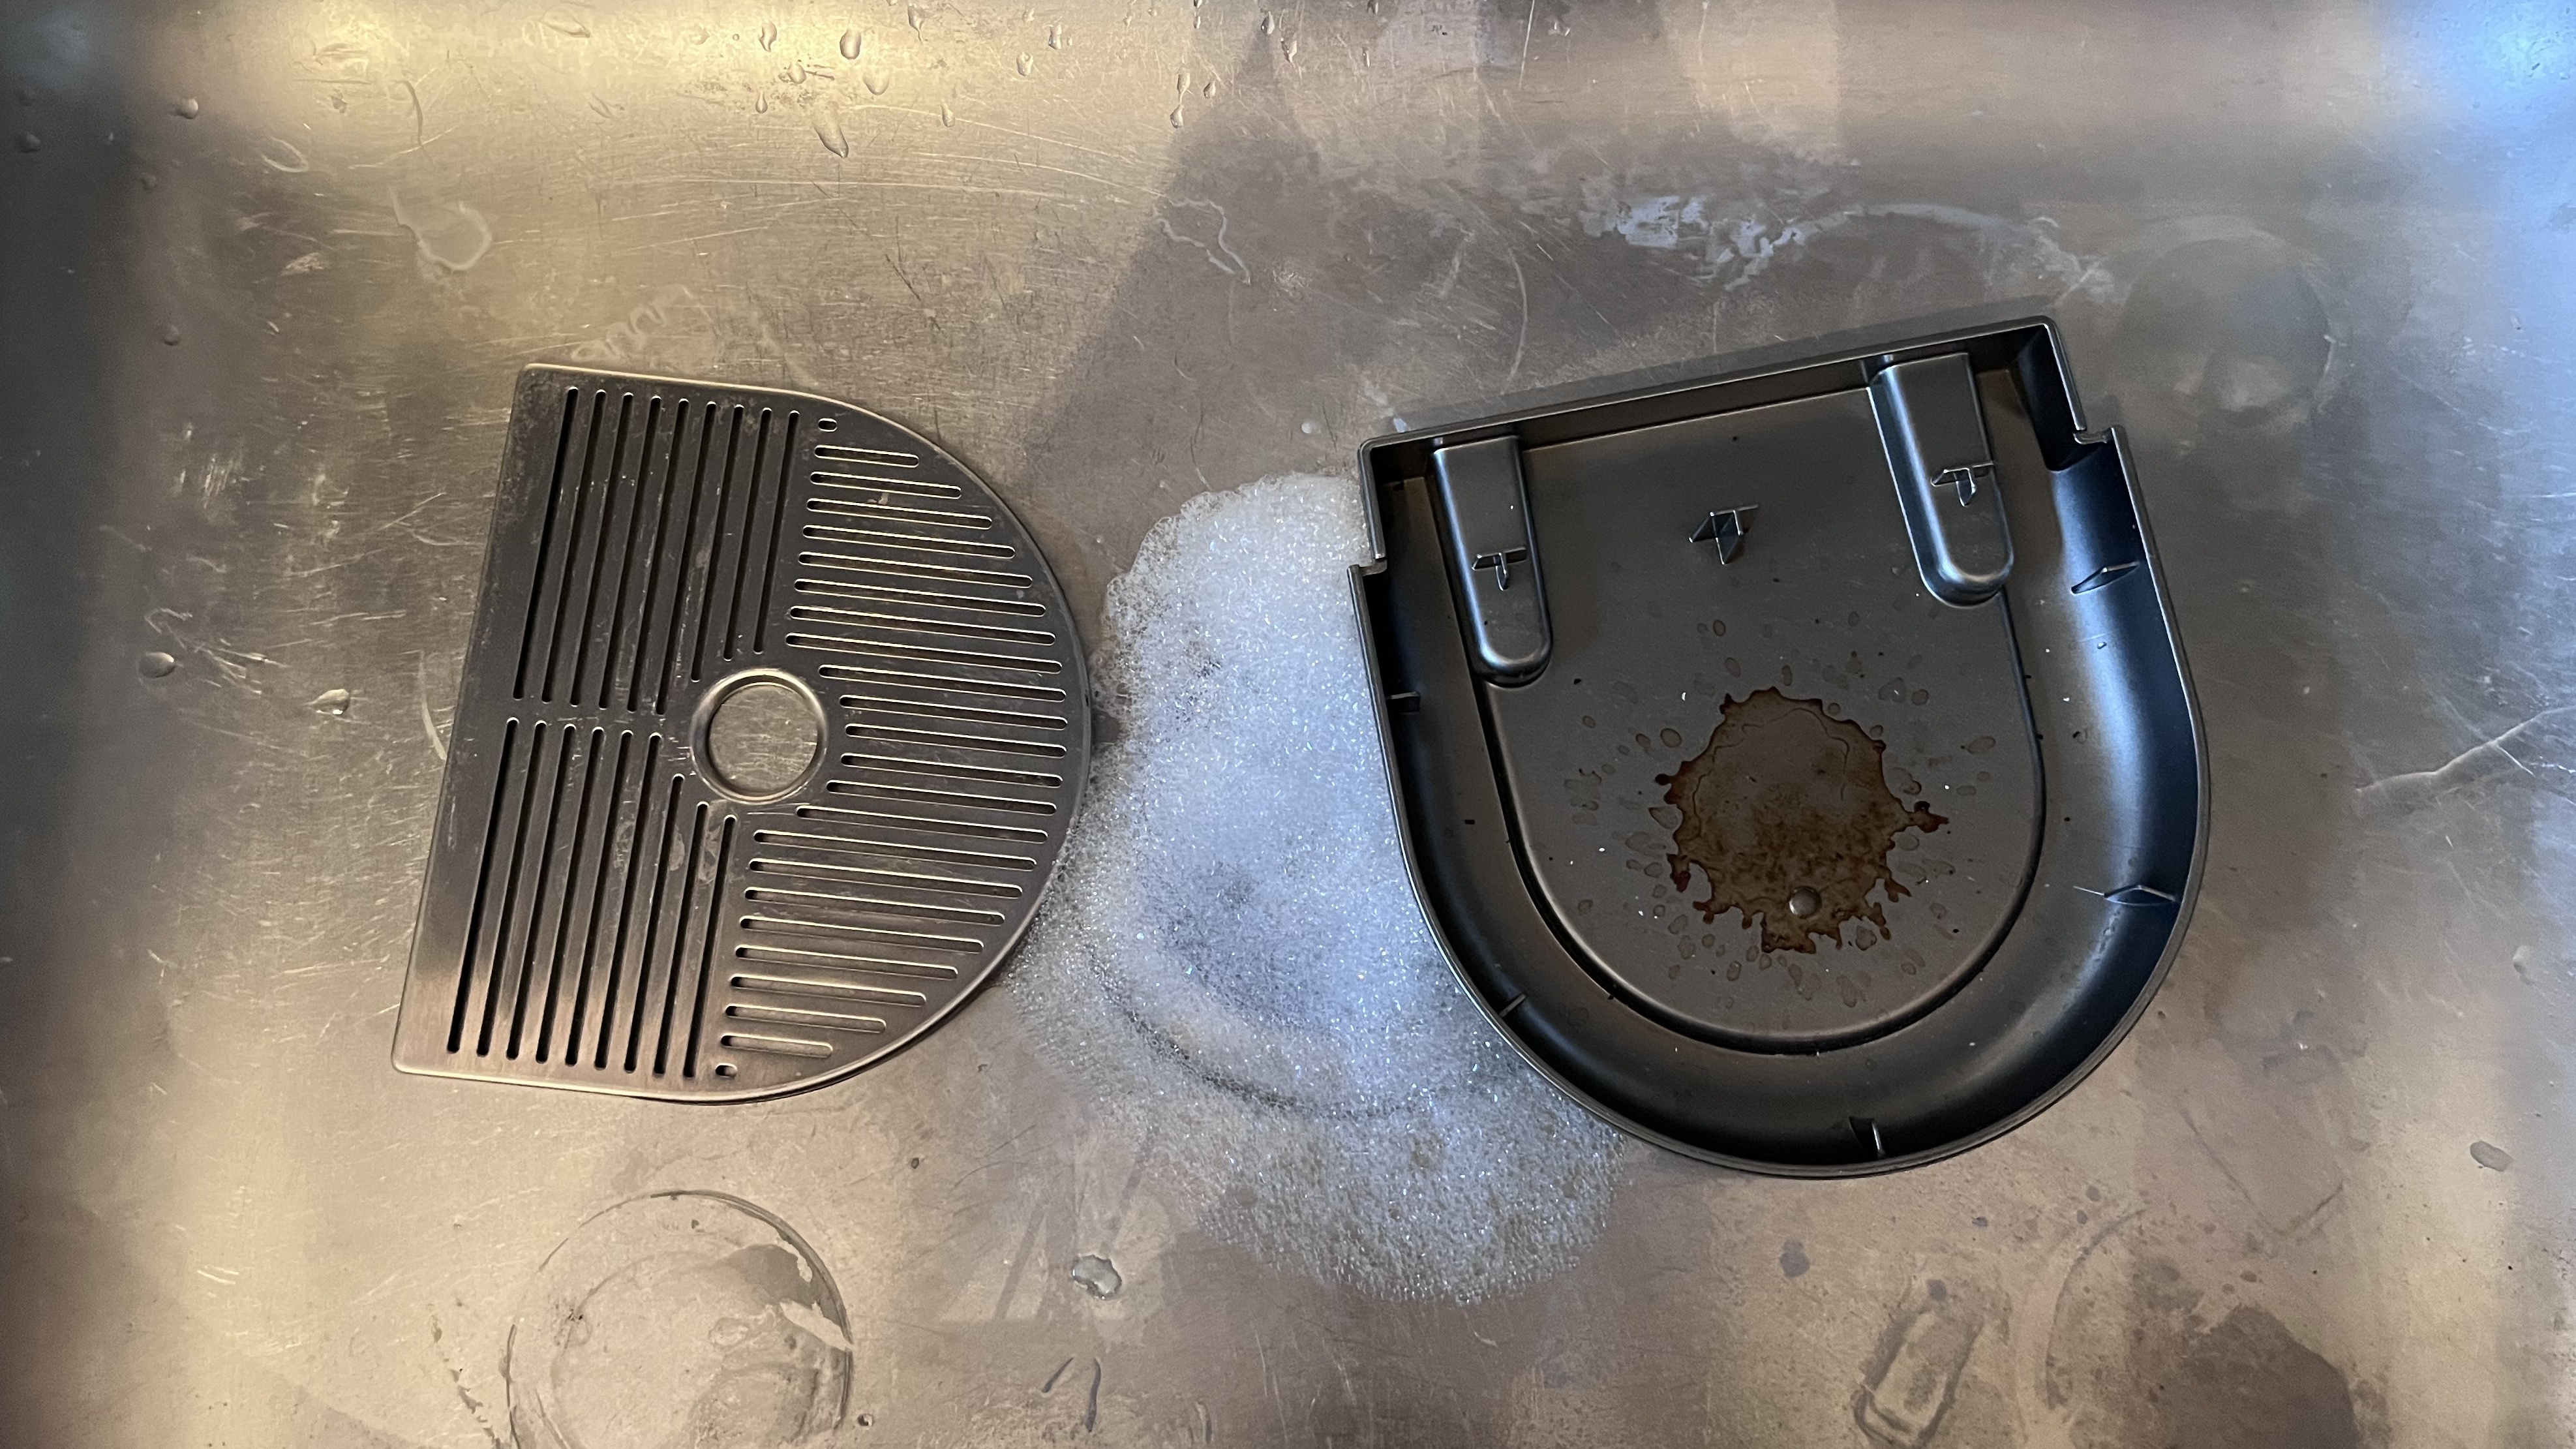
If you have a single-serve Keurig, you can easily remove the water reservoirs and drip trays from the brewer and hand wash them with a sponge and dish soap.
If you have a K-Duo brewer, a Keurig that uses both K-Cup pods and ground coffee, you can remove the carafe and coffee ground basket and wash those too. Keurig recommends washing these removable parts daily to prevent bacteria buildup.
4. Wash the PHA
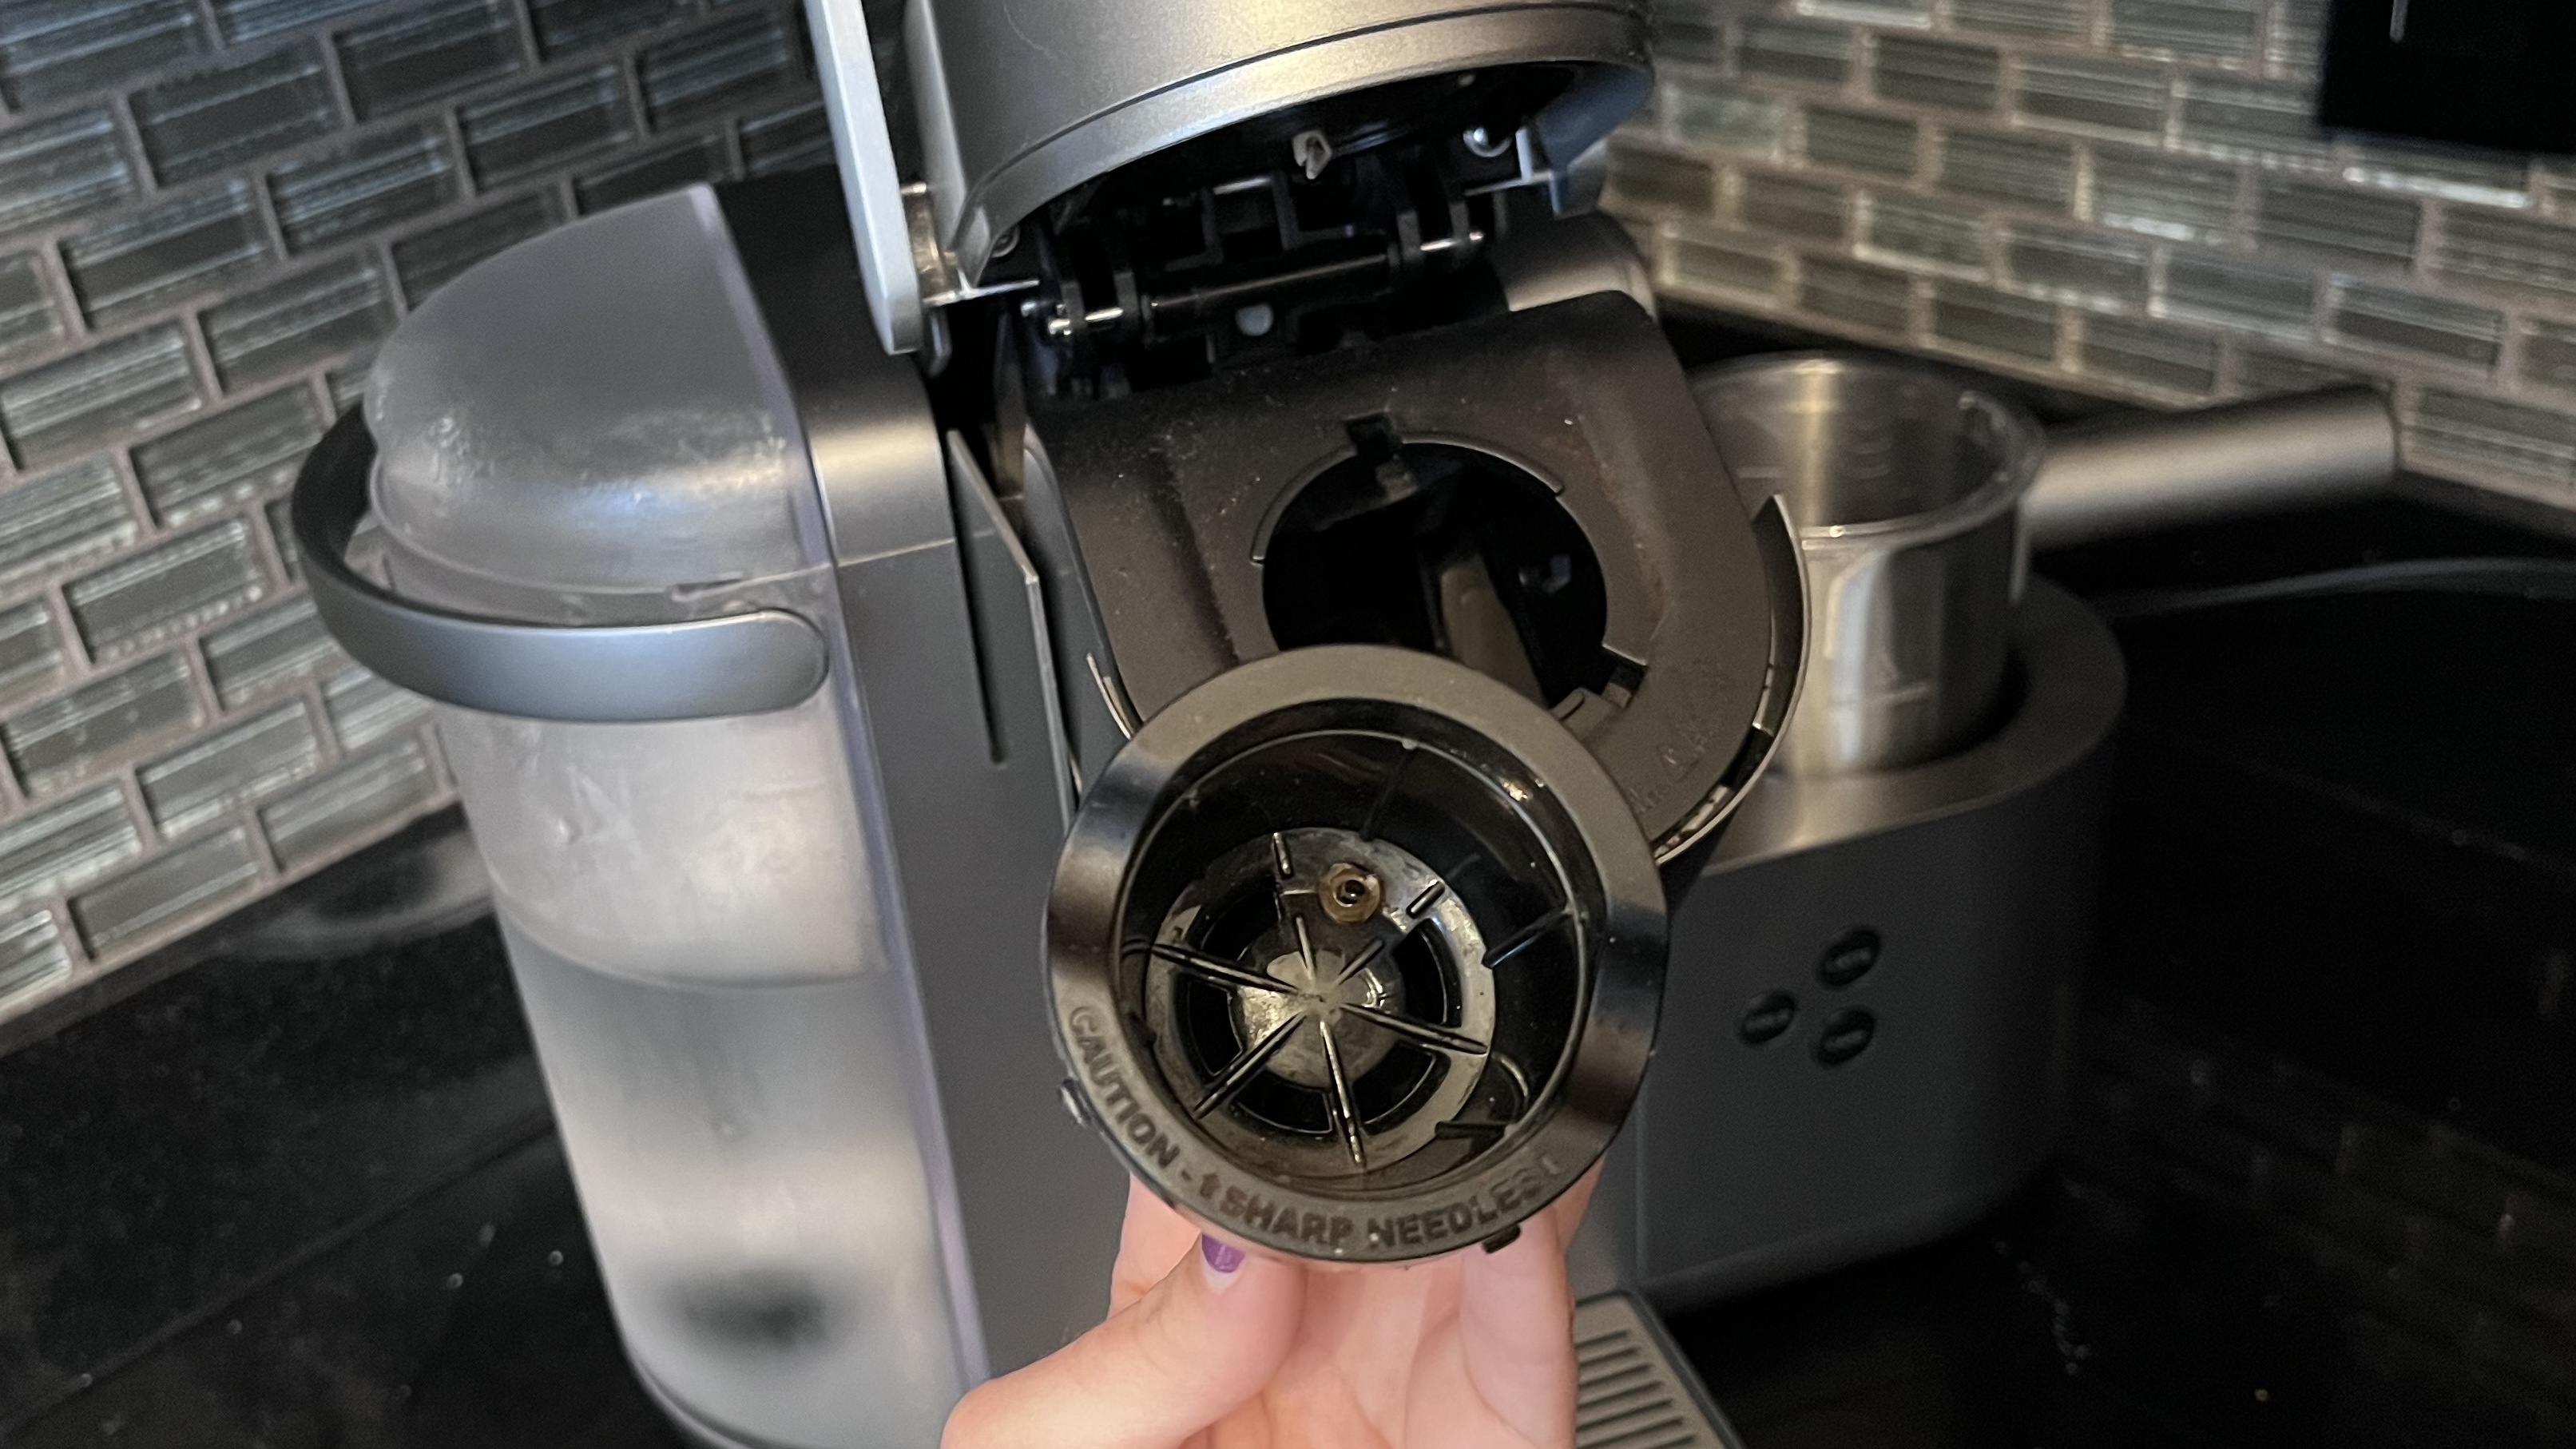
K-pods are inserted for brewing in the Pod Holder Assembly (PHA) and it should be cleaned weekly. To remove the PHA from the Keurig, you can either pull it out by the rim or push it out from the spout end by inserting a finger into the hole located at the bottom.
The PHA is then split apart into the pod holder and funnel and both parts can be washed with dish soap and water. Using the end of a paper clip, insert it into the pod holder and wiggle it around to remove coffee grounds too.
5. Clean Keurig needle
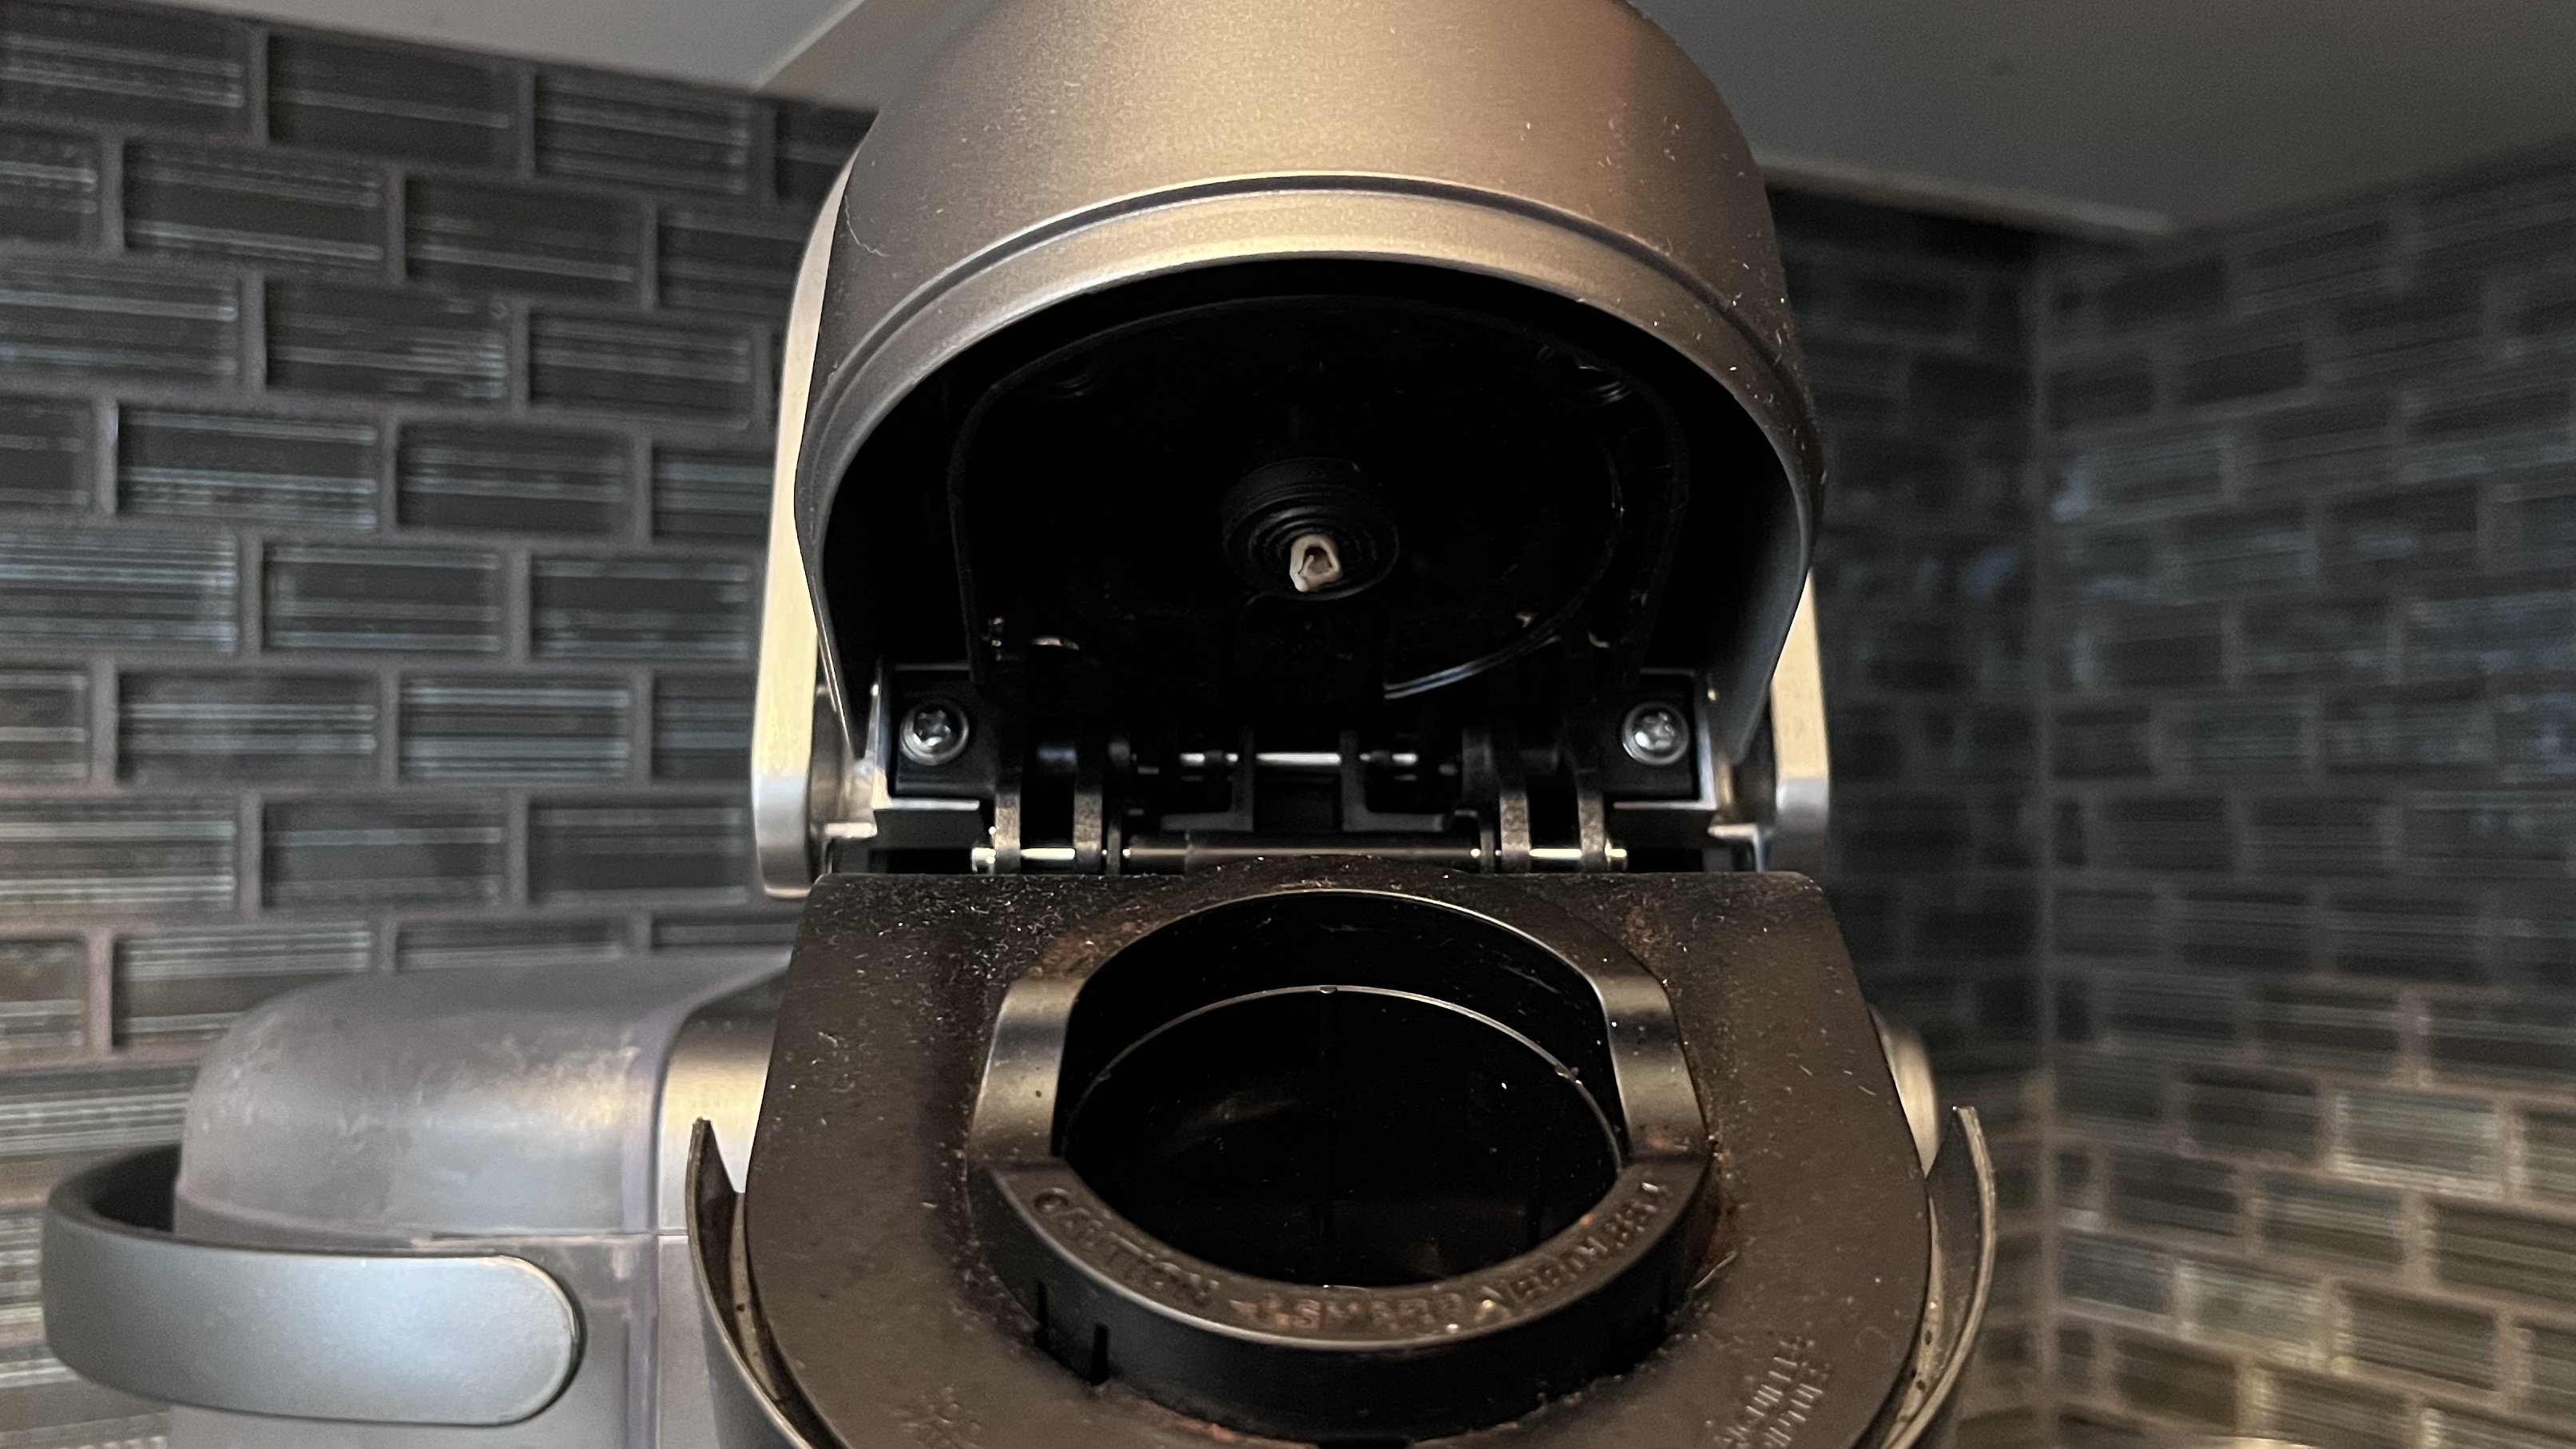
The Keurig needle punctures the K-Cup pod to begin the brewing process and will sometimes be blocked by coffee grounds, leading to an inconsistent brew.
To clean the needle, lift the brewer handle and the needle will be located under the brewer head. This is where the paper clip comes in handy too: gently insert the paper clip into the holes at the base of the needle and move it around to loosen coffee grounds.
6. Descale the Keurig
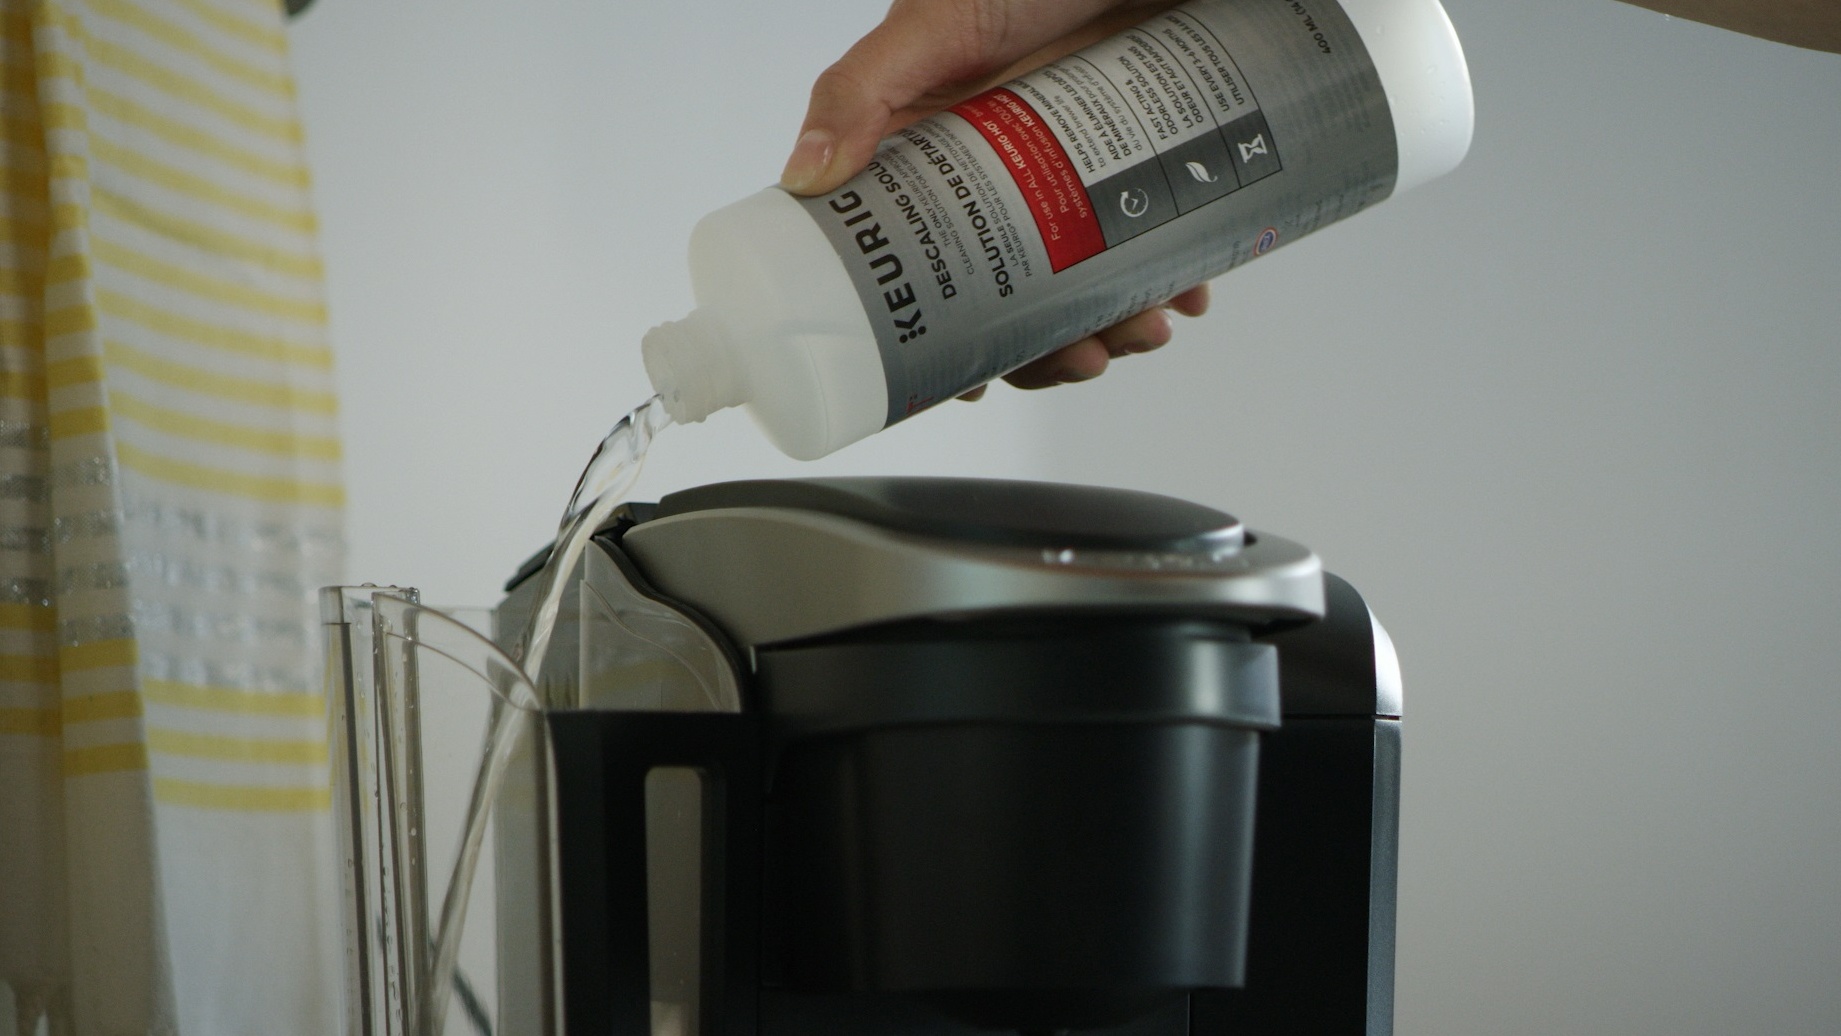
Descaling your Keurig is a step that helps combat the build-up of calcium deposits that will prevent your brewer from functioning at full capacity. Keurig recommends descaling your machine every three months using the brand’s Keurig® Descaling Solution. You can also grab the Keurig 3-Month Brewer Care Kit with descaling solution, water filter cartridges and rinse pods at Amazon.
To get started, pour the Descaling Solution into the empty water reservoir and fill the descaling solution bottle with water, which you then pour into the water reservoir. You are looking for equal parts solution and water. Make sure to place a large mug onto the drip tray to collect the solution before activating Descaling Mode on your brewer.
Descaling Mode is activated by plugging in your brewer and, from a powered-off state, press and hold both the 8oz and 12oz buttons together for three seconds followed by the brew button once the light starts to flash. You are going to keep cycling water until the water tank is empty.
But descaling doesn't end there! Fill the water reservoir till the fill line with fresh water and press the brew button again, cycling water until the descale notification turns off. Depending on the model, the descaling instructions may vary slightly so we recommend you visit the Keurig website to check the process your model requires.
7. Replace water filter cartridge (if applicable)
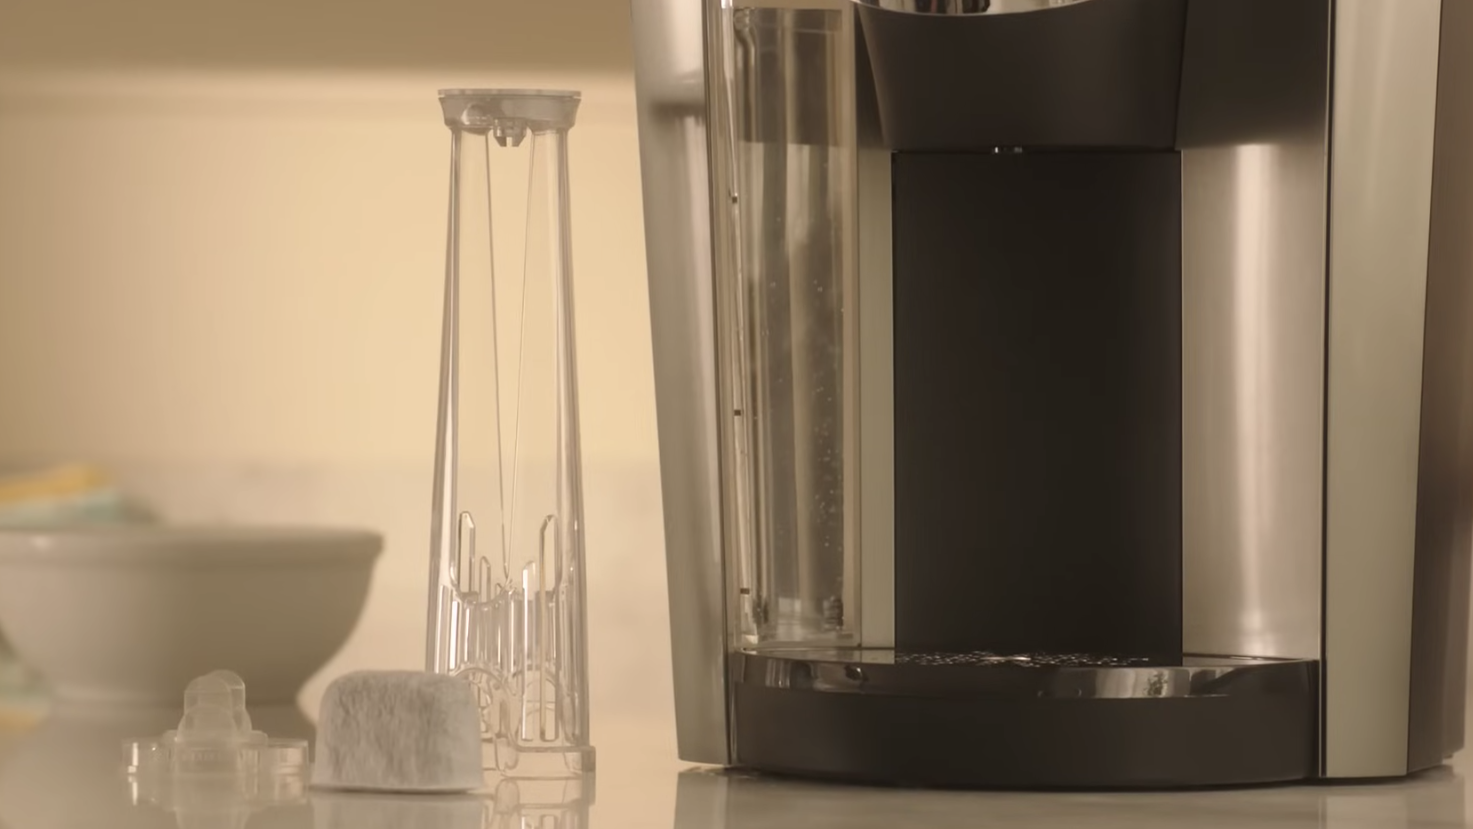
Some Keurigs have a water filter that is located inside the water reservoir. The water filter has three parts: the upper filter holder, the lower filter holder and the water filter cartridge. Additional water filter cartridges can be purchased online.
To replace the water filter cartridge you pull apart the upper and lower filter holders to remove the old cartridge. Then you soak a new cartridge in fresh water for five minutes and then rinse under running water for one minute. You can then place the new cartridge inside the upper and lower filter holders, snap them together and then insert the whole water filter into the water reservoir.
How to clean a Keurig: FAQs
How often do you need to clean a Keurig?
How often you must clean your Keurig depends on the task and what part of the brewer you are maintaining. There are a set of tasks that should be completed daily, such as removing K-Cups pods, wiping down the Keurig and washing the water reservoir and drip trays. Tasks such as cleaning the Pod Holder Assembly (PHA) and needle should be done weekly, while descaling and replacing the water filter can be done every three months.
What happens if you don't clean your Keurig?
If you don’t clean your Keurig you may be exposing yourself to bacteria that can thrive on the outside and inside of your brewer. Not only is your health being compromised if you don’t clean your Keurig, but the quality of your brew may suffer over time as coffee residue and mineral deposits obstruct the flow of water through the machine, leading to uneven extraction and subpar tasting coffee.
How do I know if my Keurig needs to be cleaned?
Your Keurig should be maintained in different ways daily, weekly and every three months to prevent issues with the performance of the brewer but also to ensure the safety and quality of each cup of coffee. On the outside of the Keurig, you will be able to see the building up of residue with your own eyes but it’s not as easy to see the build-up on the inside of the machine. As your machine deteriorates as a result of poor cleaning and maintenance, you will start to experience issues with your machine. Your best bet is to prevent the problems before they happen.
Final thoughts
Making sure your Keurig is clean not only prevents the spread of bacteria but also makes sure you can get as many great cups of coffee from your Keurig as possible. If you want to be able to use your Keurig for a long time, you must consider cleaning not only what you can see but also what you can’t.
Cleaning your Keurig is easy and if you get into the habit of cleaning its different parts, maintaining your favorite brewer will become second nature.
