Soft, damp cotton cloth or sponge
Gentle detergent
Soft toothbrush or pastry brush
Baking soda
Distilled white vinegar (optional)
Microfiber cloth
Newspaper or kitchen paper (optional)
A clean toaster isn’t just about looking good—it’s essential for safety and performance. Over time, crumbs, grease, and even insects (yuck) can build up, causing uneven toasting, unpleasant smells, or a fire risk.
Thankfully, keeping your toaster in good shape is quick and easy with just a few simple steps. Here's everything you need to know to get your toaster spotless.
Plus, we enlist the help of a cleaning expert to give us some insider tips on maintaining your toaster so it runs like new!
How to clean a toaster: quick steps
- Unplug your toaster before cleaning
- Pop your toaster on some kitchen paper or newspaper
- Find the crumb tray and empty it
- Gently shake your toaster free of crumbs
- Clean the exterior of your toaster
- Reassemble the toaster and plug it back in
How to clean a toaster: Step-by-step guide
1. Unplug your toaster before cleaning
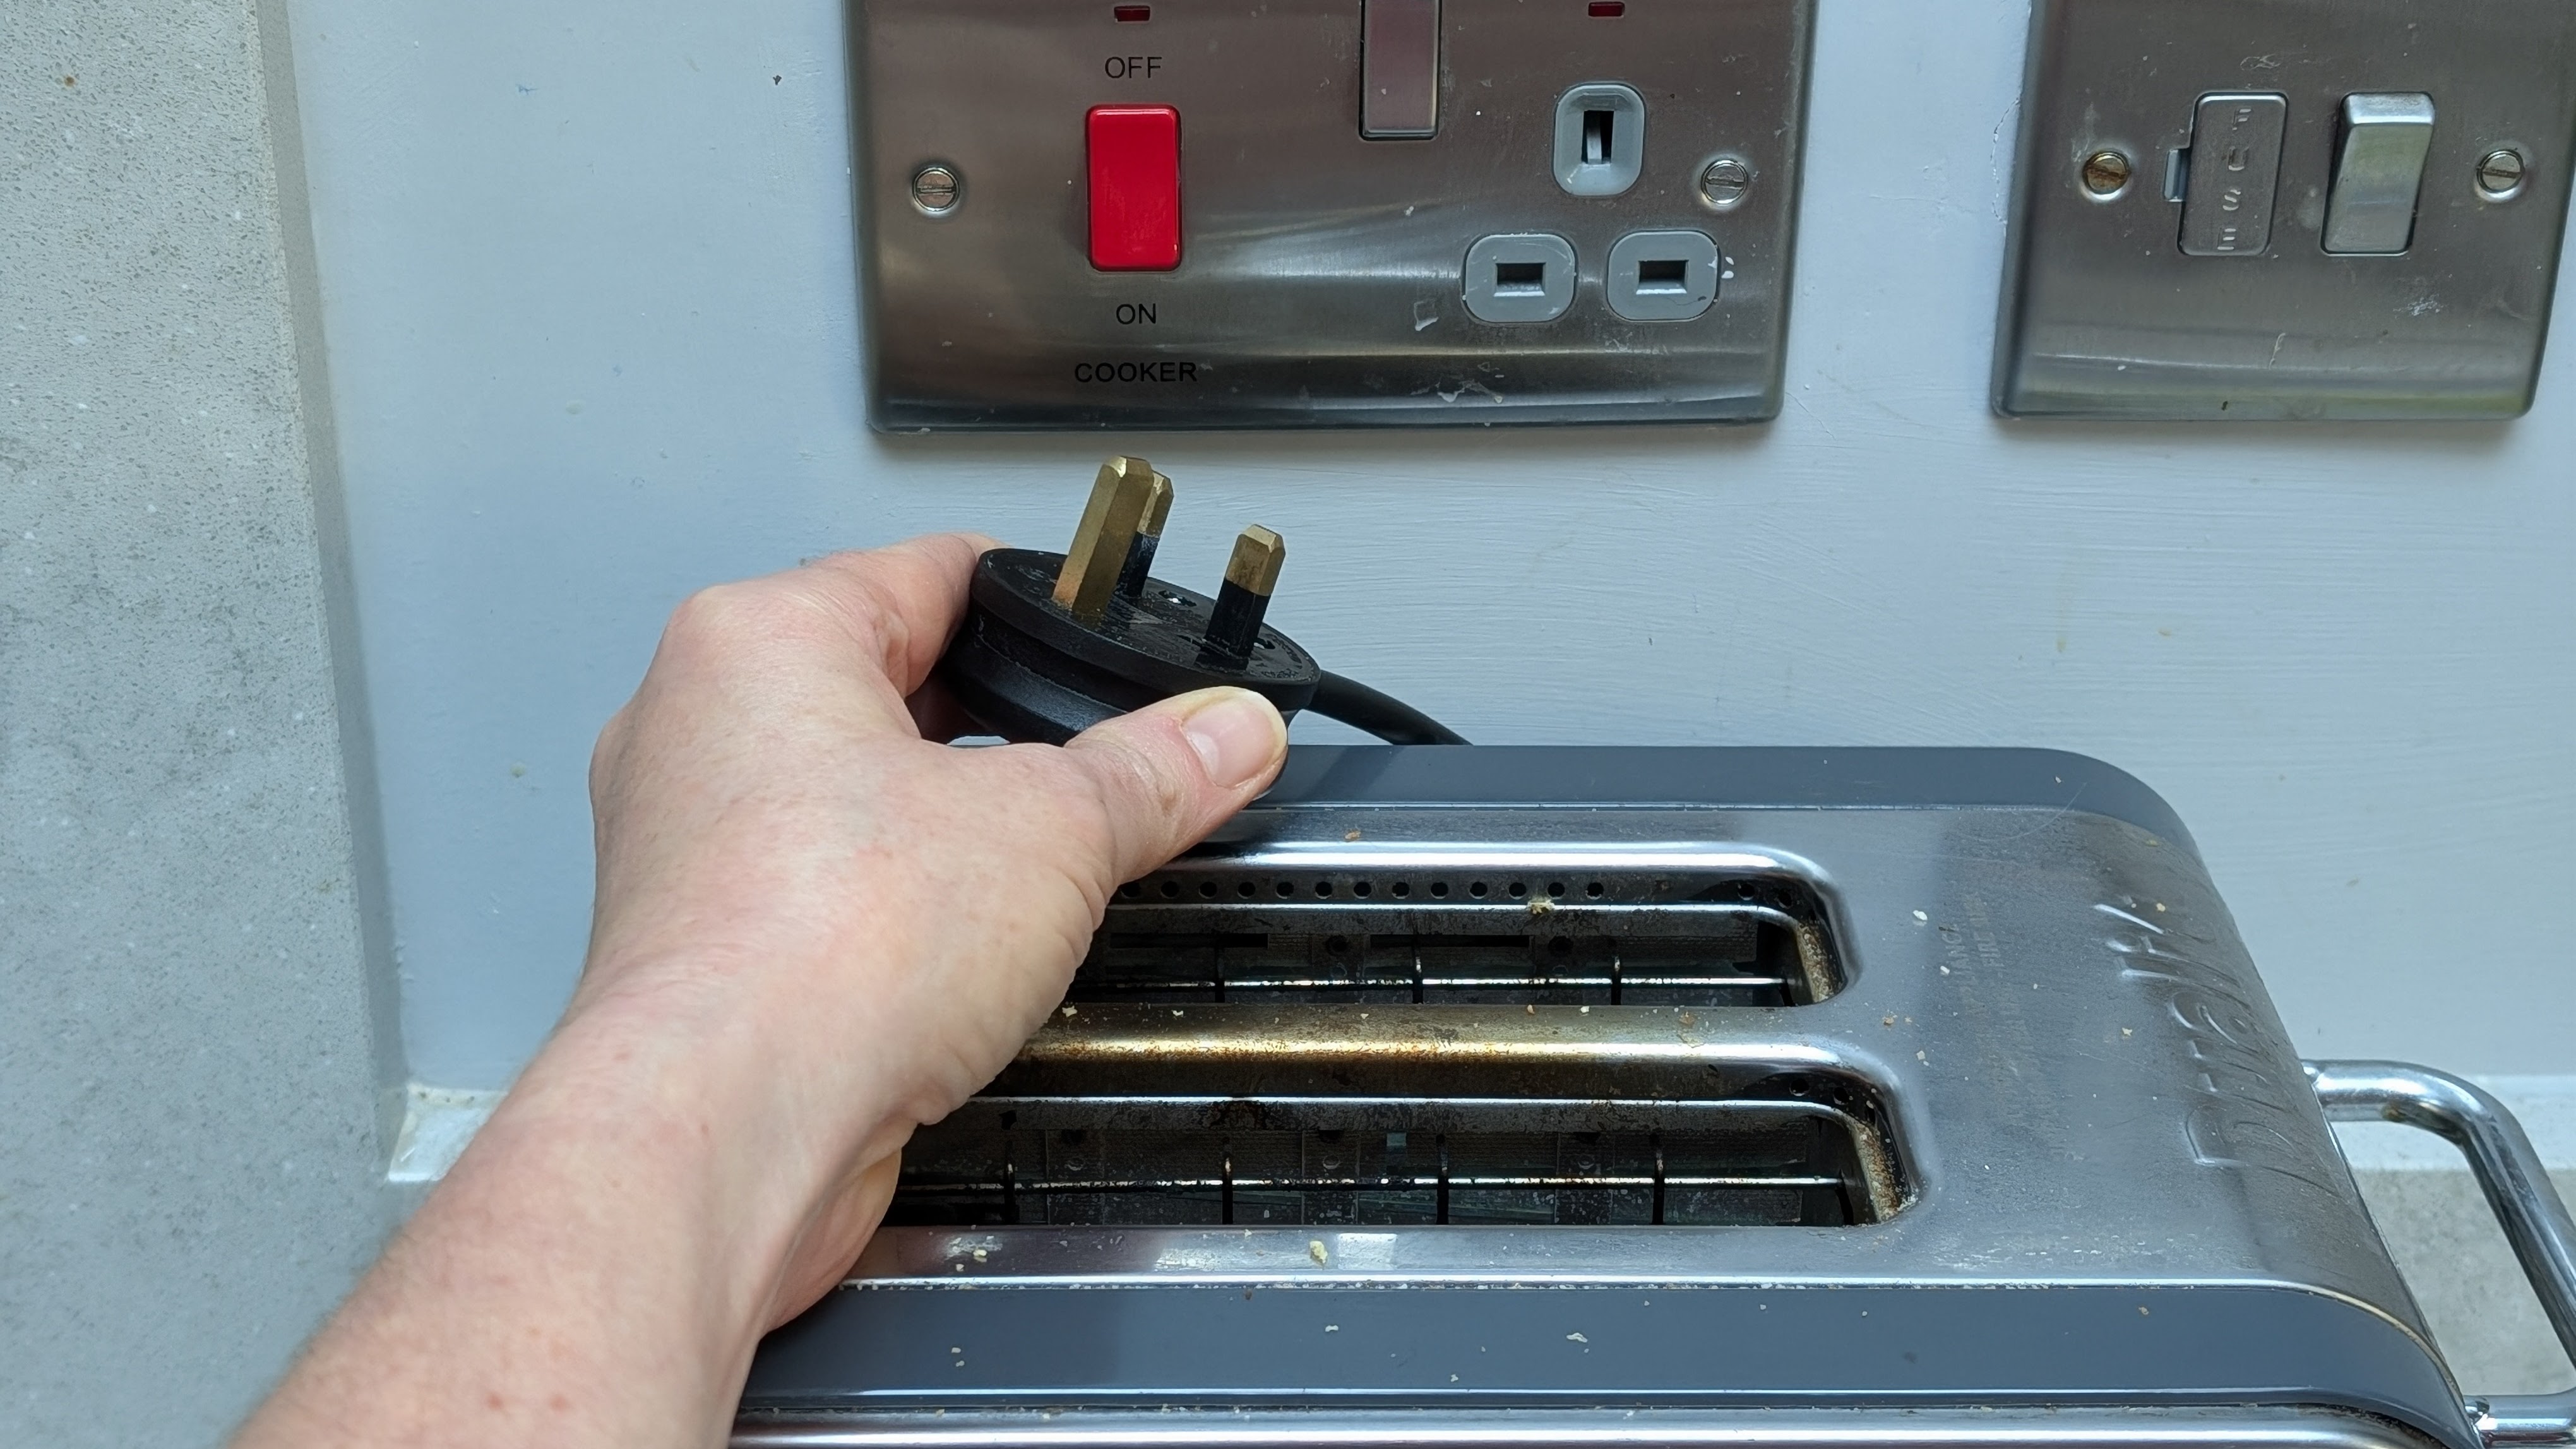
Before you do anything, it’s crucial to unplug your toaster before cleaning it. If you’ve been using it in the last 30 minutes or so, you’ll also need to let it cool down.
Unplugging your toaster is vital. Toasters conduct electricity to toast your food. Introducing your fingers or other items into the toaster can create a risk of accidental contact with live components, which could cause an electric shock. Plus, you could short-circuit your toaster and potentially start a fire. If it’s hot from recent use, let it cool down completely before you start to avoid any nasty burns.
2. Pop your toaster on some kitchen paper or newspaper
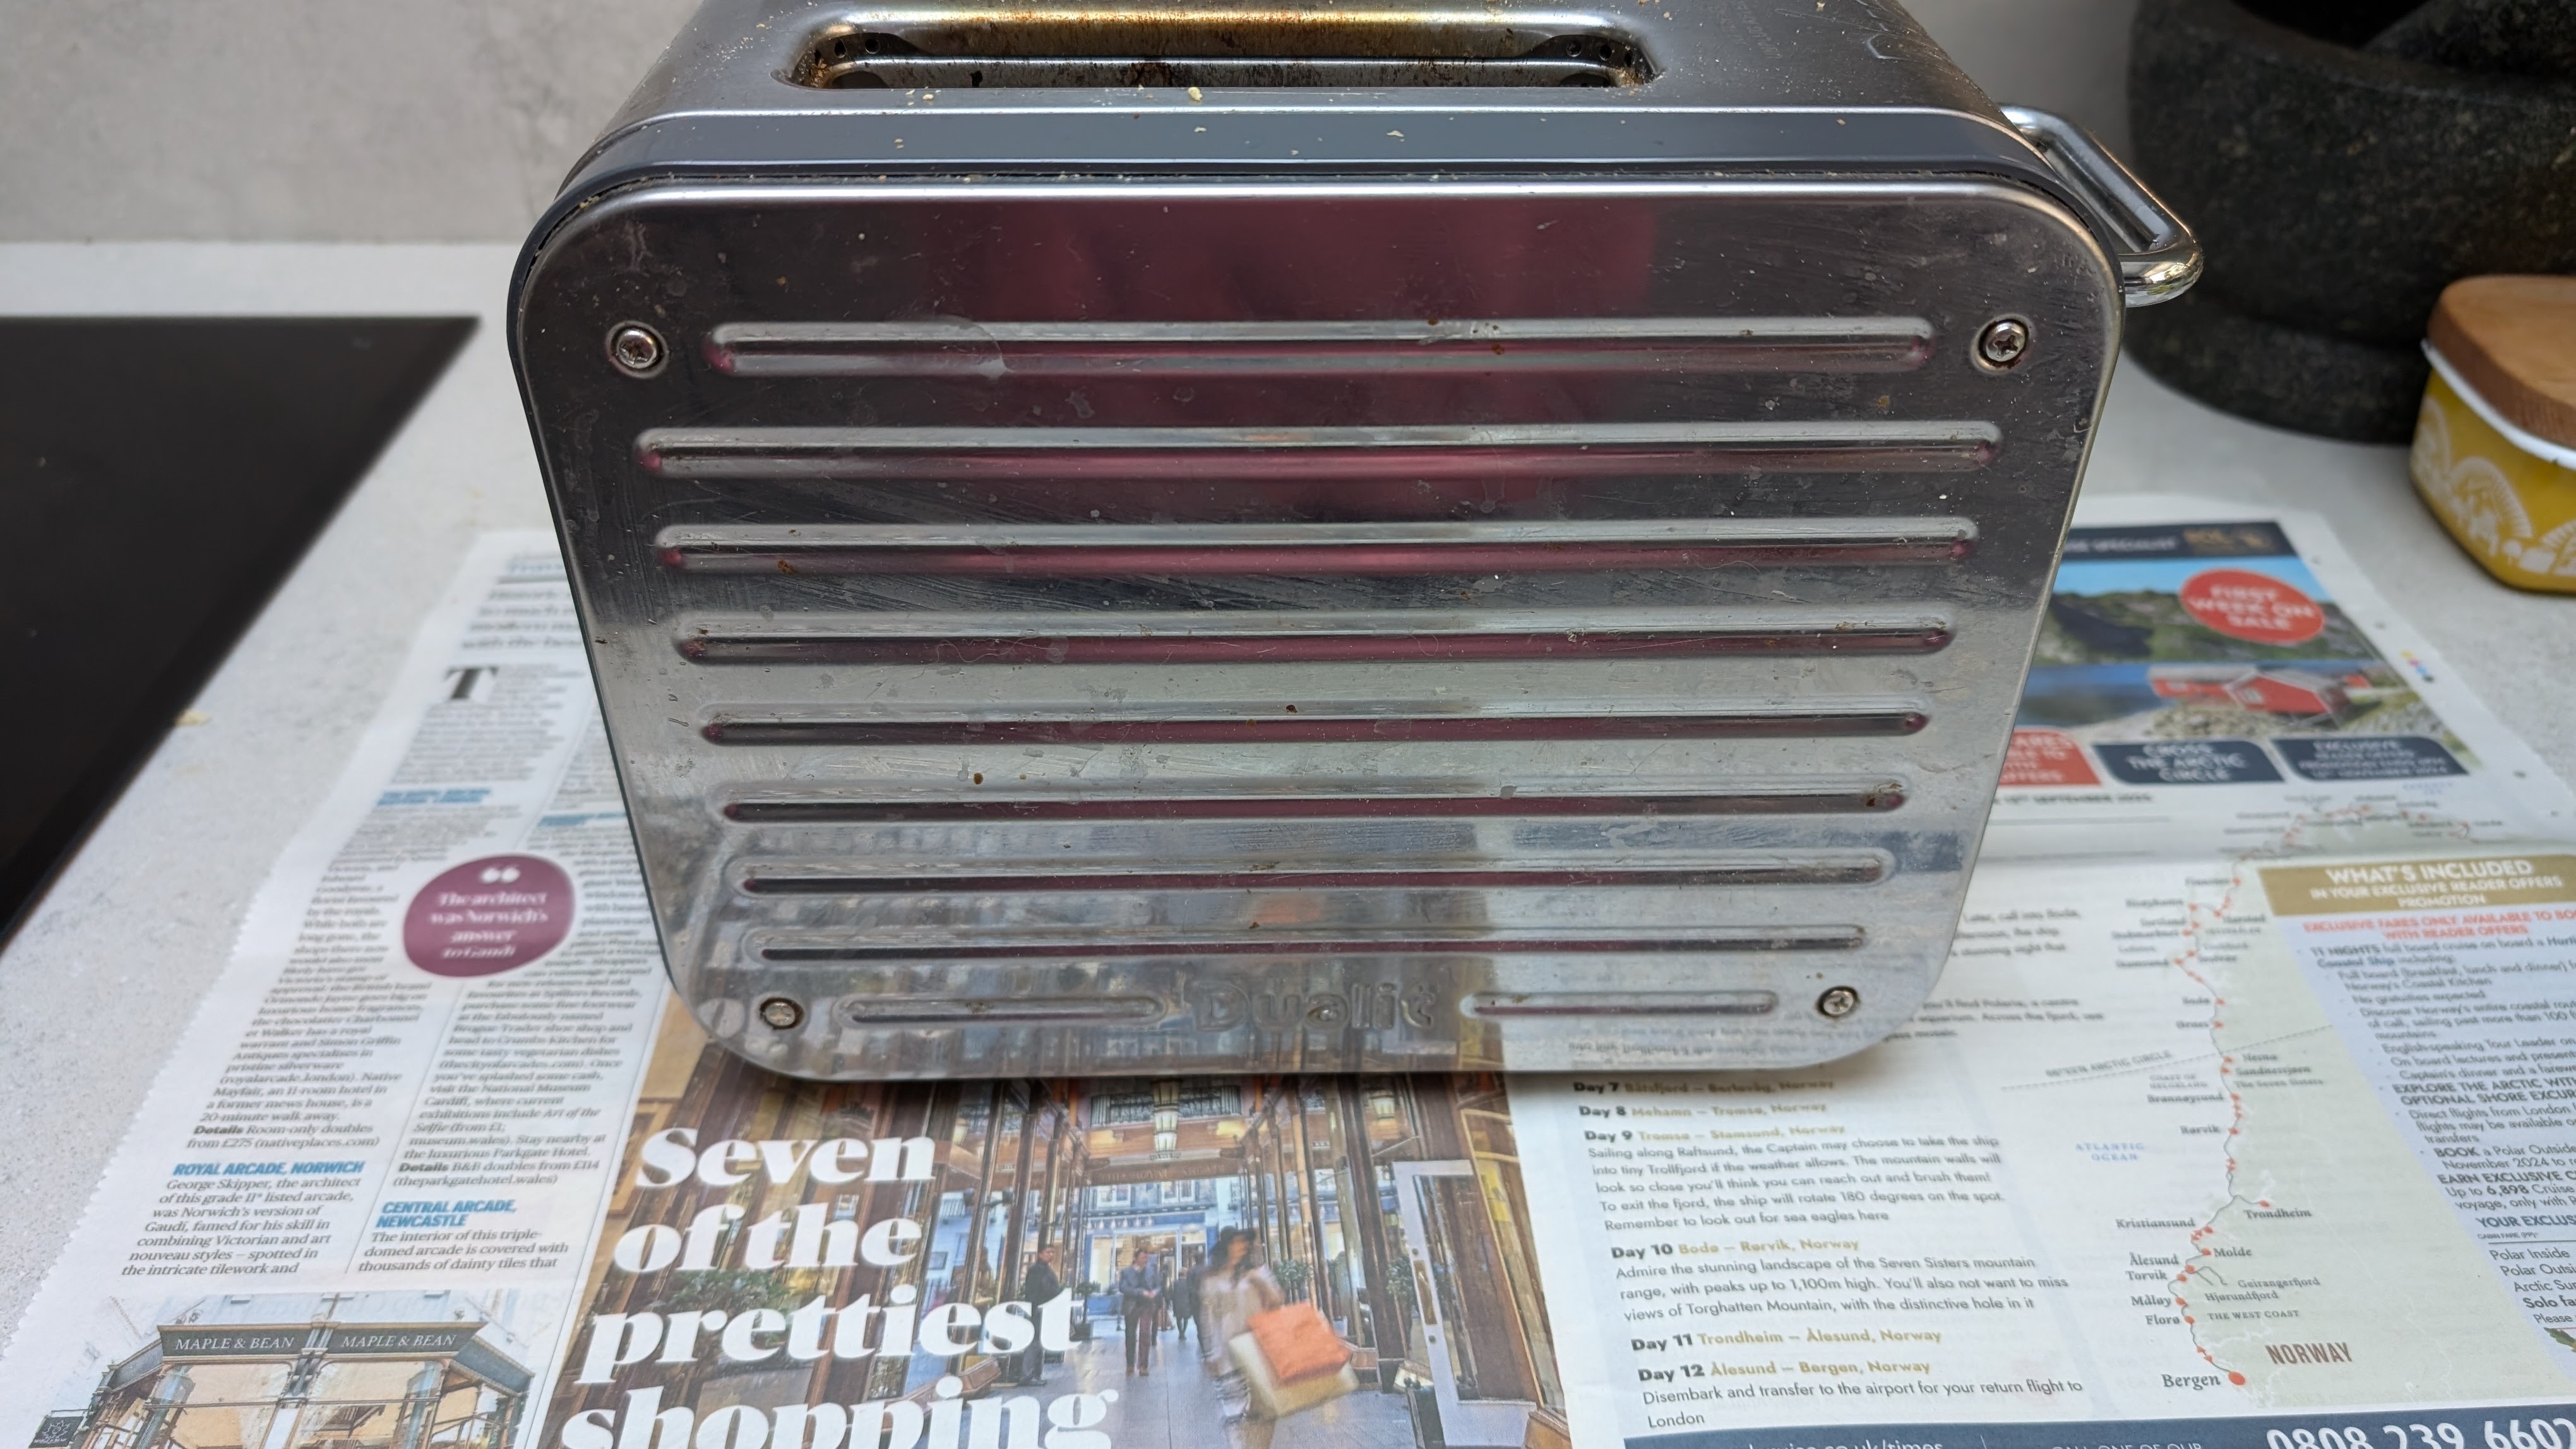
This extra step means you can gather all the crumbs that drop from your toaster in one place instead of all over your worktop. When finished, simply scrunch up the paper and throw it into the trash. No need to get the vacuum out or wipe down the worktop
3. Find the crumb tray and empty it
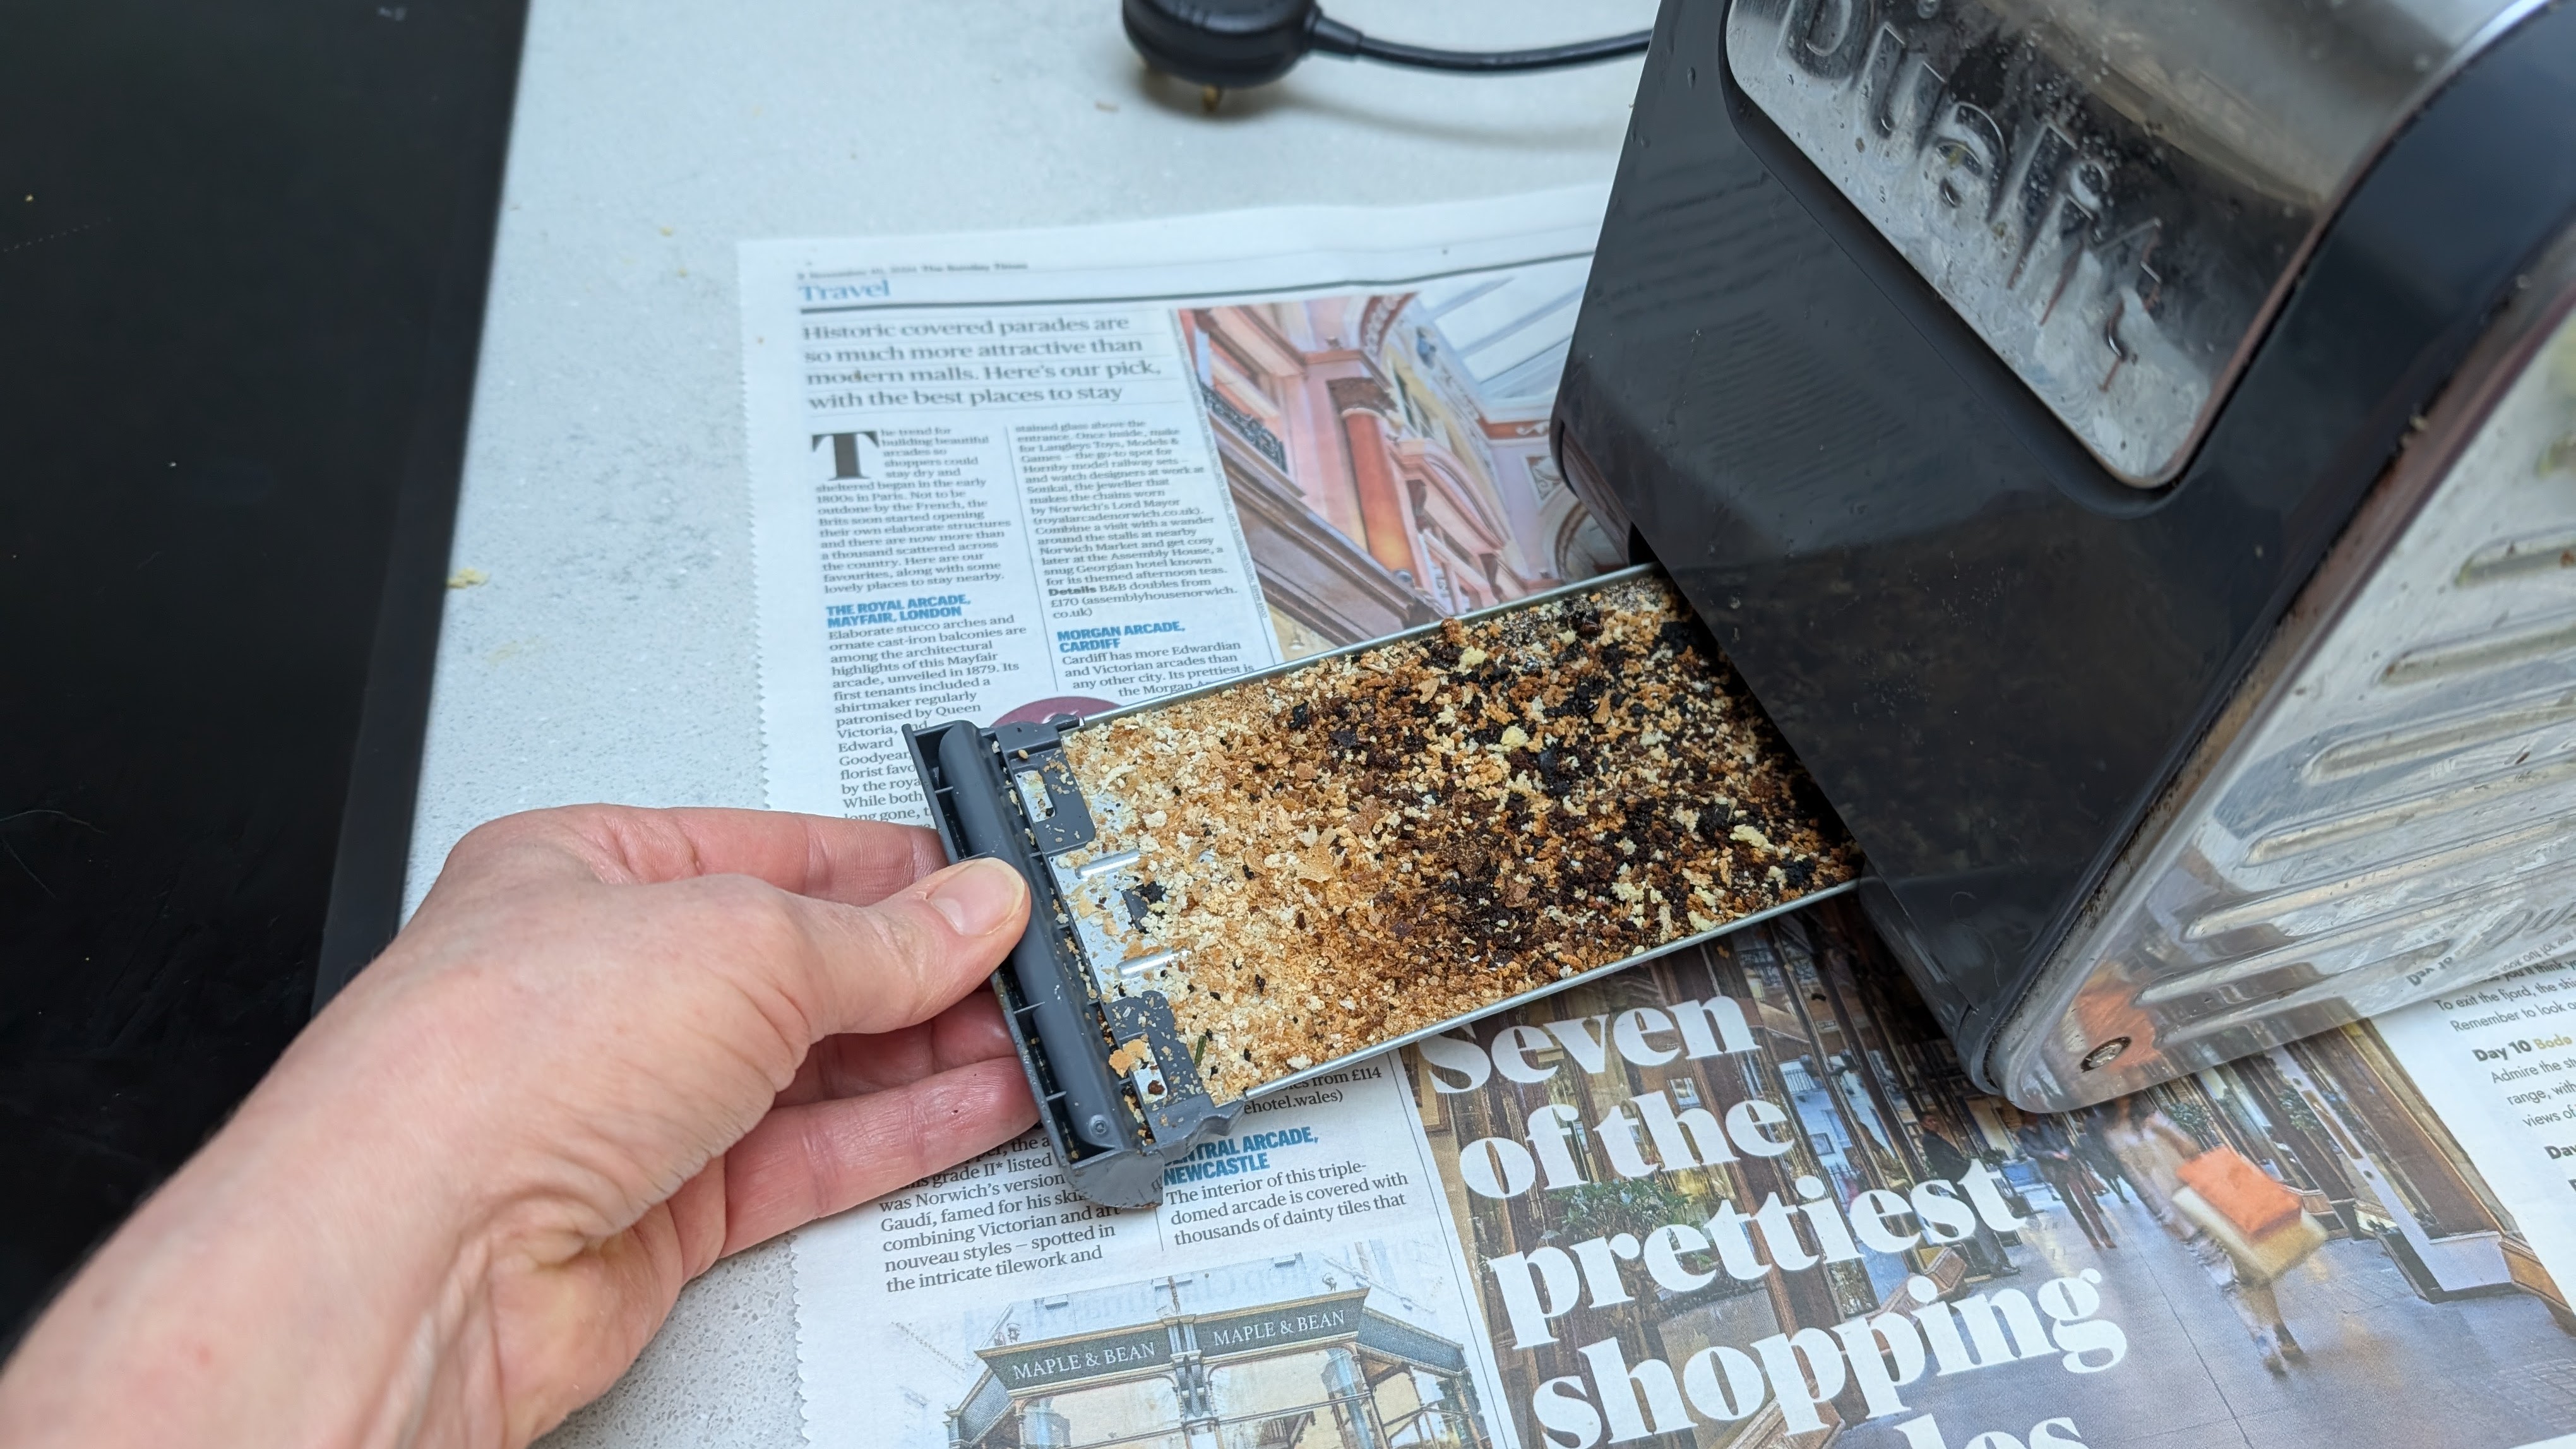
If you’ve known about crumb trays since the first time you used a toaster, congratulations! Many of us haven’t a clue about this handy little tray that collects all the crumbs and burnt bits that fall from the interior. In some households, it never gets emptied, which can spell problems.
An unemptied crumb tray can cause smoking and uneven toasting, and if the crumbs catch light, they can be a fire hazard. The crumbs can also attract uninvited guests, such as cockroaches, mice, and rats.
Crumb trays are almost always located at the bottom of the toaster. If you have a 4-slice toaster, you may even have two trays. Slide out the tray and empty the crumbs into the trash, then wash the tray with some gentle detergent, dry thoroughly, and set aside for later.
4. Gently shake your toaster free of crumbs
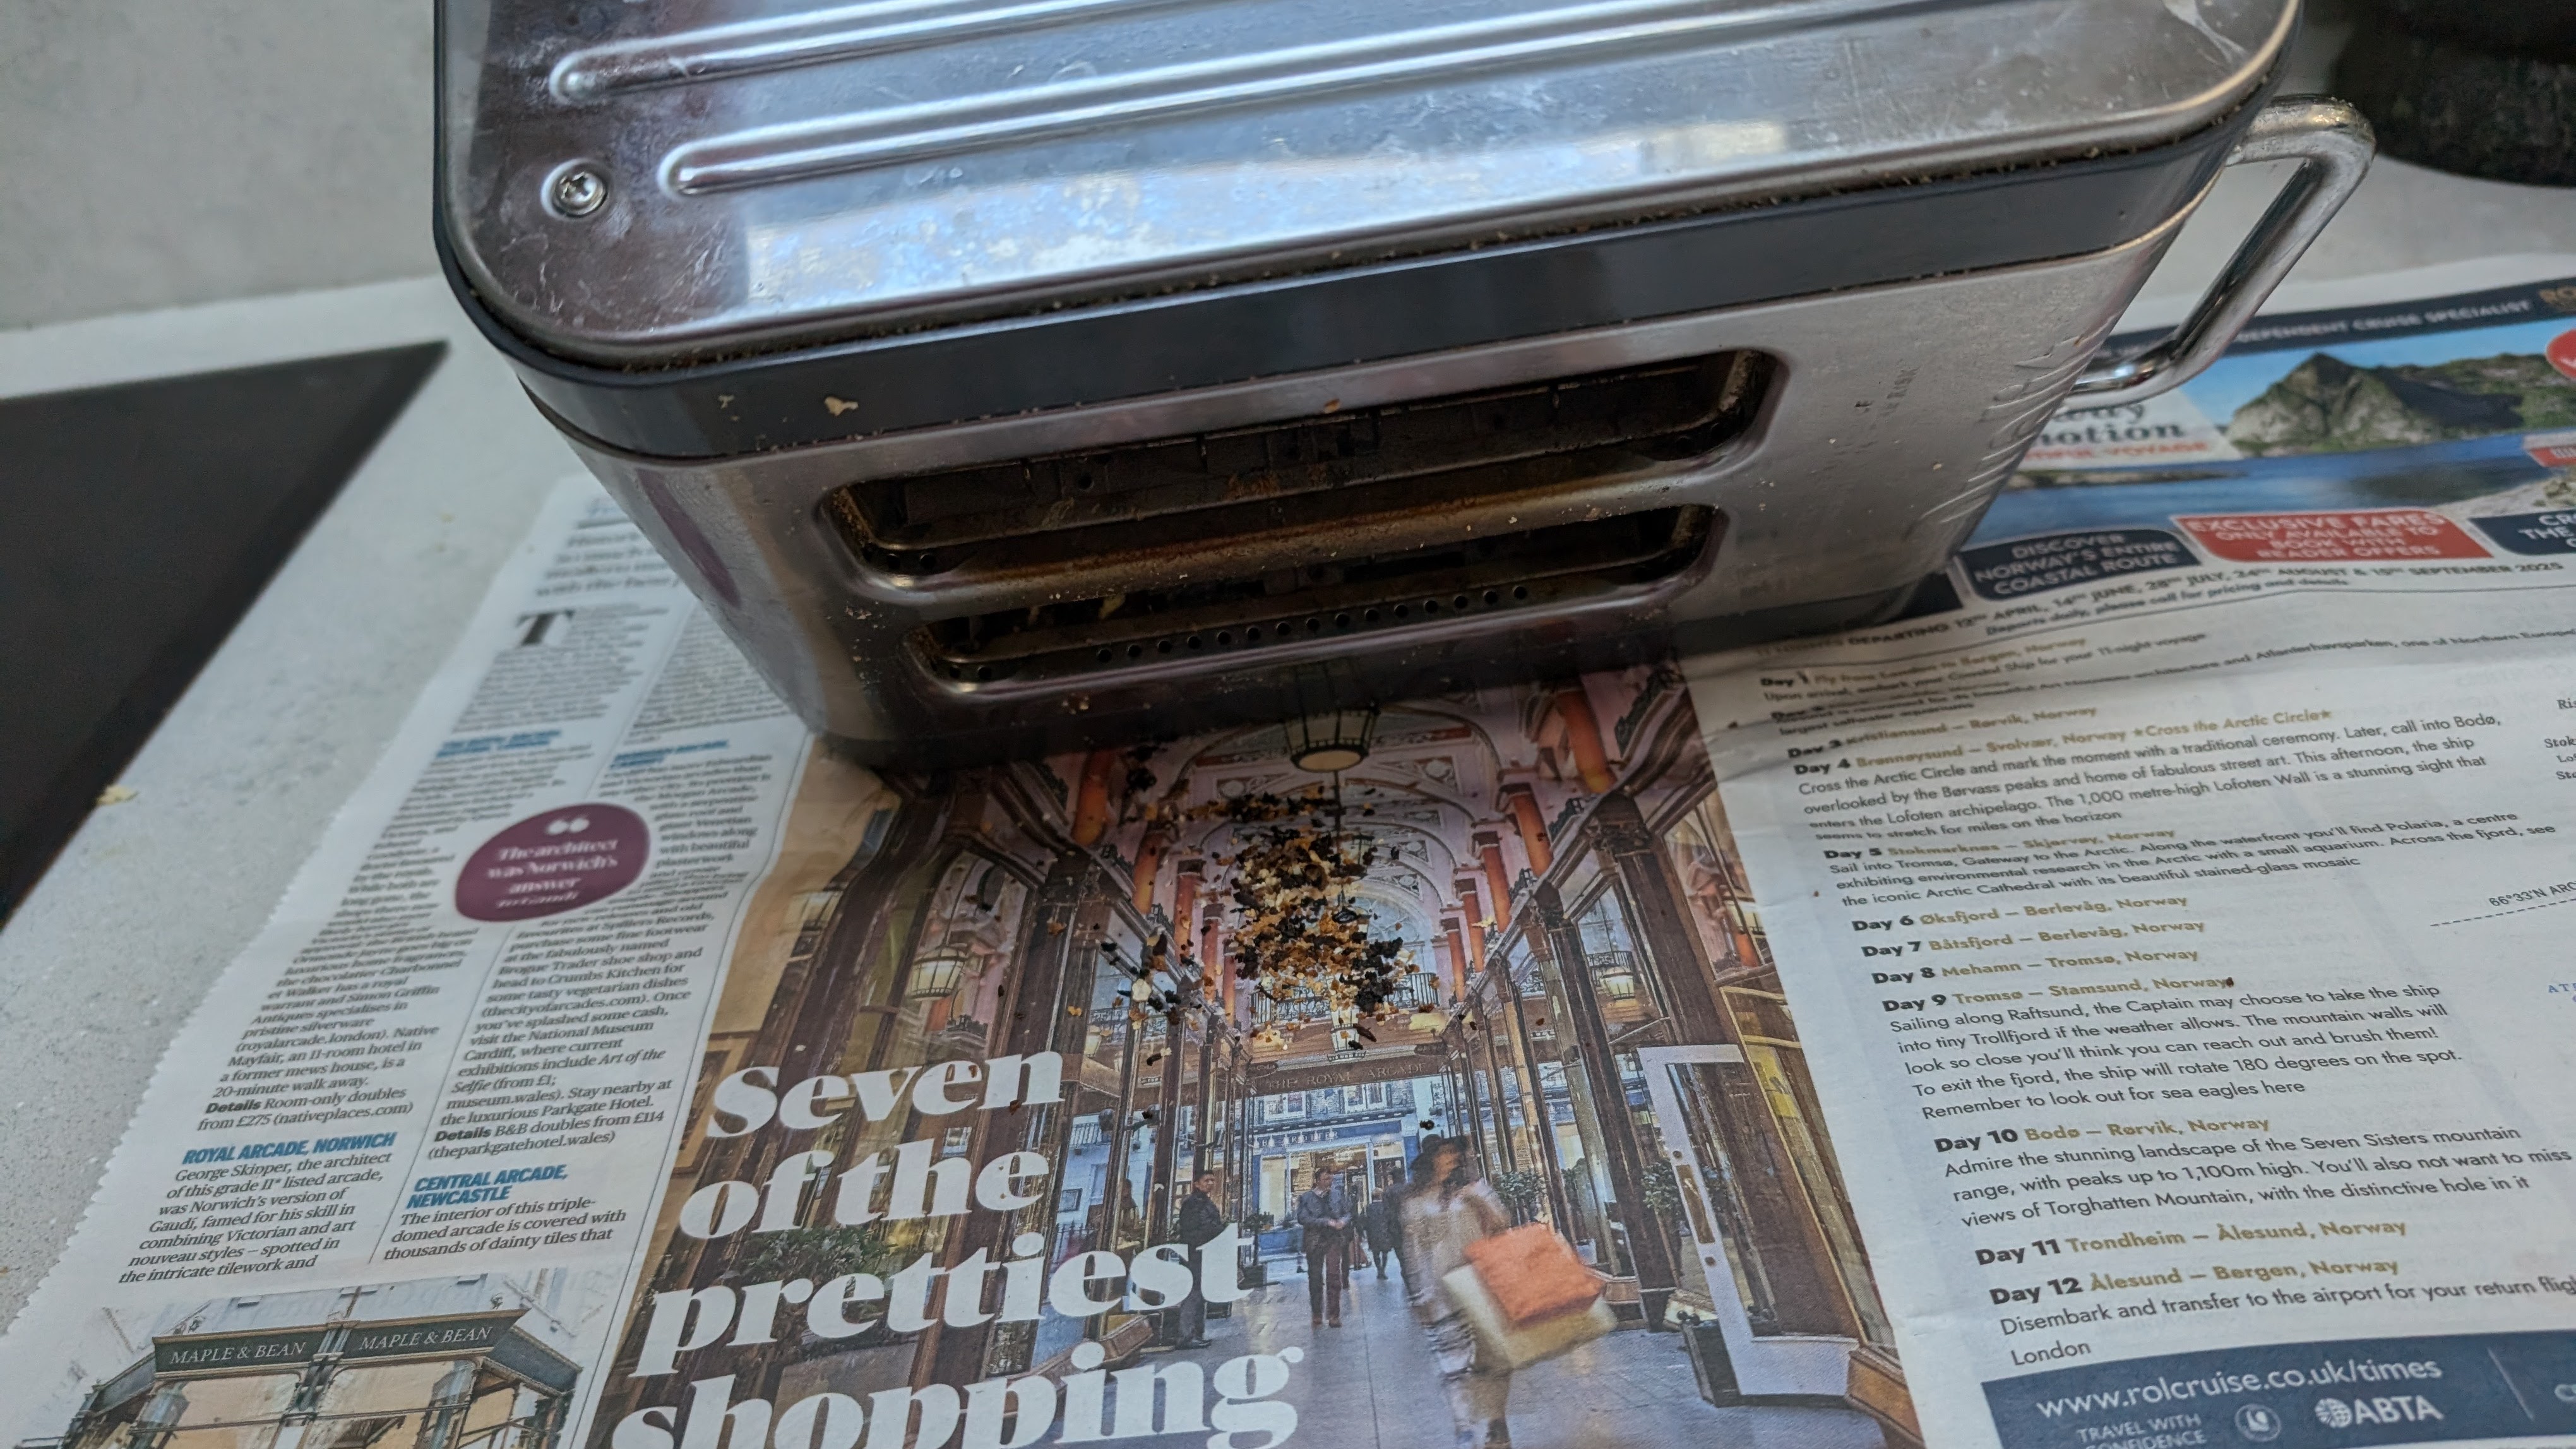
Holding your toaster upside down over a trash can or the newspaper you lay down, gently shake it until all the loose crumbs have fallen from the interior.
Don’t bash or bang it to loosen any stuck-on crumbs - you could damage the toaster components.
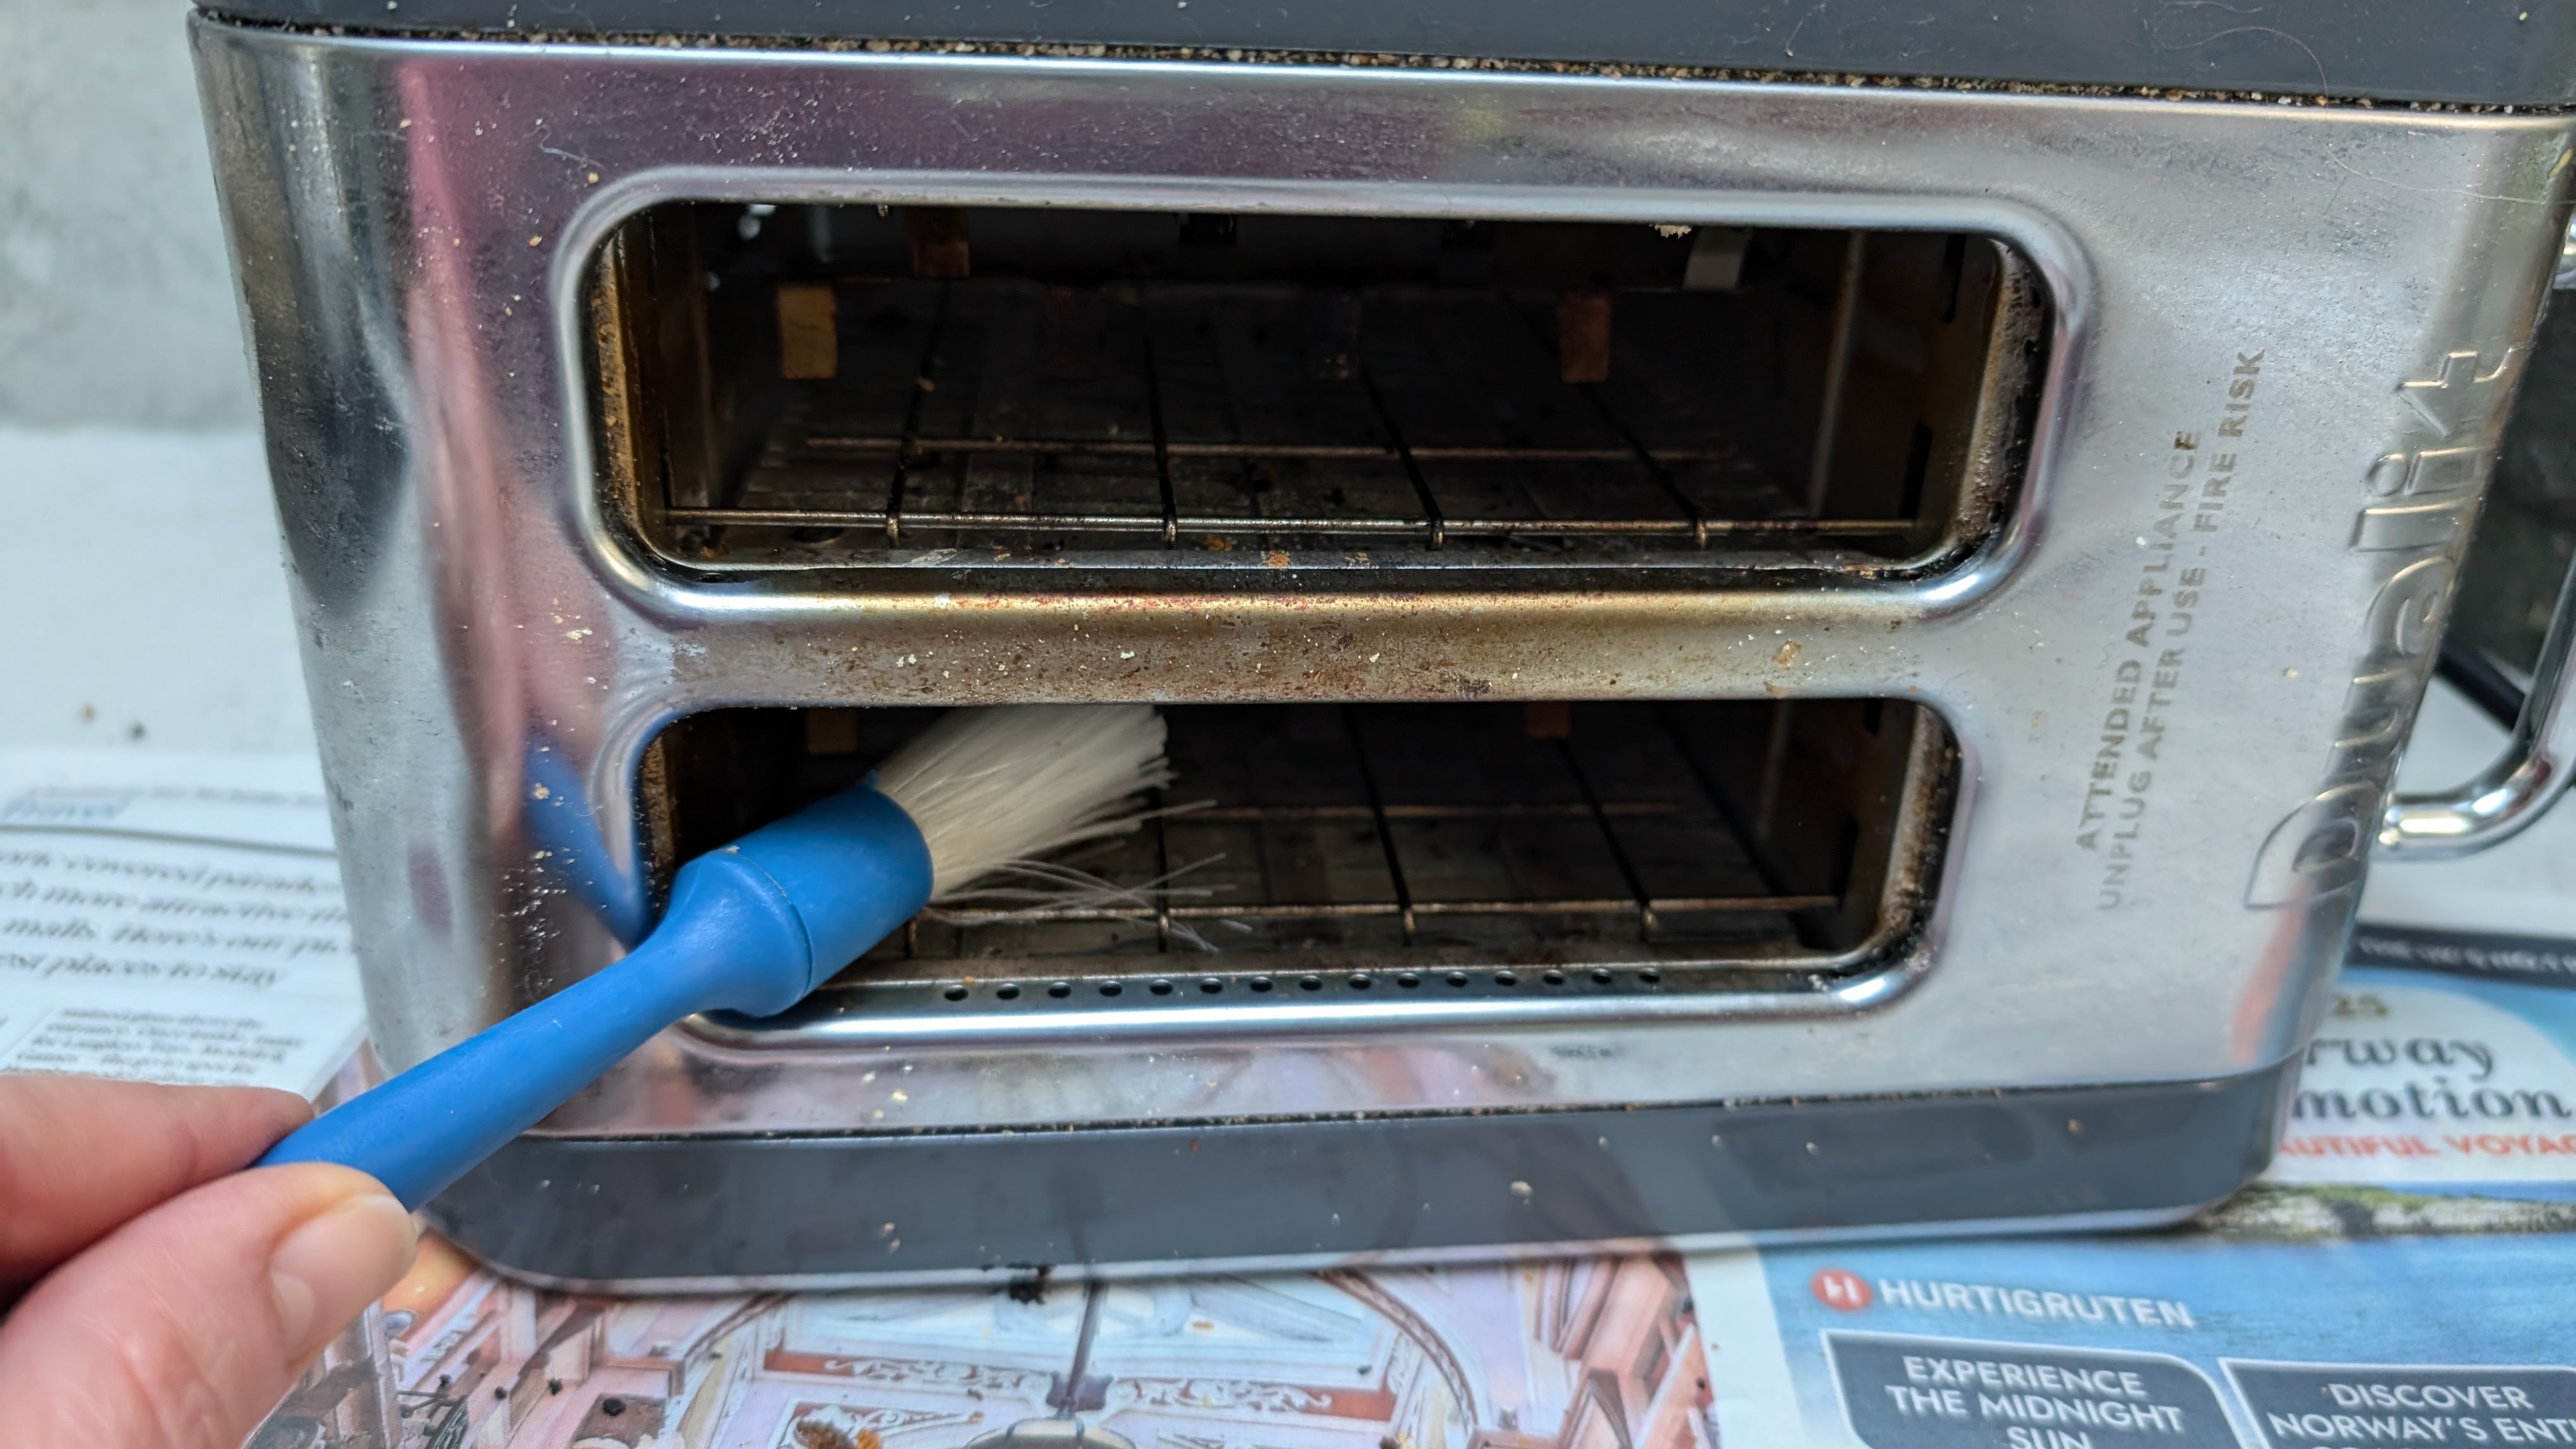
If you have any stubborn areas, you could use a pastry brush or a small paintbrush to gently dislodge crumbs without damaging the heating elements or casing. You can also use a can of compressed air or an air duster to blow out any lingering crumbs. Do not use a knife or other sharp objects to remove stubborn build-up.
5. Clean the exterior of your toaster
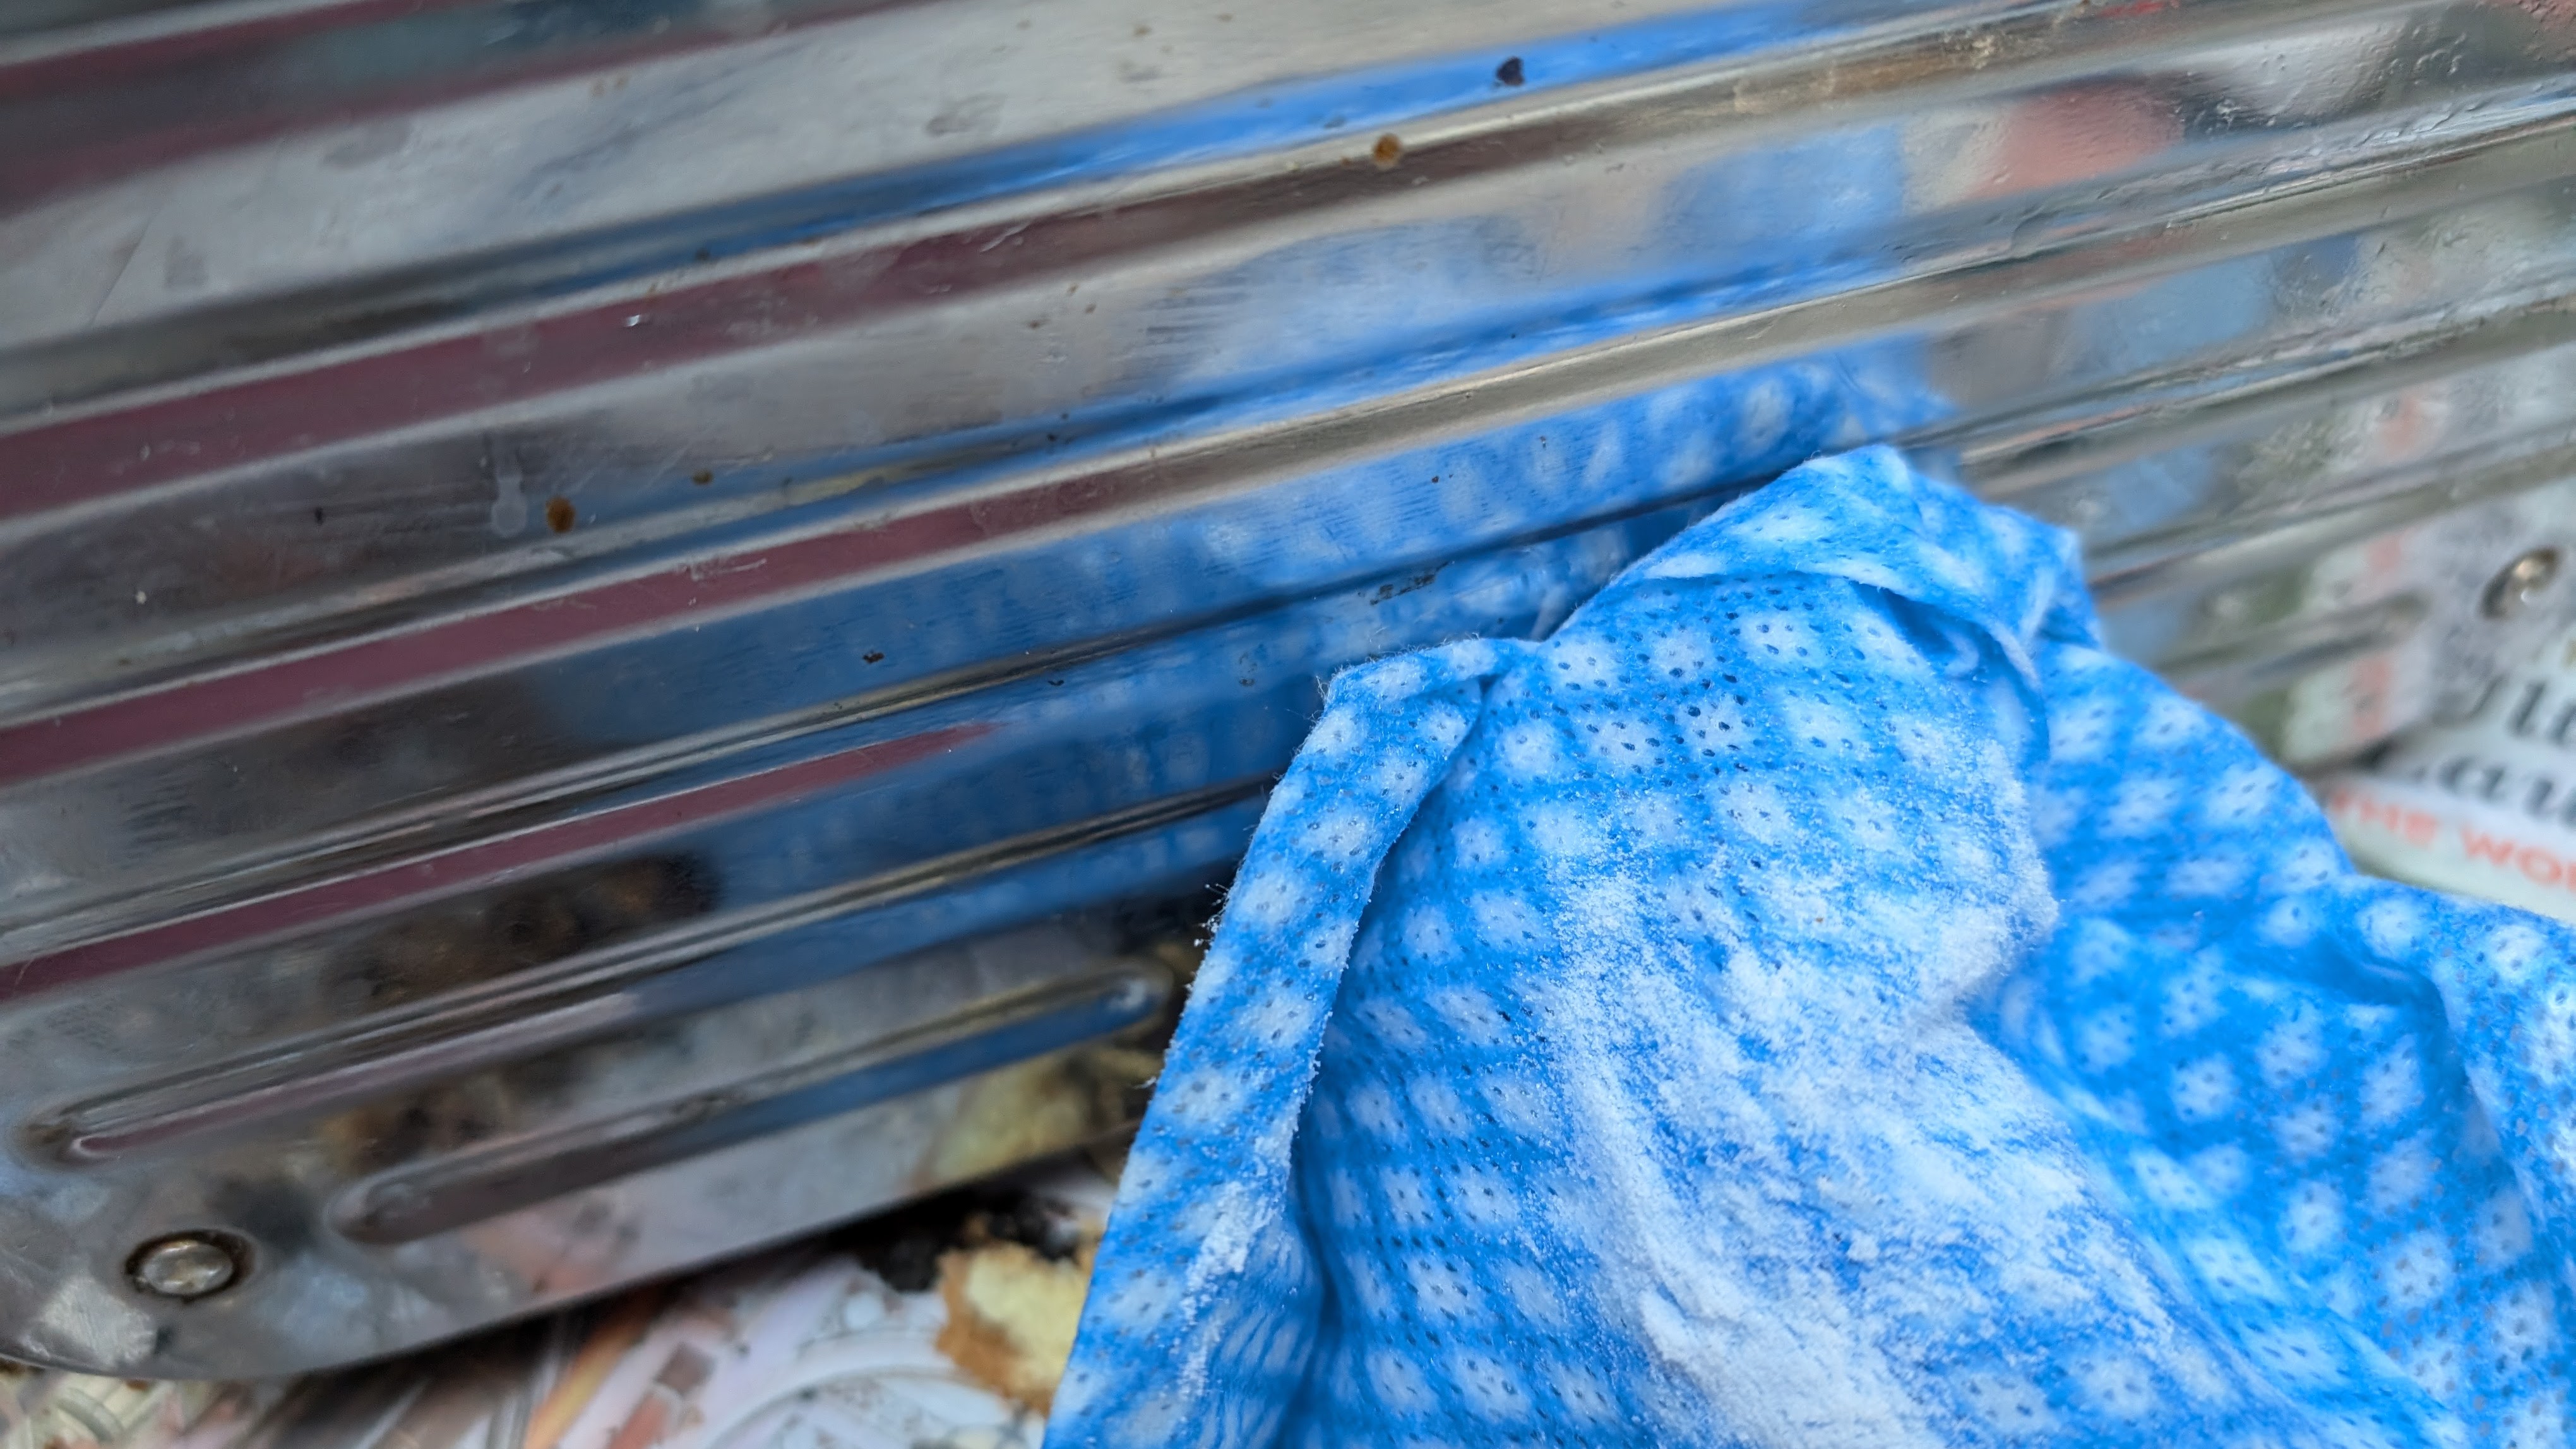
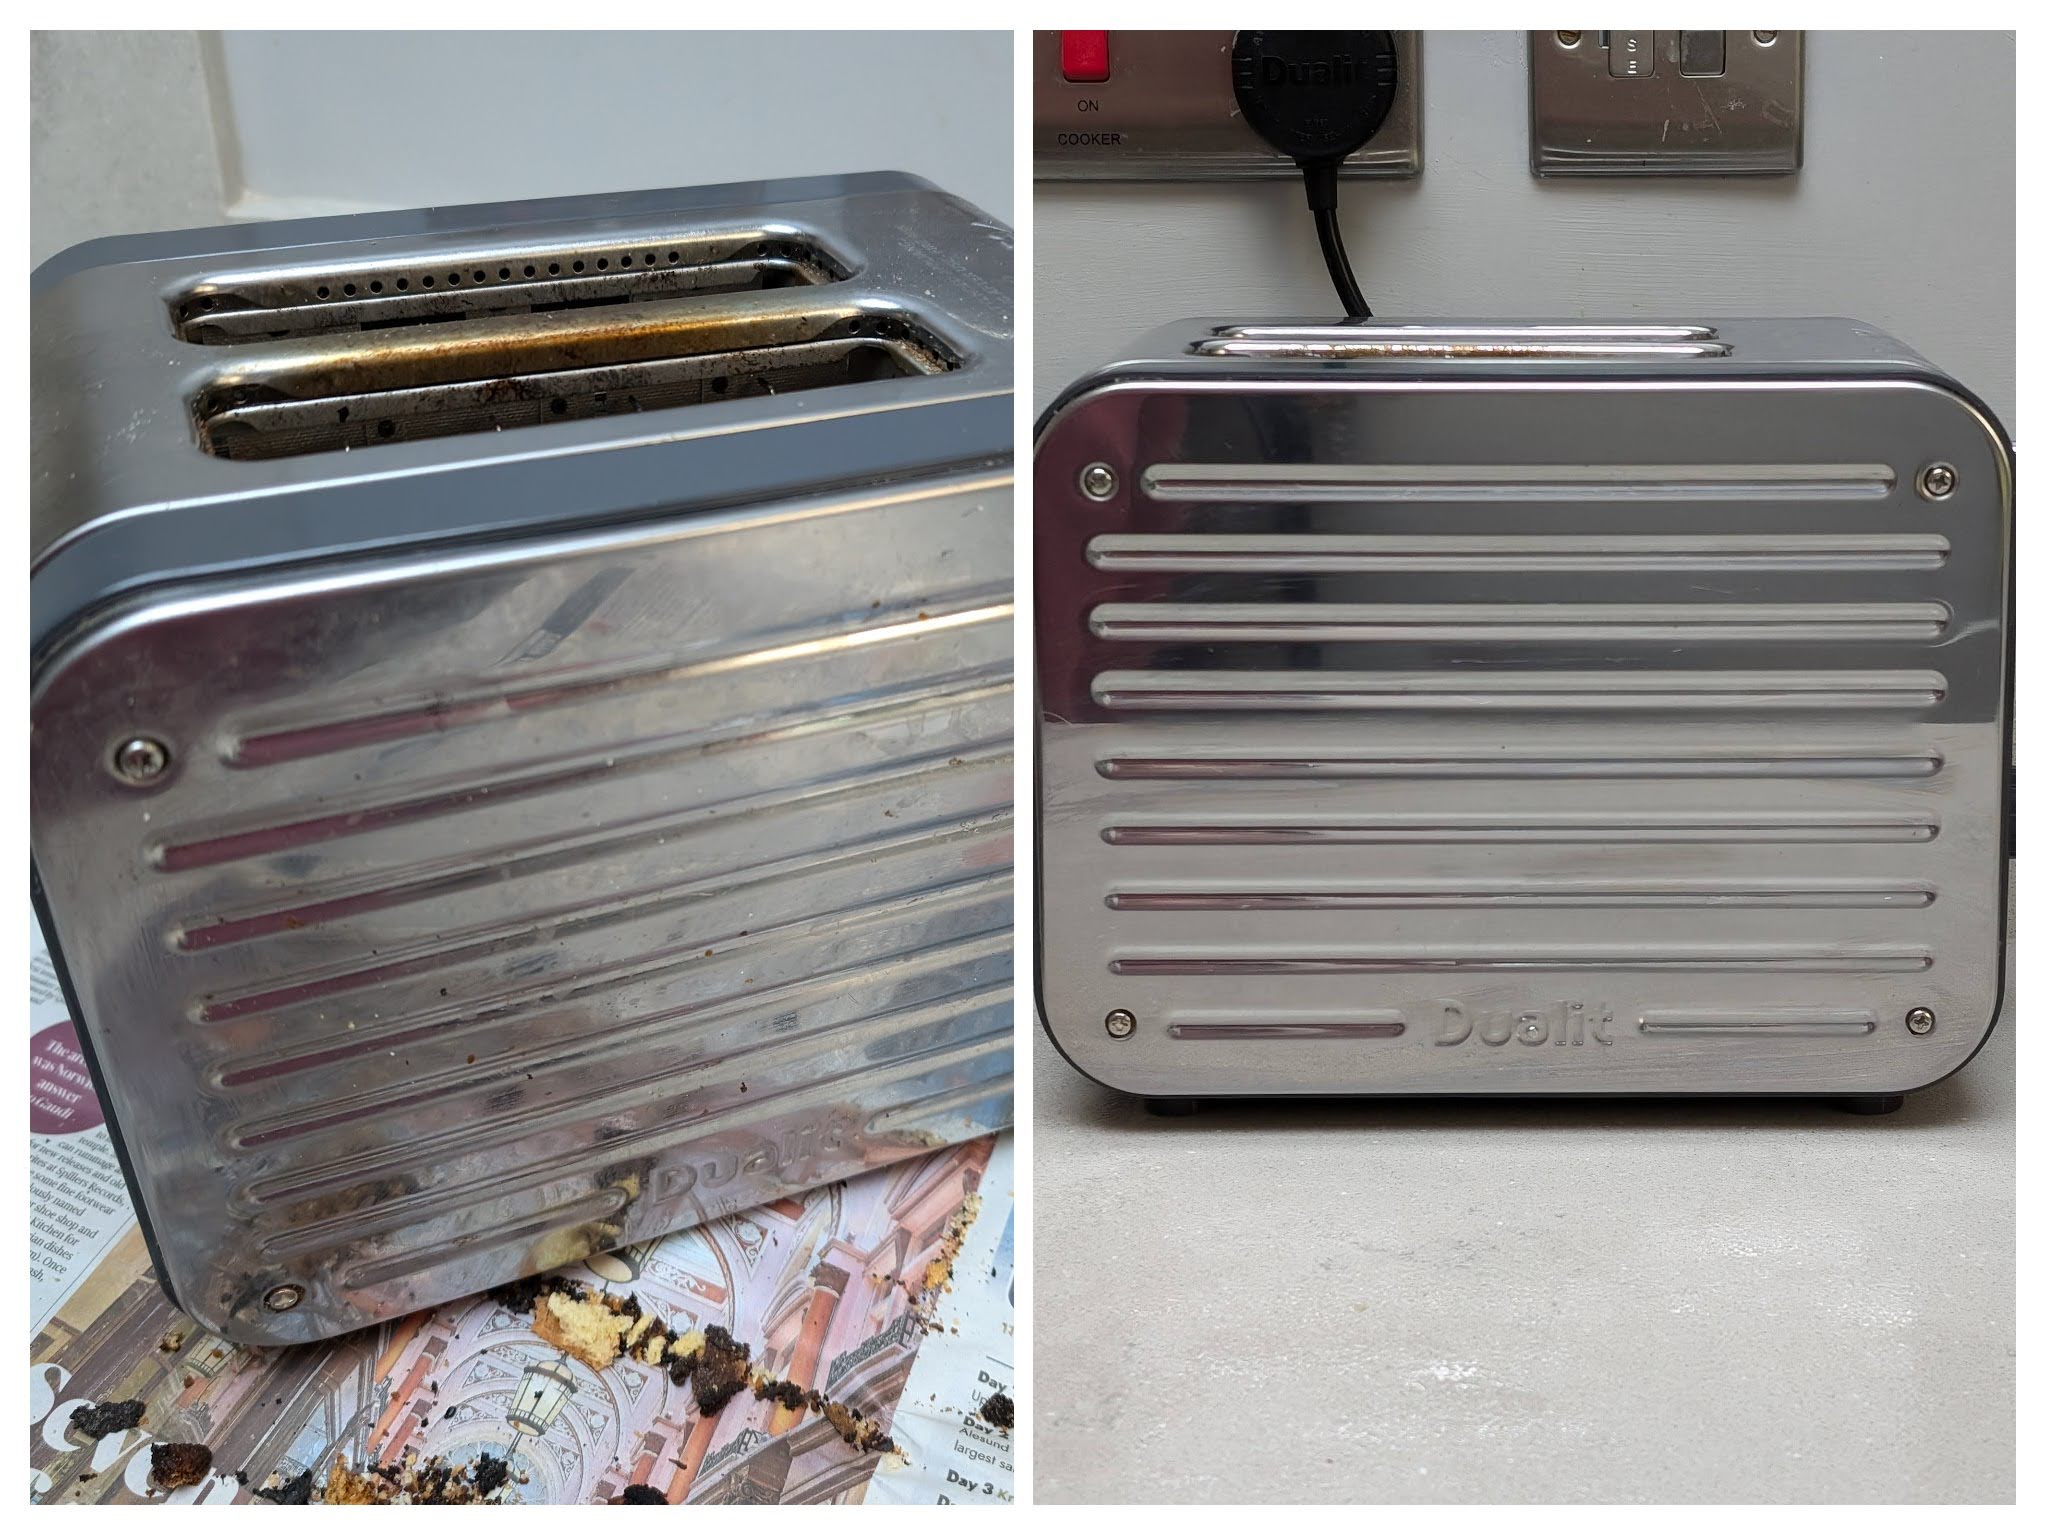
Now that the inside of your toaster is clean, it’s time to focus on the outside. How you clean yours will depend on the material of the exterior casing. Use a soft, damp cotton cloth, or sponge dipped in warm soapy water for plastic casings. It’s a good idea to use a detergent that contains a de-greaser, as it will cut through any grease. Gently wipe away any marks, grease, residue, or dirt.
You can do the same for toasters with an enamel, stainless steel, chrome, or copper finish. Alternatively, you can dust baking soda on a damp cloth and rub it over the surface to dislodge dirt and grease and give it a sparkling finish. You can also dampen a clean cloth with distilled white vinegar to remove smudges.
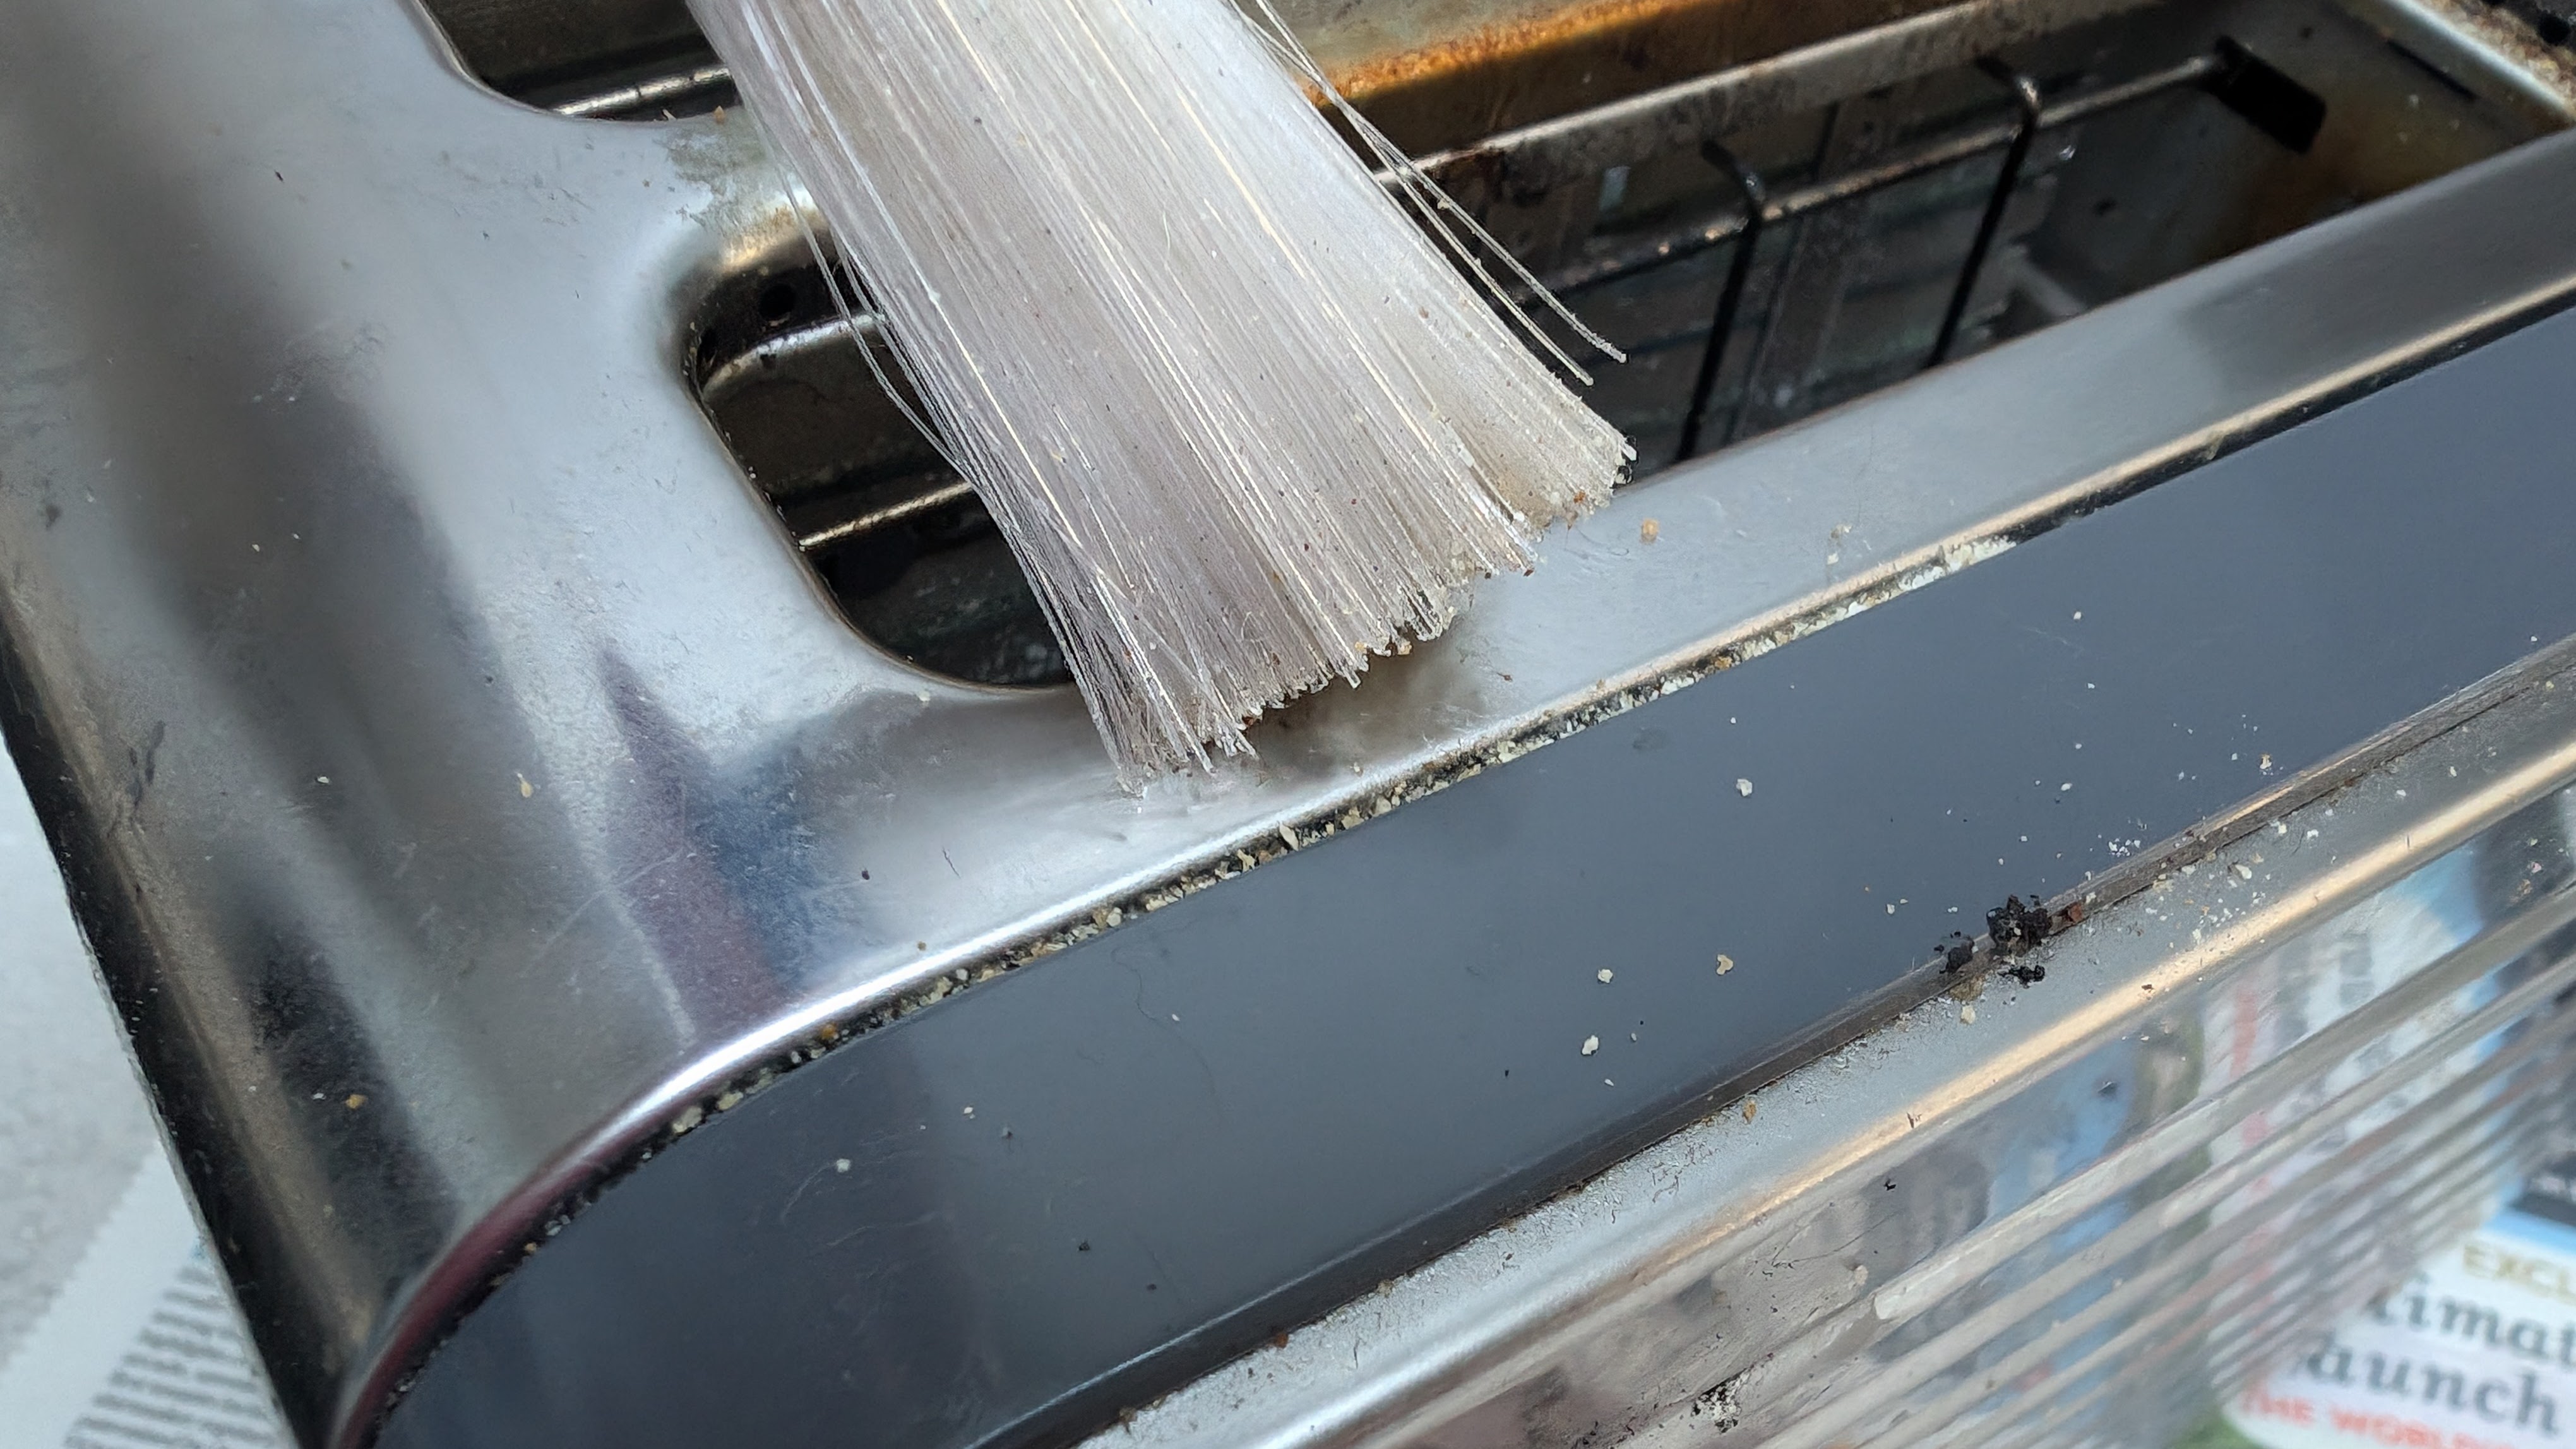
Pay close attention to levers, buttons, dials, or any other elements that can collect dirt and crumbs, and if necessary, use your toothbrush or pastry brush to get into nooks and crannies where dirt can accumulate. Some toasters have dials designed to come off, so you can soak them for an easier clean, but check your manufacturer’s instructions before taking yours off!
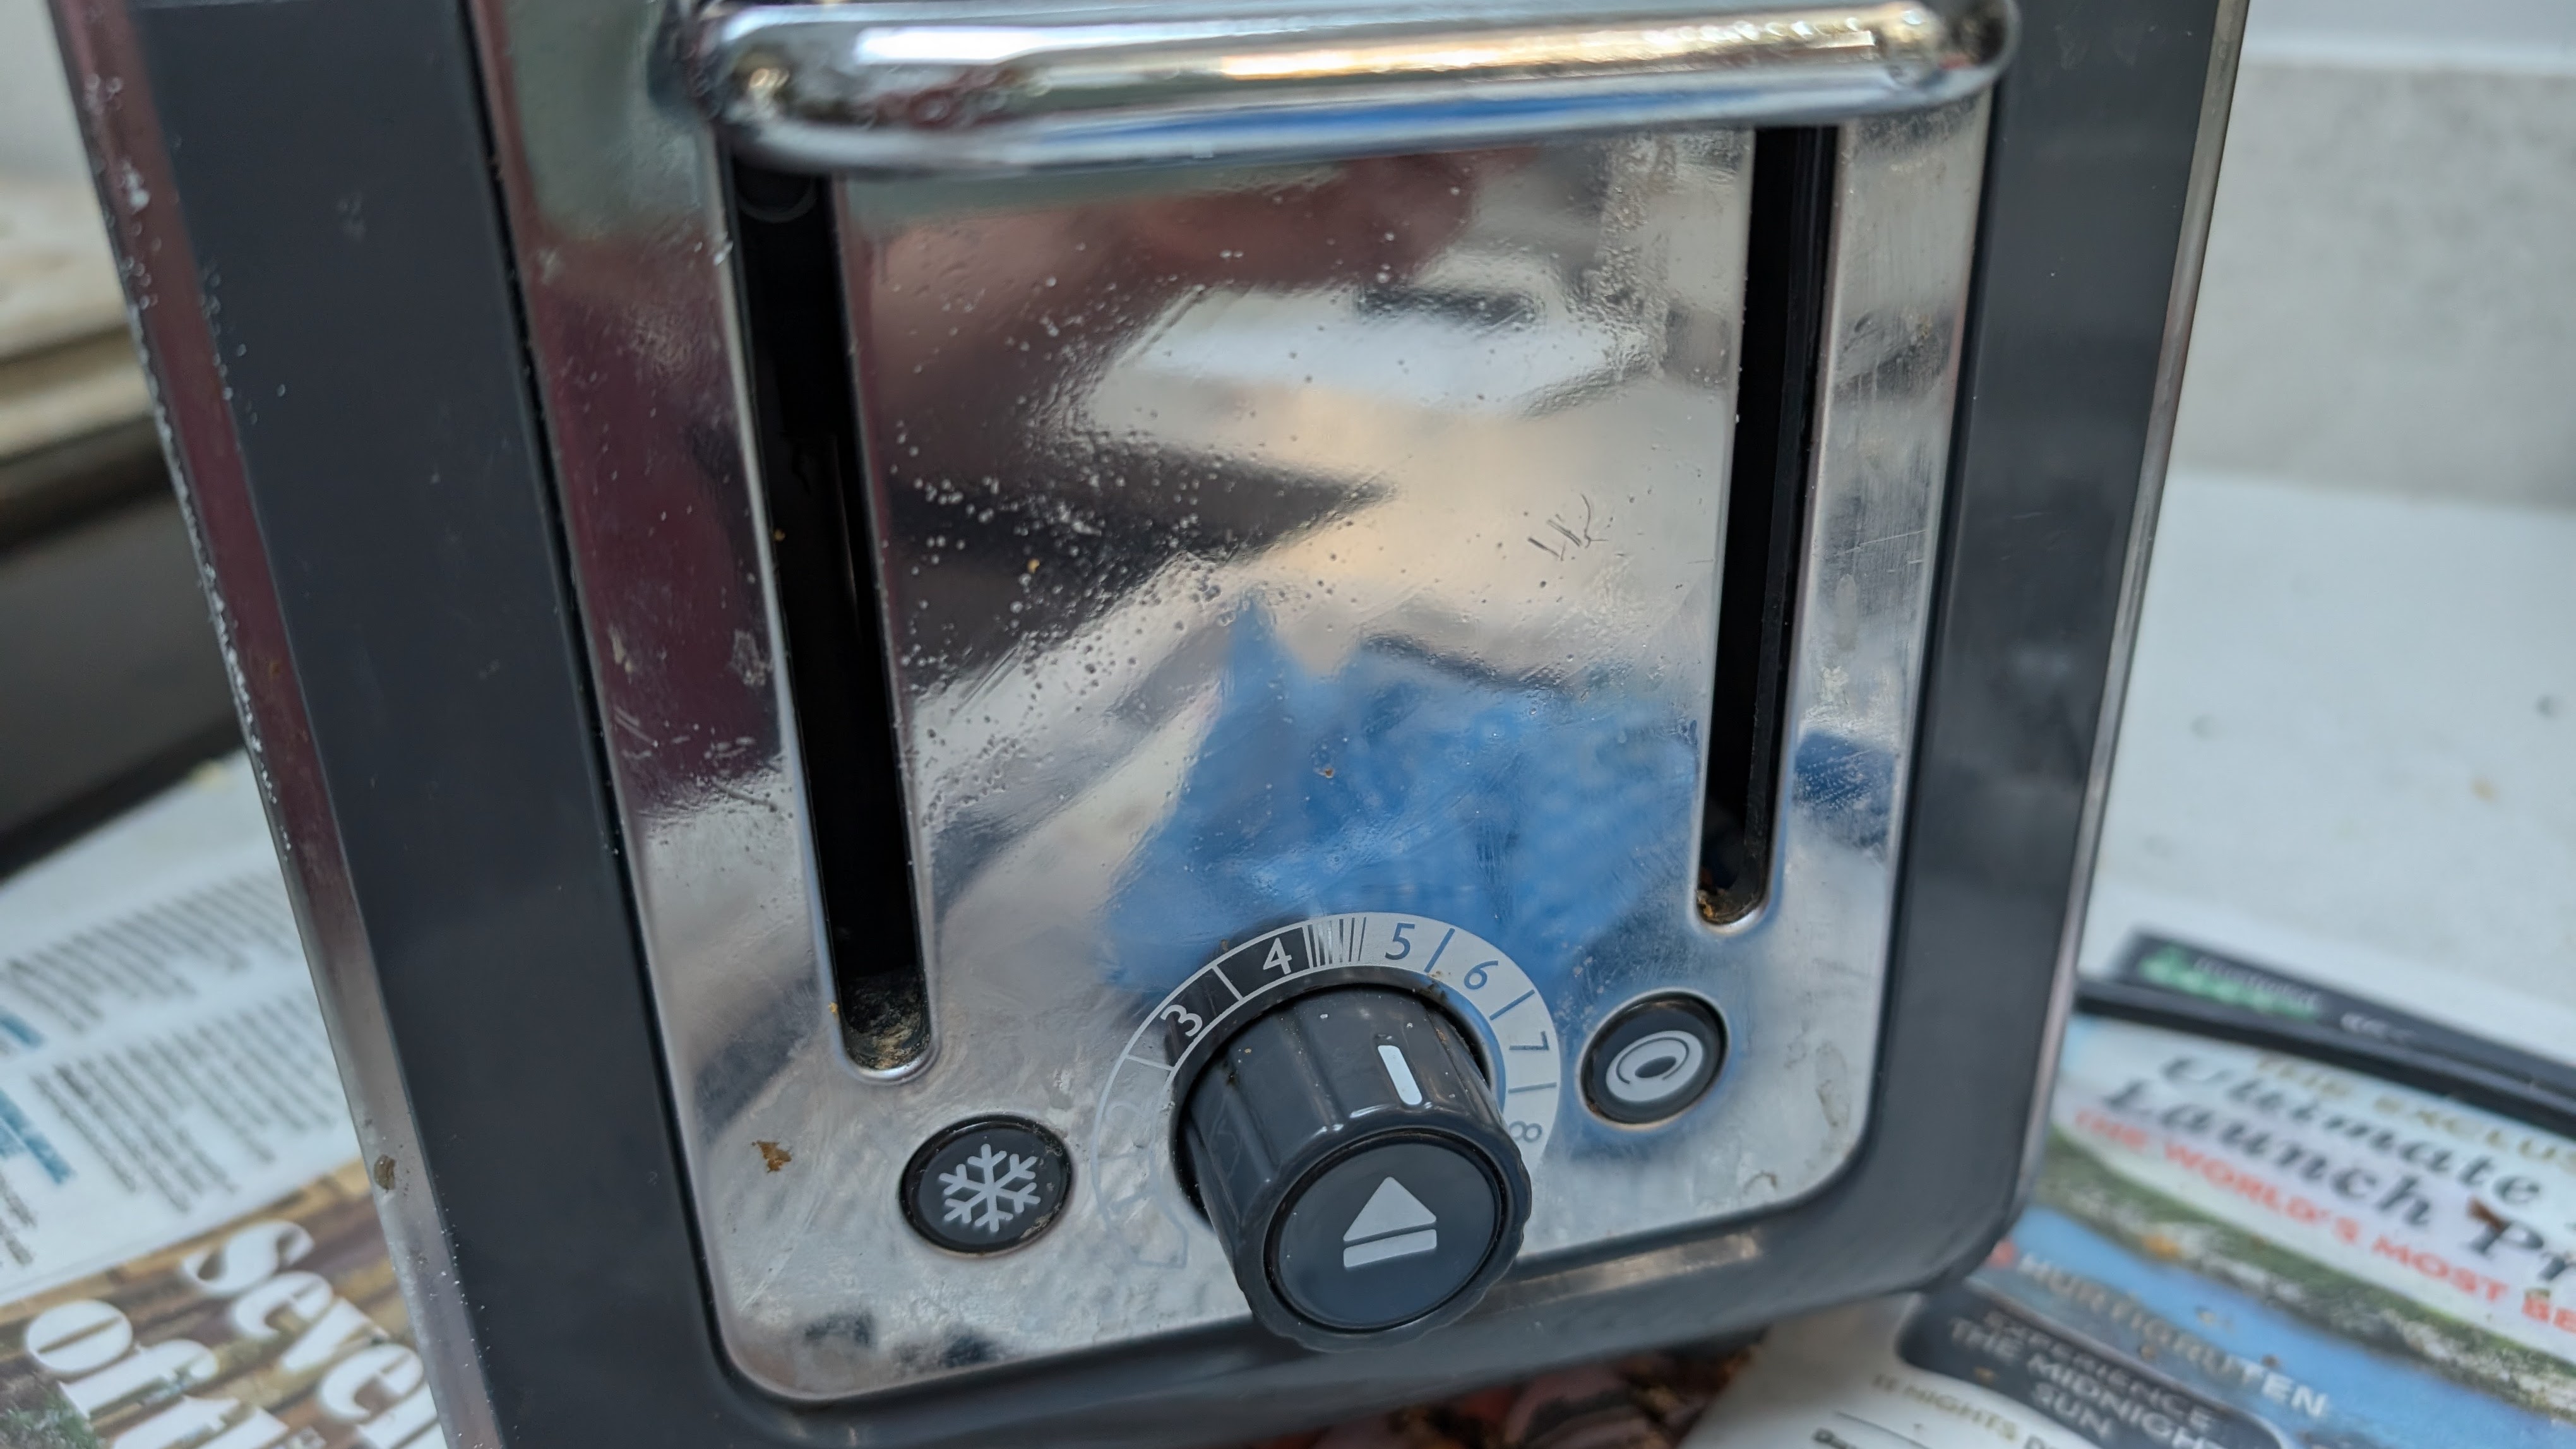
Once you’re happy, buff to a sheen with a clean, dry microfiber cloth for a shiny, streak-free finish.

6. Reassemble the toaster
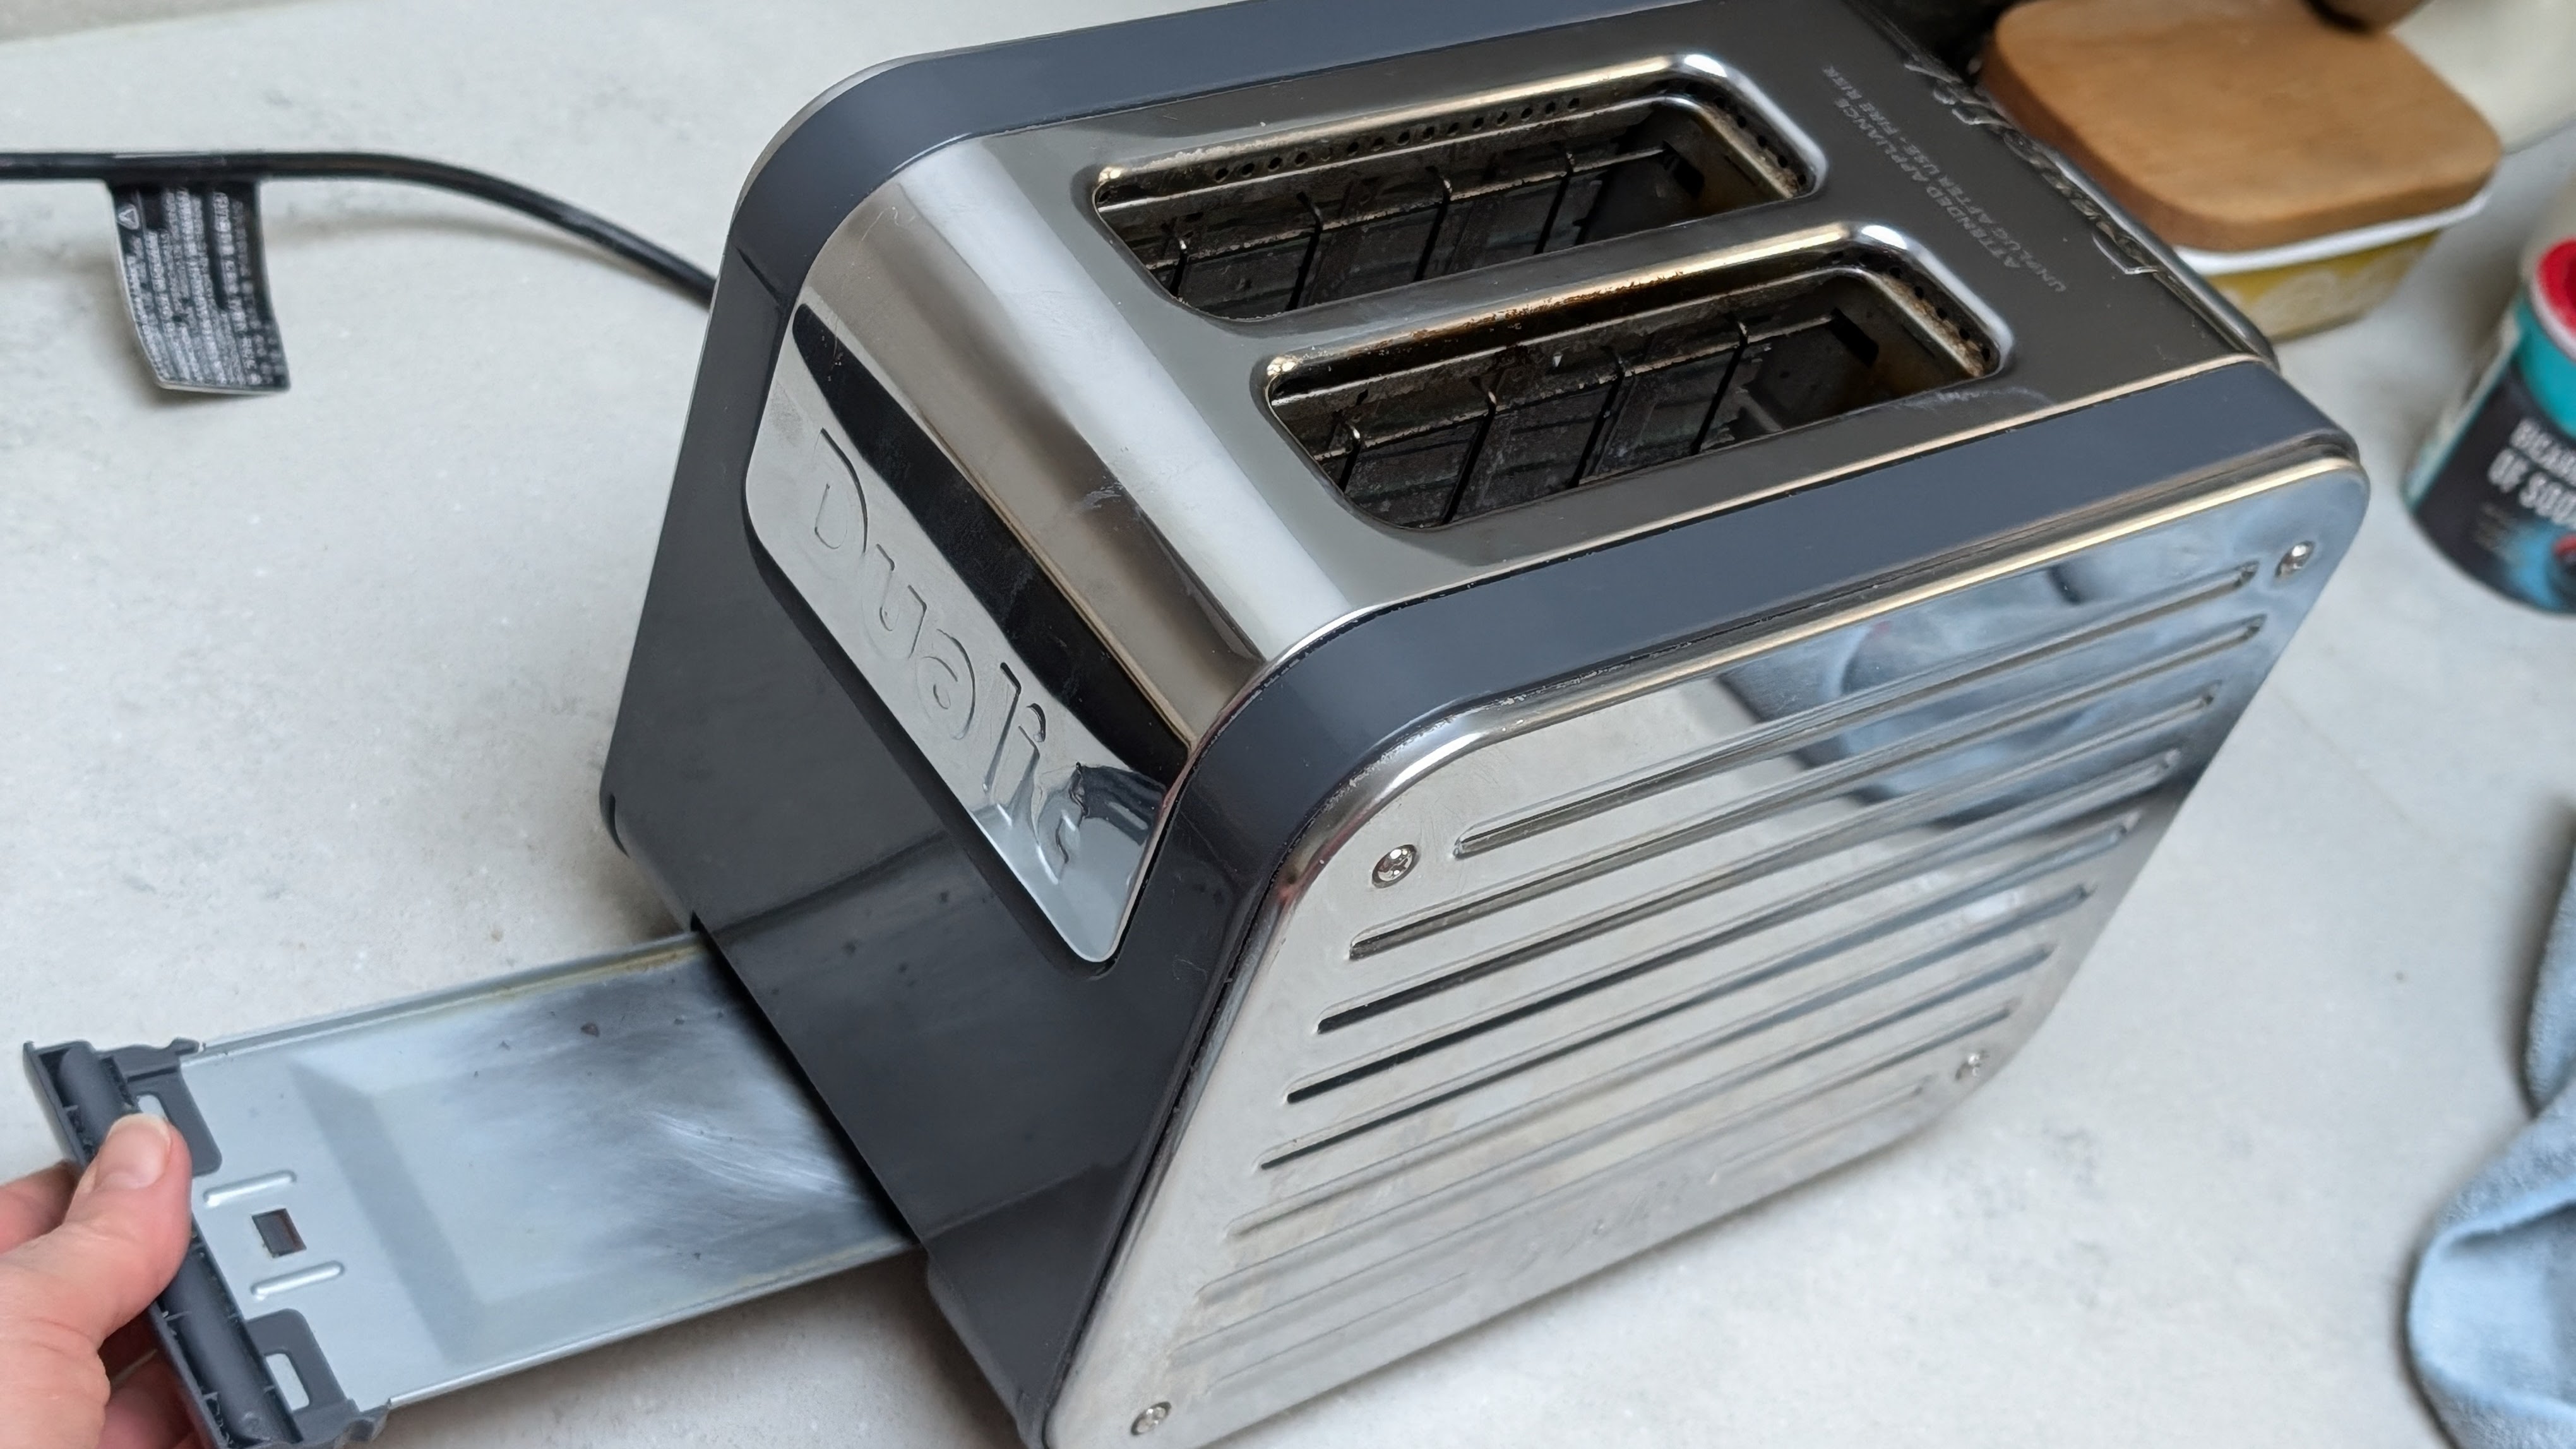
Once everything is dry, replace the crumb tray and ensure it clicks into position. Reset the dials to your preferred settings and plug your toaster back in.
How to clean your toaster: FAQs
How can I keep my toaster cleaner for longer?
We caught up with cleaning expert Julie Edelman, author of The Accidental Housewife, to get her cleaning hacks and tips for ensuring your toaster stays cleaner for longer between deep cleans.
- Regularly empty your crumb tray to avoid excess crumbs building up in the toaster itself.
- Fingerprints can make an otherwise clean toaster look dirtier than it is. Edelman recommends using an olive oil spray to remove them. Here’s how: “Spray olive oil onto a clean cloth and rub it on the exterior in a circular motion. This works on your stainless steel fridge, too!”
- Use toaster bags for items that can get messy inside the toaster, such as melted cheese or bagels with toppings. This will help you minimize deep cleaning.
- Keep plastic bread bags or packaging away from a toaster while it’s hot to avoid it sticking to the surface and melting. If plastic melts on the surface, Edelman has a great expert hack that works for melted cheese. “After unplugging your toaster and letting it cool, use a wooden spoon, plastic knife, expired credit, or used gift card to remove as much plastic or cheese as possible,” says Edelman. “If residue remains, gently rub baking soda on a damp sponge and use that to clean away the residue. Repeat as needed. If there is discoloration, mix equal parts of vinegar and water in a small spray bottle and spray on the area.”
- Avoid acidic or citrus-based cleaners that could damage the finish of stainless steel toasters.
- Avoid abrasive scrubbing sponges or cleaners that could scratch your toaster’s surface.
- Regularly inspect your toaster’s exterior, interior, and power cord for signs of damage or wear and tear.
- One final tip from Edelman: “Give cords and dials some TLC: They get grime and grease, too! Clean the power cord with a damp cloth monthly and the dials with a damp cloth sprayed with vinegar.”

Julie is the bestselling author of The Accidental Housewife: How to Overcome Housekeeping Hysteria One Task at a Time. A book written as she went through a series of life-changing detours—love, marriage and a baby carriage. Stressed, guilt-ridden and struggling to balance her home, family and sanity with her multiple roles and responsibilities as a wife, mother, and advertising executive, Julie navigated these detours by developing and testing simple off-beat home-keeping tips and sprinkling them with her trademark humor and positivity.
What should I do if my toaster isn’t working after cleaning?
Check if the crumb tray or other toaster parts are securely in place, and ensure the appliance is plugged in. If it still doesn’t work, check the power cord for any damage and consult the manufacturer’s manual.
Always avoid attempting repairs on a toaster unless you're trained to do so.
How often should I clean my toaster?
To keep your toaster in top condition and ensure it’s safe to use, you should aim to clean it regularly. If you use your toaster every day, it’s a good idea to empty the crumb tray every one to two weeks to prevent crumbs from building up inside the toaster. Crumbs can cause uneven toasting, smoke during use, or even pose a fire hazard if they ignite.
A quick clean can include:
- Emptying the crumb tray and giving it a rinse with warm, soapy water.
- Wiping down the exterior with a damp cloth to remove smudges, grease, and fingerprints.
- Shaking out loose crumbs over a bin or newspaper.
Every month, or sooner if your toaster gets heavy use, take the time to do a deeper clean.
Final thoughts
Cleaning your toaster doesn't have to be a pain - and it takes relatively little time - ten to fifteen minutes at most. Regularly emptying the crumb tray, gently shaking out crumbs, and giving the exterior a quick wipe can keep your toaster looking great and working safely.
With a little extra effort during a deeper clean—like brushing away stubborn crumbs or polishing the exterior—you can ensure your toaster remains a reliable kitchen appliance for years.
