How to clean a coffee maker: keep your daily cup of Joe tasting fresh
Guarantee the best-tasting coffee every time by keeping your coffee maker clean and clear.
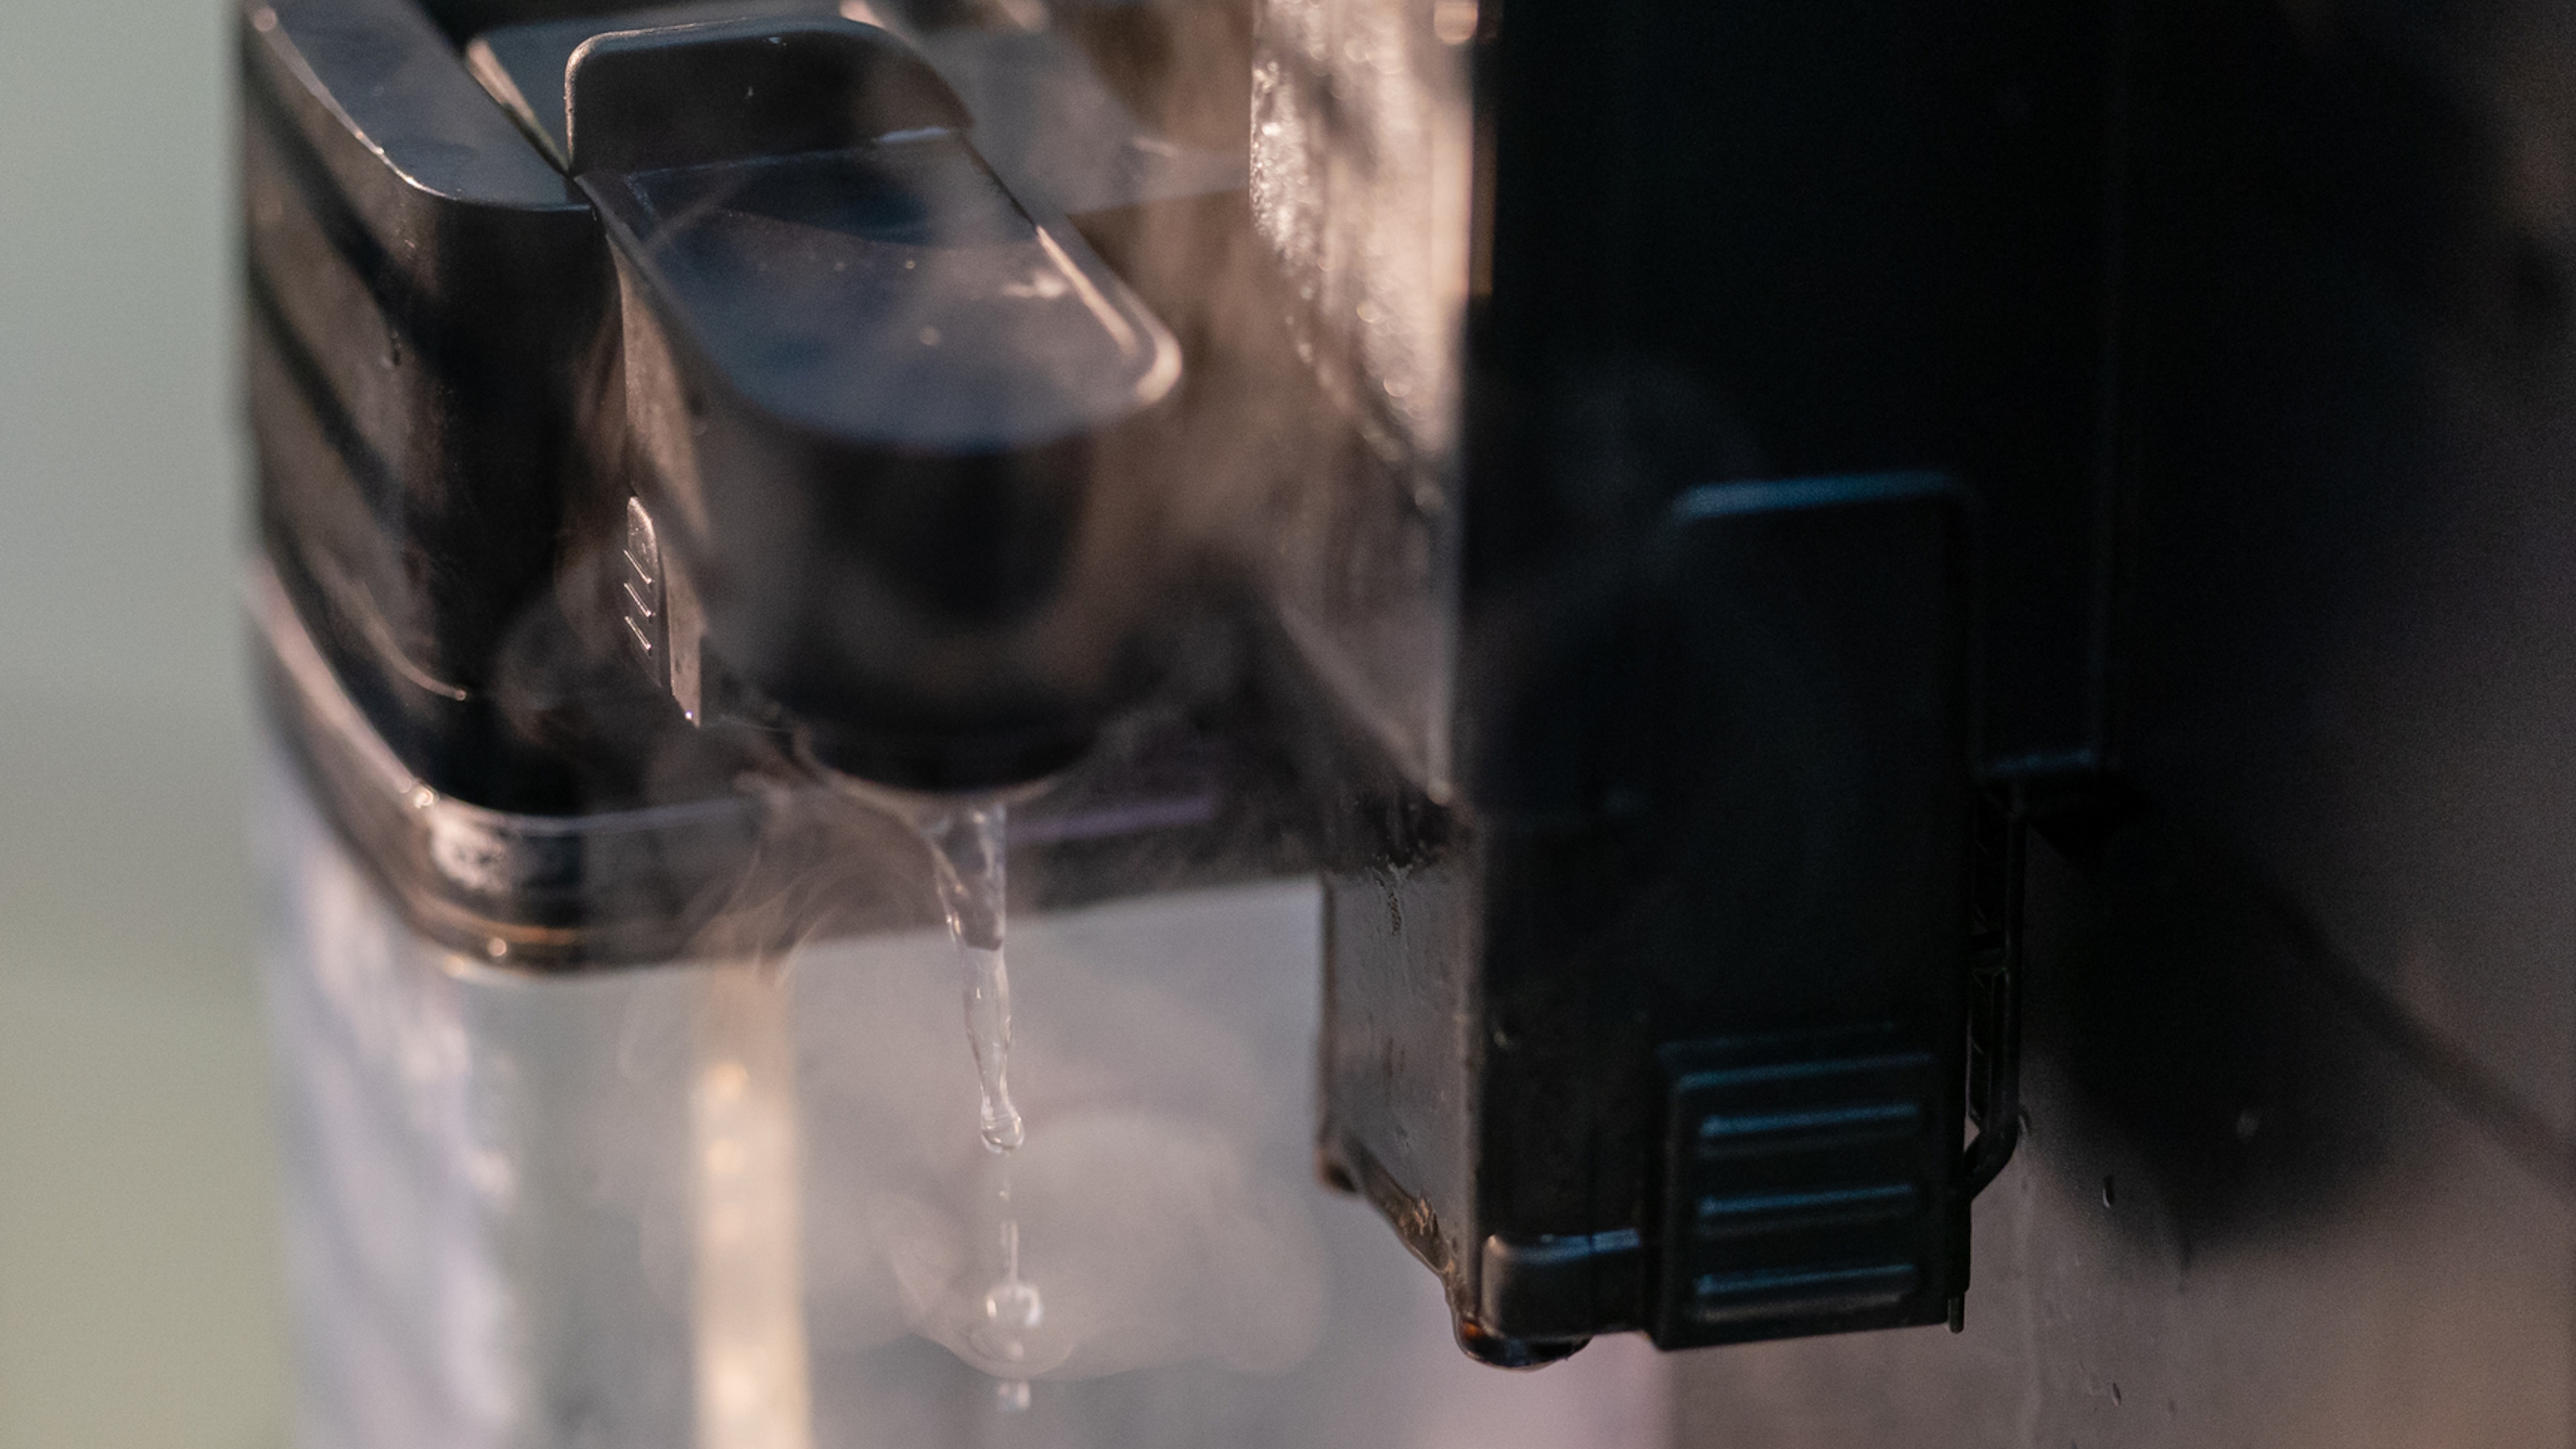
Whether you own a simple drip coffee machine or a state-of-the-art espresso maker, regular cleaning keeps your machine performing at its best and keeps your coffee tasting fresh and full of flavor.
Over time, even the best coffee makers accumulate oils from coffee grounds, mineral deposits from water, especially in hard water areas, and other residues that eventually impact the flavor of your coffee. Yet, with a little effort, you can improve not only your brew's taste but also your machine's longevity.
This guide explains what tools and techniques you need when learning how to clean a coffee maker. We troubleshoot common issues and get advice from coffee experts James Bellis, CEO and founder of Balance Coffee, and Melitta's barista, Celeste Wong, also known as @The_Girl_In_The_Cafe.
It's worth noting that the exact cleaning methods and materials vary depending on the type of coffee maker you're using. Some coffee machines have built-in cleaning functions, and others – like drip coffee and Aeropress makers – are much easier to assemble than espresso machines.
The advice given below works across the board, but it's worth checking your machine's instruction manual for specific advice and to ensure that you're not doing anything that could invalidate your warranty.
How to clean a coffee maker: Quick steps
- Empty and rinse the coffee maker
- Prepare the cleaning solution
- Run the cleaning cycle
- Rinse thoroughly
- Clean the carafe and filter basket
- Wipe down and inspect hard-to-reach areas
- Reassemble and test
How to clean a coffee maker: Step by step guide
1. Empty and rinse the coffee maker
Start by removing all used coffee grounds from the filter basket and emptying any leftover coffee from the carafe or hopper. Rinse both thoroughly under warm water to remove loose debris and oils. This step prevents old coffee residues from affecting the flavor of your next brew. Even the best coffee maker can produce subpar coffee if it’s not rinsed properly.
You don't need to use any special products at this stage. "Cleaning it regularly under warm or hot water and dish detergent is fine," said Wong. "Just ensure your filter basket is dry when filling it with ground coffee, using a dry cloth or tea towel before each use." This prevents the grounds from sticking to the drops of water and can lead to mold.

James Bellis is a professional barista, and CEO and founder of Balance Coffee. He was previously a barista trainer for UCC Coffee and Sales Director at Italian espresso machine manufacturer, Sanremo.
2. Prepare the cleaning solution
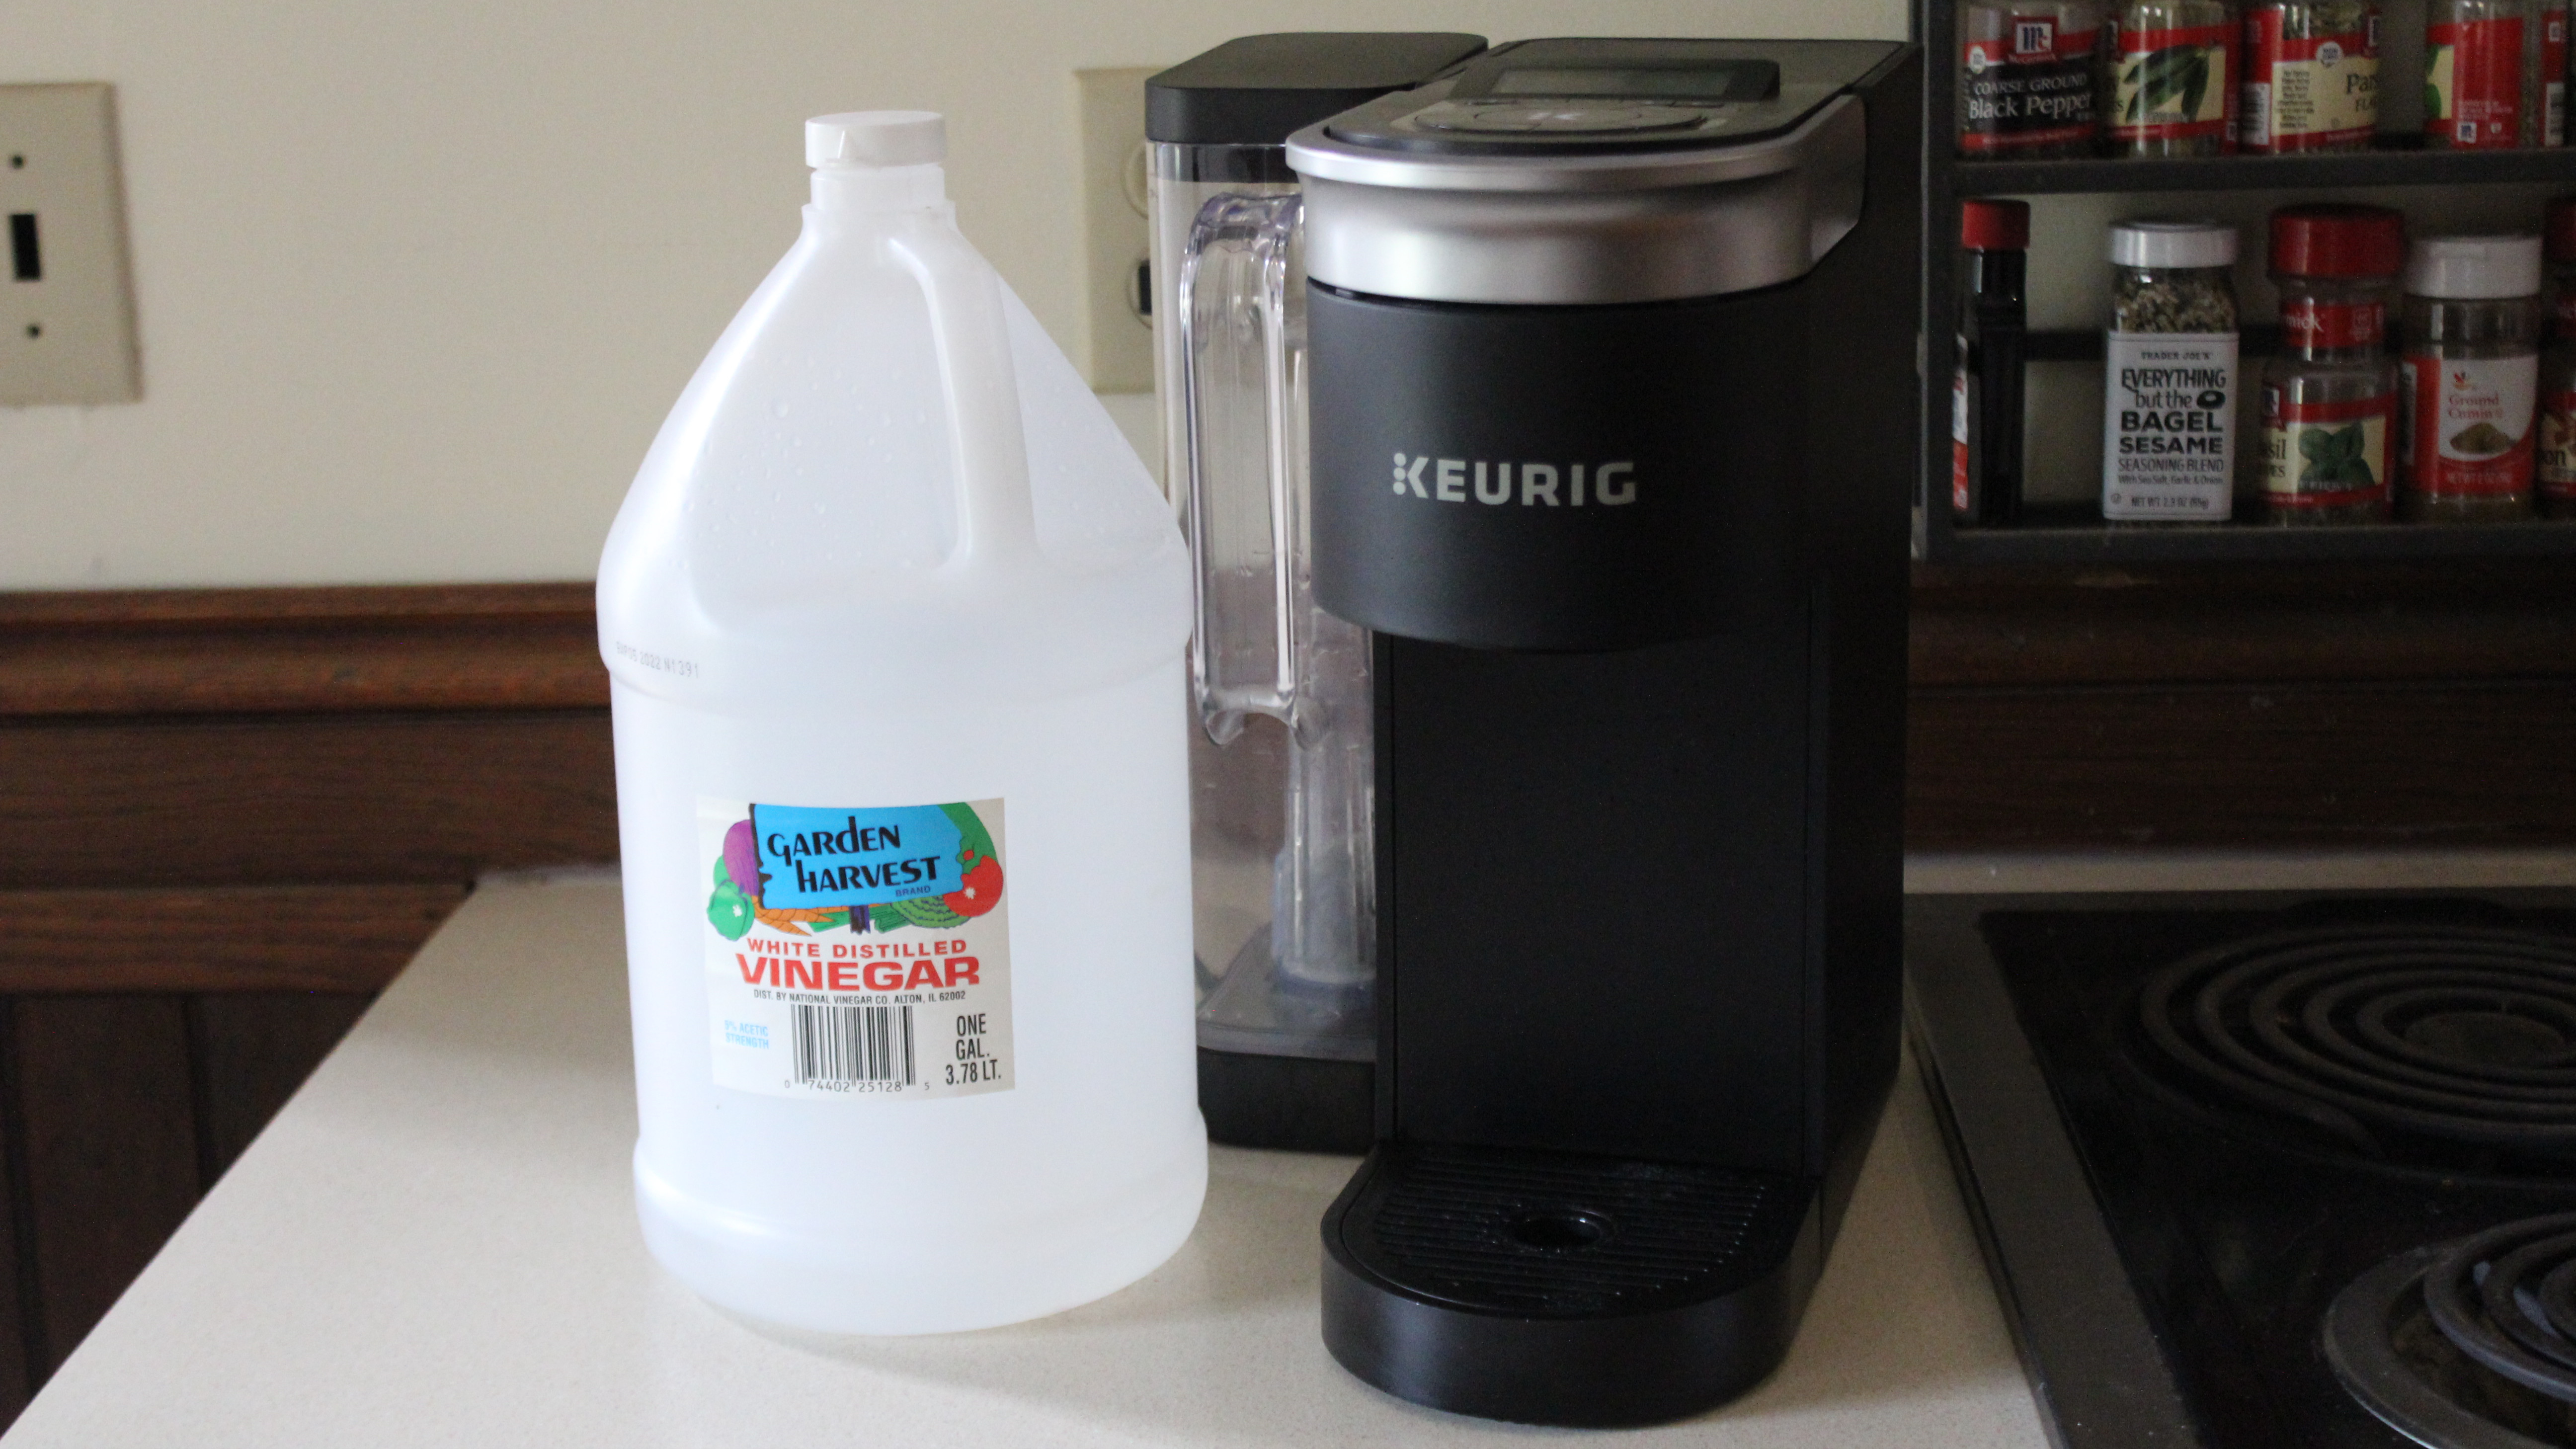
If you're using vinegar, mix equal parts of white vinegar (like this distilled white vinegar from Heinz) and water to prepare your solution. You can clean your coffee maker using homemade and natural products or spend money on commercial cleaners. Mix equal parts of white vinegar and water to prepare your solution if you're using vinegar. You can clean your coffee maker using homemade and natural products or spend money on commercial cleaners. Many brands sell their own descaling and cleaning solutions designed to be compatible with their machines. Still, you can also buy general solutions that are safe for use across different makers.
Mix equal parts of white vinegar and water to prepare your solution if you're using vinegar. If you're using a commercial cleaner, refer to the instructions to learn how to prepare it.
"Vinegar works for basic descaling," said Bellis, "but commercial solutions are more effective at removing residues and mineral deposits without leaving lingering odors or tastes."
3. Run the cleaning cycle
Empty the reservoir of any leftover water and replace it with your cleaning solution, whether a vinegar-water mix or a commercial descaler.
Many espresso machines have dedicated descaling programs; you can learn how to use them by checking the instruction manual. However, if your coffee maker doesn't come with a dedicated program or your machine is basic, running a full brew cycle like you normally would suffice.
This allows the solution to flow through the internal components. If your coffee maker has a pause function, use it midway through the cycle. "Letting the solution sit for 5-10 minutes allows it to work more effectively, especially for mineral build-up," said Bellis. "This step helps with descaling and ensures your machine maintains optimal brewing efficiency and coffee quality."
The extended contact allows the solution to work more thoroughly, ensuring that these problem areas are cleaned and cleared of potential blockages.
4. Rinse thoroughly
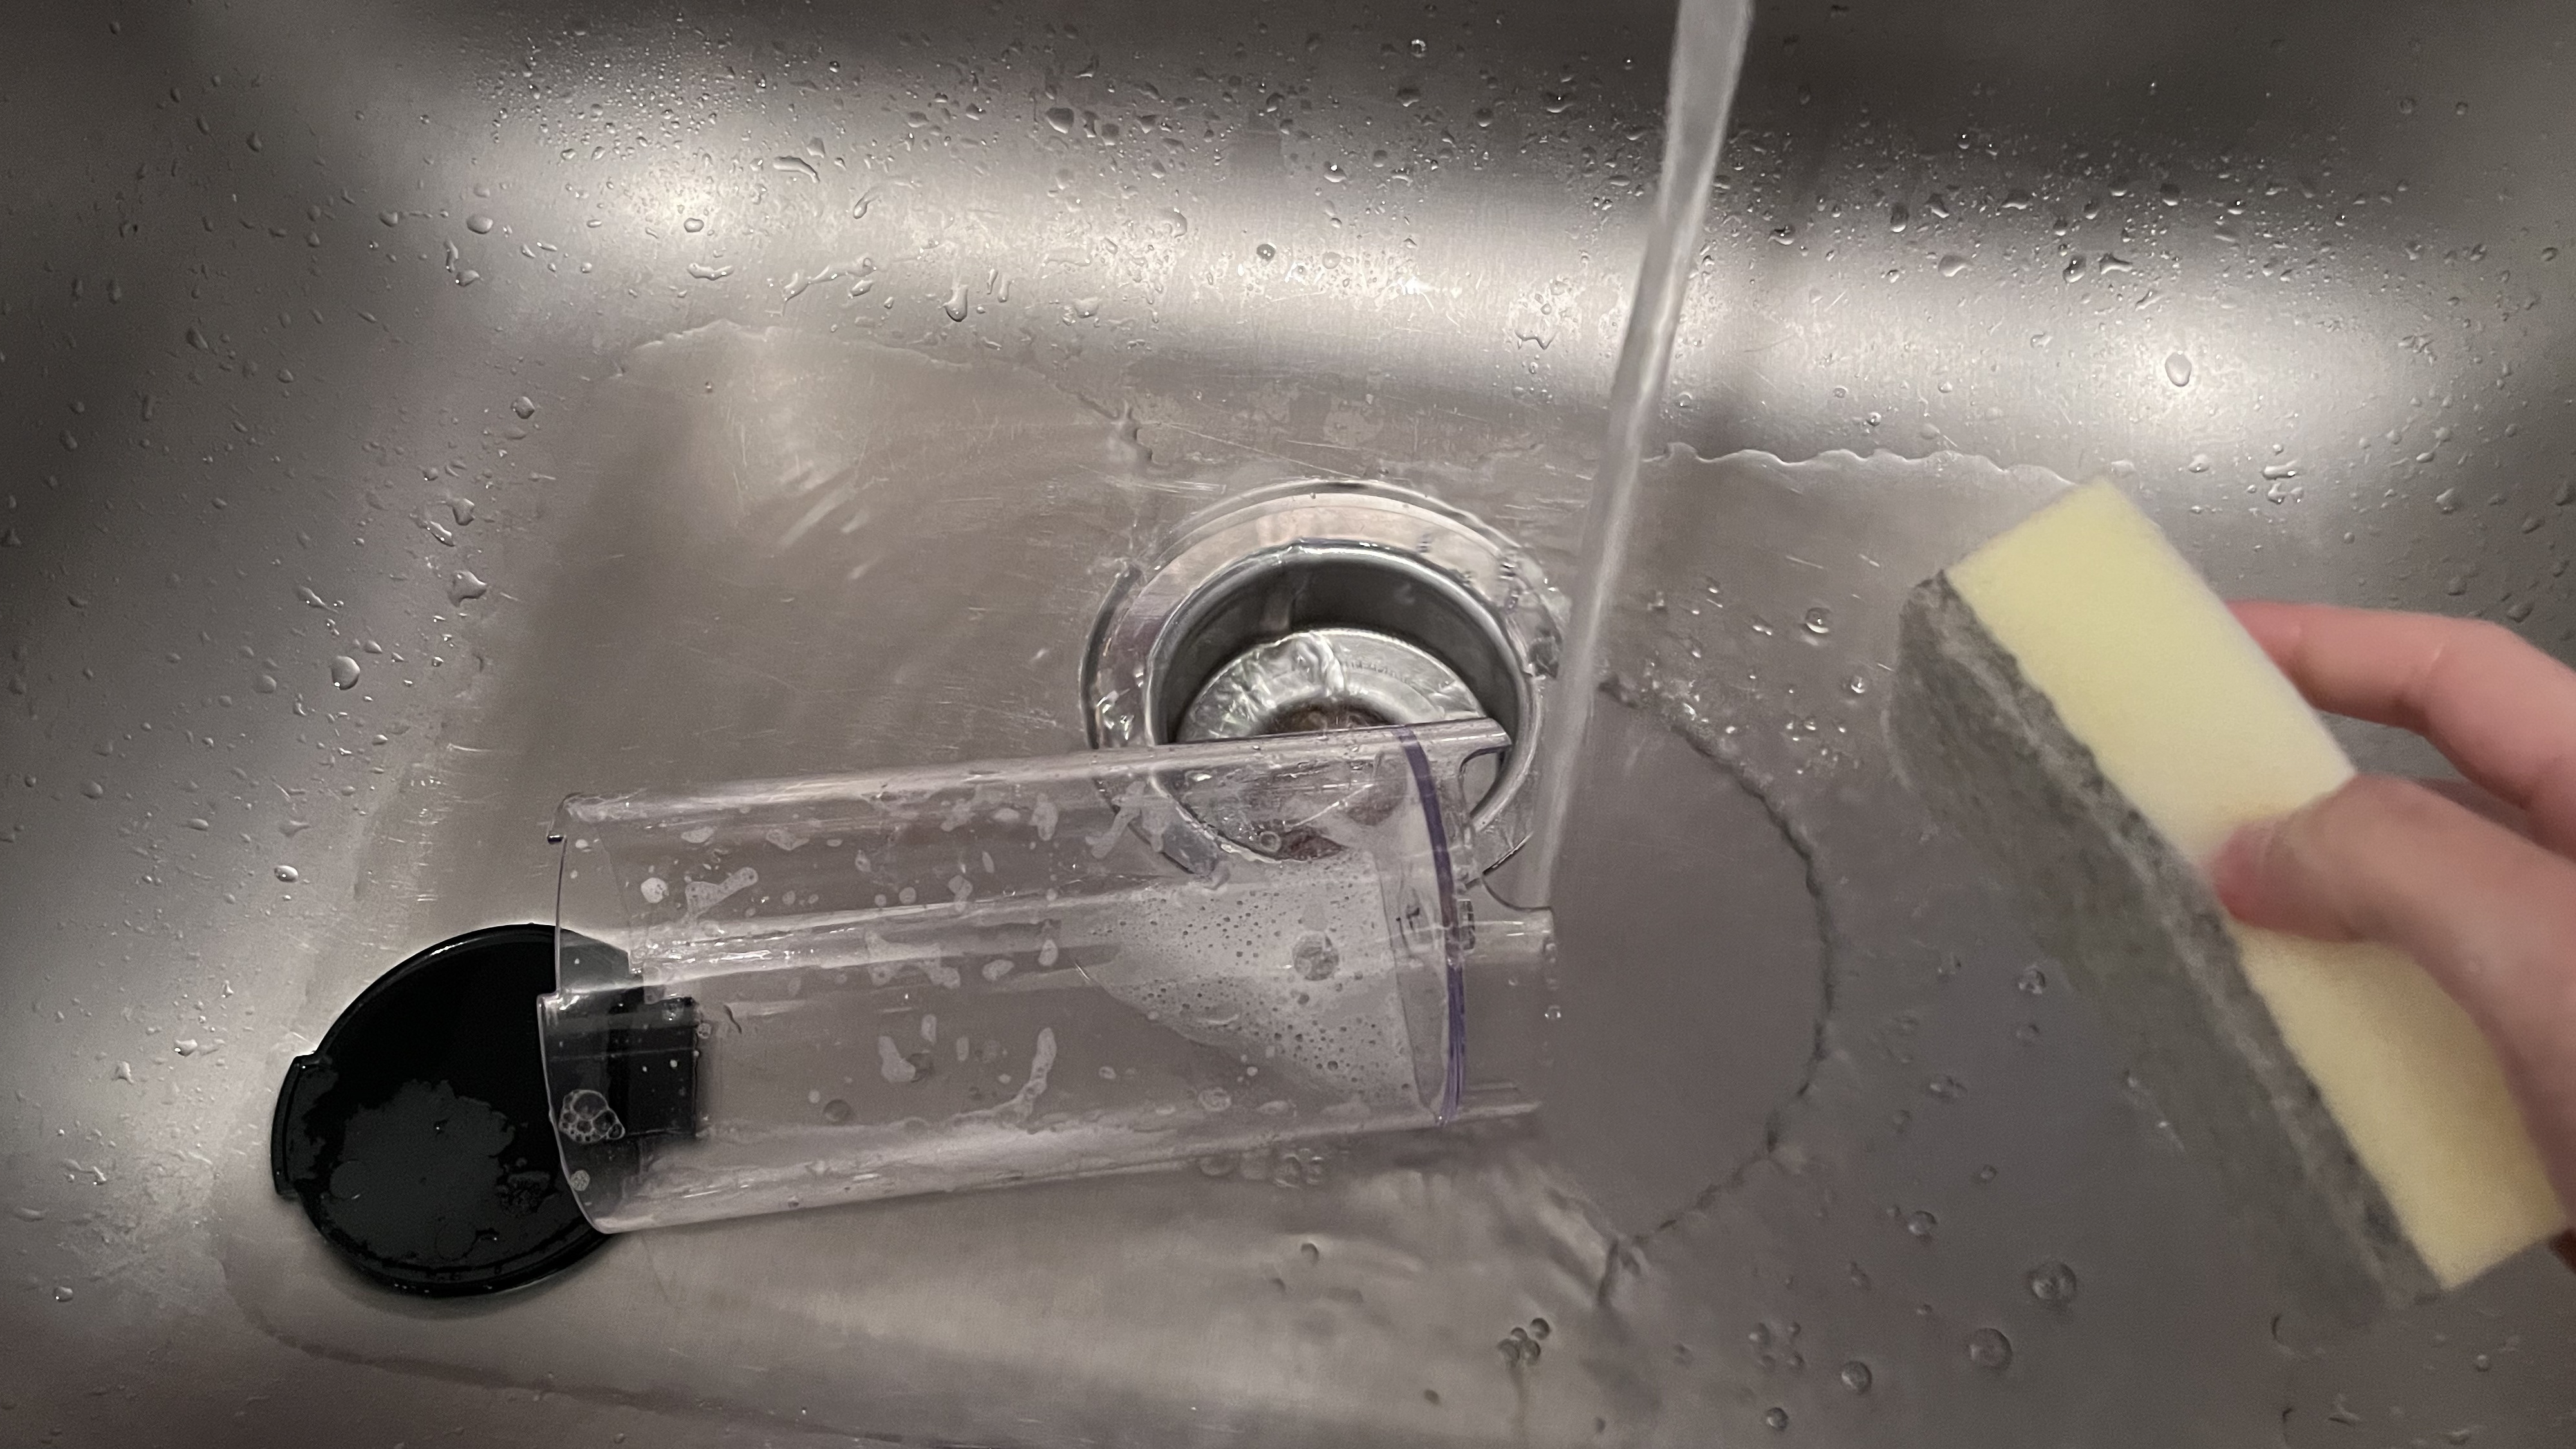
Once the cycle is complete, remove any remaining vinegar or cleaning solution from the water reservoir and rinse.
Run two or three plain water cycles to rinse any remaining cleaner. This step ensures that your next brew is free from unwanted flavors or chemicals.
5. Clean the carafe and filter basket
While your coffee maker is running its cleaning and rinse cycles, clean the carafe, filter basket, and any other detachable components, like the drip tray.
These components can accumulate coffee oils, residue, and stains, which can not only affect the flavor of your coffee but can also lead to unwanted and lingering smells.
These smaller components are often dishwasher-safe as long as they're used on the upper shelves of the washer. If they're not, or you're not sure, you can wash them in warm, soapy water. Use a soft sponge or cloth to gently scrub away any visible grime, being careful not to use anything abrasive that might scratch or damage the surfaces.
"For glass carafes, I like to soak them in some detergent first," said Wong. "You can use Cif cream cleaner, which doesn't scratch, or a soft wet scourer pad and some dish soap.
"You also don't need to use too much detergent. Just use it regularly and try not to use anything metallic that can scratch."

Celeste is a coffee and lifestyle influencer who has held top positions in artisan cafes around the globe for more than a decade. She was named one of London's top five baristas by The Financial Times and offers consultancy services for cafes and lifestyle brands. Additionally, Celeste has launched her own coffee beans, under her The Girl in the Cafe brand, and is author of Coffee Creations.
6. Wipe down and inspect hard-to-reach areas
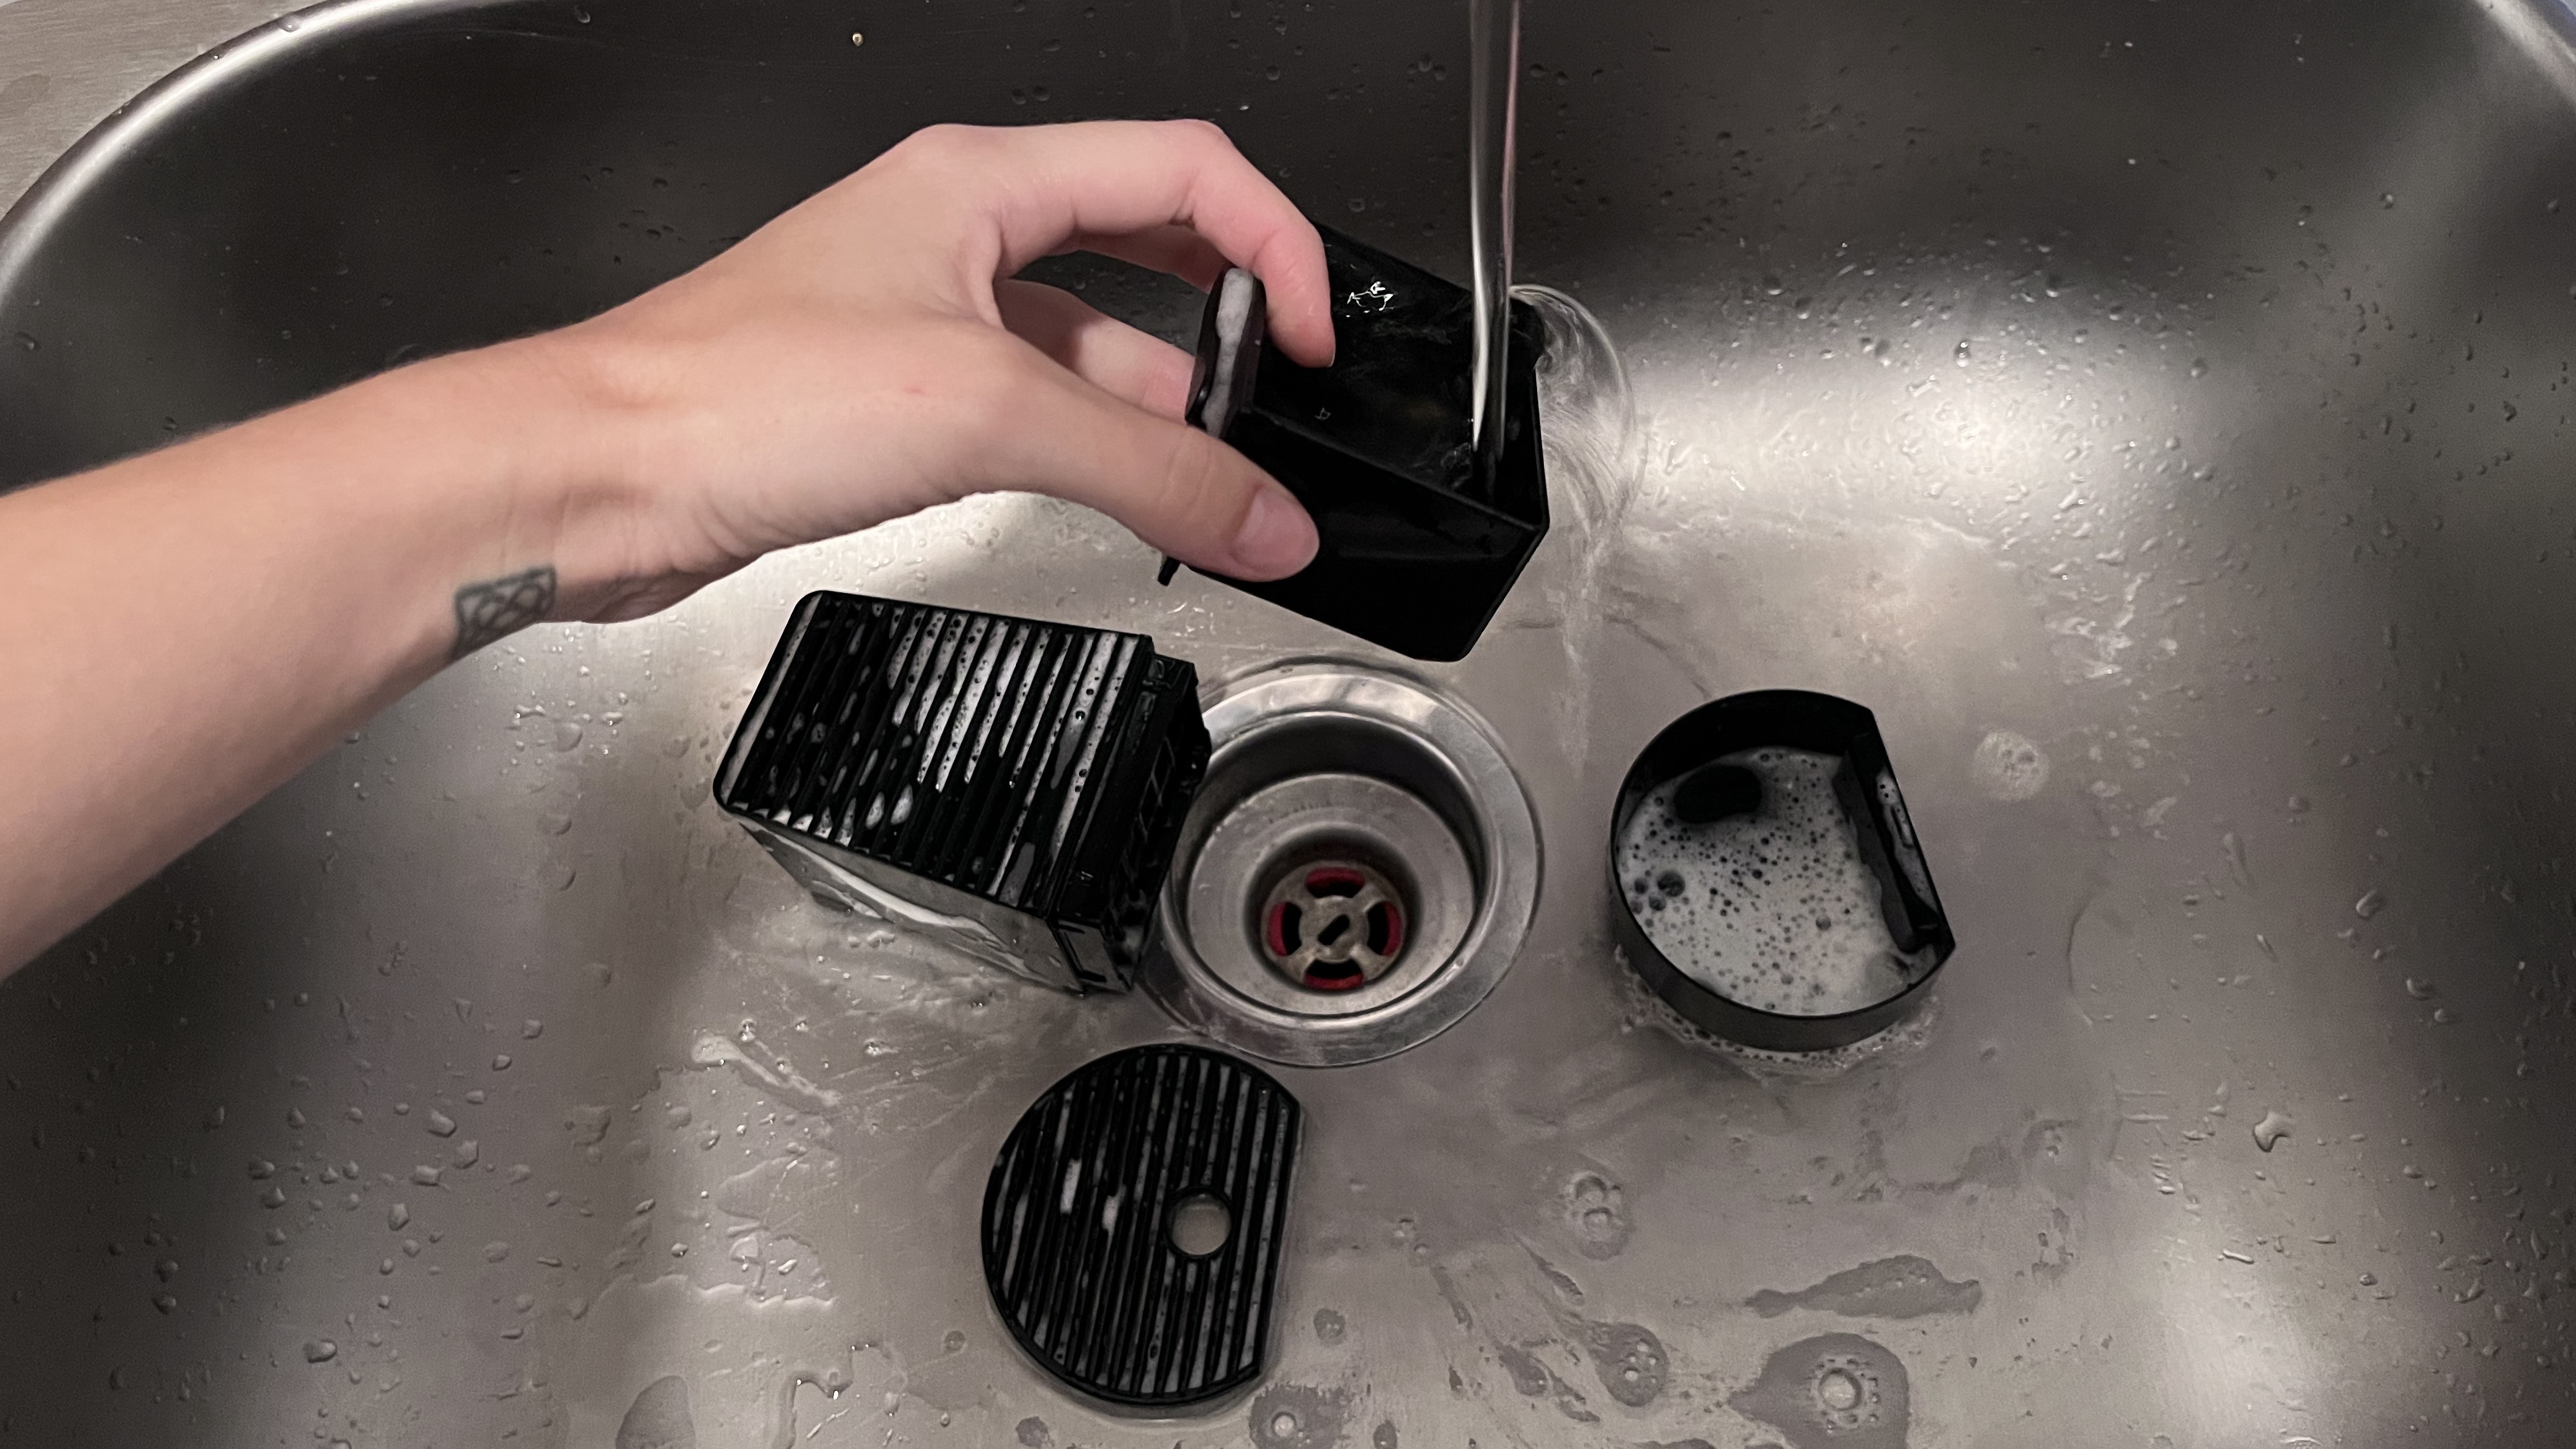
Once the internals are clean and rinsed, it's time to clean the outside of your coffee maker.
Begin by wiping down the machine with a damp microfiber cloth. This cloth is ideal for removing fingerprints, coffee splashes, and dust without scratching the surface or leaving streaks. Pay close attention to high-touch areas like buttons, handles, and lids, which can attract grime over time.
Next, focus on the water reservoir and spout. These sections can harbor hidden dirt, mineral deposits, and limescale, all of which can compromise the taste of your coffee and which are often overlooked or ignored.
Use a long-handled brush—many brands sell brushes with their machines, but any long-handled brush will do—to scrub the interior of the water reservoir and the spout thoroughly. The brush’s length and flexibility let you reach corners and crevices that would otherwise be difficult to clean.
"Regular attention to these areas ensures that mineral build-up doesn’t interfere with your coffee maker’s performance or the flavor of your brew," said Bellis.
7. Reassemble and test
After cleaning, assemble your coffee maker and run a test brew.
This ensures that all parts are functioning correctly, that no cleaning solution remains in the system, and that you can test whether any problems with the taste or texture of your coffee remain.
FAQs
How often should I clean my coffee maker?
"Coffee machines need regular cleaning to ensure the best taste and longevity," according to Wong. "Yet the frequency depends on the type of machine and how often it's used."
"Some fully automatic machines, like Melitta bean-to-cup models, need a descaling and cleaning cycle only once a year if using a water filter cartridge that's regularly changed.
"Semi-automatic and manual machines typically require "back flushing" with water or a special detergent to keep lines and group heads clean. Aim for a thorough clean about once a week if used often."
James added, "Filter coffee brewers should be rinsed daily and washed thoroughly weekly because the oils within coffee can build up a film layer, affecting the taste of the new coffee."
It's also important to empty and clean drip trays and used coffee grounds bins as routine maintenance, especially if the machine is used daily.
What are the signs that suggest a coffee maker needs cleaning?
"If negative flavor changes in your coffee are sudden and become bitter, then cleaning could be critical," explained James.
"If the flow of coffee doesn't look smooth or is spluttering, the nozzle might be clogged," added Wong.
You may also see visible build-ups, such as discoloration or film inside the carafe or water reservoir. The worst areas for collecting dirt and grime are the filter basket, where oils and coffee grounds accumulate, and the spout, where residue can clog the flow. Additionally, the group heads in espresso machines and the water reservoir are prone to limescale and mineral deposits, which, if neglected, can affect performance.
How can I prevent limescale build-up in my coffee maker?
"Limescale is the coffee machine’s worst enemy, causing blockages and taste issues," said Bellies. "Adequate water filtration and periodic descaling are essential to prevent it."
Wong recommends using filter cartridges or filtered water jugs to fill the coffee maker's reservoir. However, some machines come with built-in water filters.
Final thoughts
Reviews
Bosch TQU60703 800 Series VeroCafe Espresso Machine review: a smart coffee maker that can do it all
Casabrews 5700Pro Espresso Machine review: an all-in-one espresso machine with a learning curve
Jura E8 review: the best-selling bean-to-cup coffee maker from the brand
De'Longhi TrueBrew Drip Coffee Maker review: truly a marvelous brewing experience
De'Longhi Eletta Explore review: a bean-to-cup coffee maker with hot and cold brew options
L’OR Barista Coffee & Espresso System review: espresso shot or cup of coffee?
Cleaning your coffee maker improves the machine's performance and helps you get the most out of your coffee beans and grounds.
Keeping up with the cleaning and maintenance means that you don't have to wait until something goes wrong, and it means it's not a long or tedious job.
Sign up to receive the latest news, reviews, buying guides and deals direct to your inbox

Victoria Woollaston, with nearly 20 years of experience, has reviewed gadgets, beauty tech, and household appliances for WIRED, TechRadar, and Expert Reviews. She specializes in critiquing coffee makers and small appliances for Top Ten Reviews. Victoria is also the founder and editor of inclusive beauty and grooming sites mamabella and MBman.
