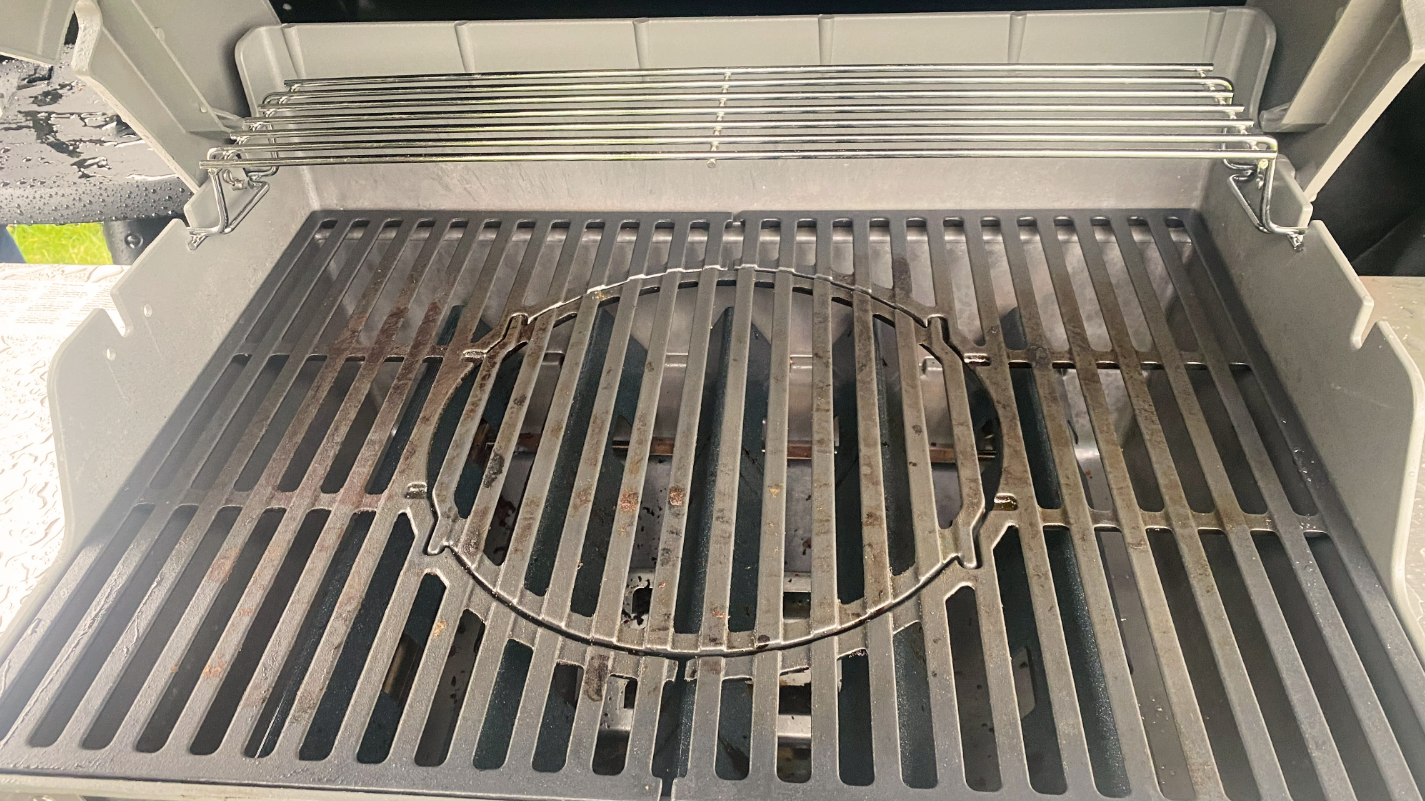
Cookout season is the perfect time to showcase your grilling skills. However, before you start grilling, it's crucial to learn how to clean your grill properly. This will not only improve the taste of your food but also prevent the spread of harmful bacteria.
Good cleaning practices are also essential for maintaining the longevity of your equipment. Even the best gas grills need proper cleaning to prevent carbon deposits from building up on the grates, hood, flavoring bars, and burner tubes. This build-up can be unsightly and lead to the growth of undesirable bacteria, which can ruin your grill if left unattended for too long.
Knowing how to clean your grill is crucial for ensuring that your food is cooked evenly and thoroughly. Whether you're using a charcoal grill or a gas grill, cleaning the grill grate is a relatively straightforward process that can make a huge difference in food quality. Once you've done a deep clean, it's important to maintain it to keep your grill in good condition. We've included some information and top tips on how to keep your grill grates clean.
If you're looking to upgrade your old grill, check out our guides to the best gas grills and the best infrared grills. And if you want to continue grilling even in colder months, consider the best indoor grill that gives you all the flavor without the smoke.
How to clean a grill: Quick steps
- Step 1: Gather supplies, including a scraper, grill brush, ball of fine steel wool, cleaning solution (homemade or store-bought), dishwashing liquid, baking soda, and white vinegar.
- Step 2: Remove and soak the grates and burner covers.
- Step 3: Vacuum the inside of the grill.
- Step 4: Apply your cleaning solution.
- Step 5: Top the cleaning solution with vinegar.
- Step 6: Let it sit.
- Step 7: Wipe the entire grill clean.
- Step 8: Clean the burner protectors.
- Step 9: Rinse, dry, and reassemble.
- Step 10: Heat the grill.
How to clean a grill: Step-by-step guide
Step 1: Gather up your cleaning supplies
Before you begin cleaning your grill, gather all the necessary cleaning supplies. You'll need a scraper or metal spatula, a grill brush, a ball of fine steel wool, a cleaning solution (homemade or store-bought), dishwashing liquid, baking soda, white vinegar, and a toothpick or flossing stick. You might also need gloves and a face mask to protect your hands and face from the cleaning solution's fumes.
Remember, harsh chemicals can damage the surface. If you need clarification, check the manufacturer's instructions for recommended cleaning products. Once you have all your supplies, you're ready to begin the cleaning process and get your barbecue grill looking brand new. You'll also need cleaning rags or paper towels, a bristle brush or putty knife, soap, and water.
Step 2: Remove and soak the grates and burner covers
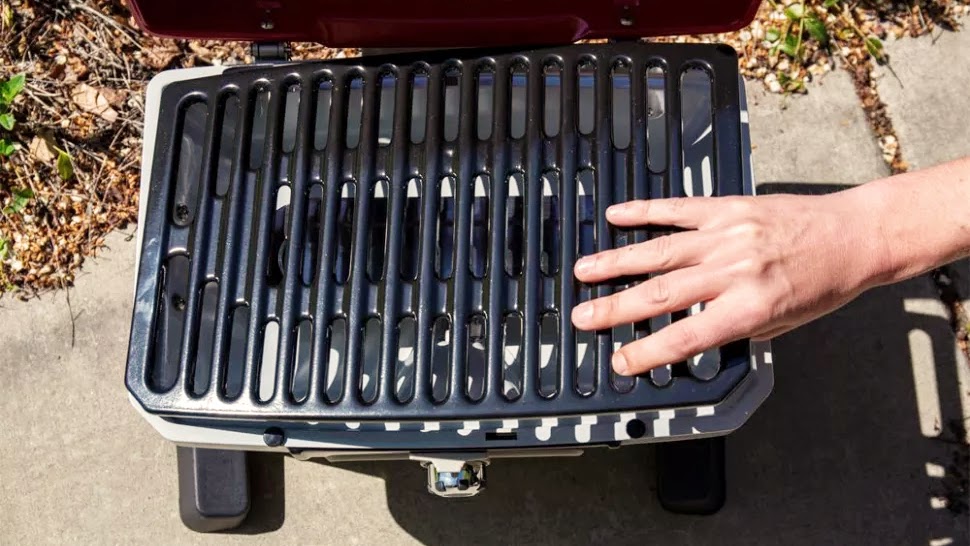
Start by removing the grill grates and burner covers. Soak these parts in a mixture of soap and water to help loosen any stuck-on grime. Once well-soaked, use a grill brush or fine steel wool to scrub the grates and burner covers thoroughly.
Clean both sides of the grates to remove any debris or bacteria. If there are any stubborn stains or burned-on food, you can use a scraper or metal spatula to remove them gently. After scrubbing, rinse the grates and covers with clean water and dry them with a clean cloth.
If your grates or covers are dirty or rusted, you can create a paste by mixing baking soda and water. Apply this paste to the surface and leave it on for a few minutes before scrubbing and rinsing clean. Once you're done cleaning, you can reattach the grates and burner covers to the grill.
Step 3: Vacuum the inside of the grill
Using a vacuum to eliminate any loose dirt, charcoal, and food particles from the inside of your grill is an important step. This ensures that these materials do not hinder the grill's performance. You can opt for a handheld or regular vacuum with a hose attachment to remove any loose debris, ash, or other particles that may have accumulated inside the grill. Before vacuuming:
- Ensure the grill and the ashes are entirely cooled down before removal.
- Remove the grill grates and burner covers to access the inside of the grill.
- Clean all the corners, edges, and hard-to-reach areas using the vacuum to ensure a thorough clean.
- Once done, wipe the inside of the grill with a gentle cleaning solution and a ball of fine steel wool to remove any remaining dirt or stains.
Step 4: Apply your cleaning solution
You can clean your grill with a store-bought product or a homemade cleaning solution. If you prefer a homemade solution, mix baking soda and water in a 3:1 ratio to make a paste, or try mixing water, baking soda, and white vinegar.
You can also use dishwashing liquid. Once you've prepared your cleaning solution, apply it to the grill's interior, including the burners, flavoring bars, and hood.
Use a ball of fine steel wool or a cloth to scrub the surface, not scratching it gently. Thoroughly clean the corners, edges, and hard-to-reach areas. After washing, rinse the surface with clean water and dry it with a clean cloth.
Step 5: Spray the cleaning solution with vinegar
After applying the baking soda paste, spraying it with vinegar can help break down stubborn grime. Vinegar is a natural disinfectant and can kill any remaining bacteria or germs on the grill's surface. Once you've applied the cleaning solution to the grill's interior, burners, flavoring bars, and hood, spray it with vinegar. You can use white vinegar or apple cider vinegar, depending on your preference.
The vinegar will react with the cleaning solution and create a foaming effect, which will help remove any stubborn dirt or stains. Leave the solution on the surface for a few minutes to let it work, then use a ball of fine steel wool or a cloth to scrub the surface gently. After washing, rinse the surface with clean water and dry it with a clean cloth.
Step 6: Give the solution time to work
Allow the cleaning solution to sit on the grill for at least 30 minutes to allow it to penetrate and loosen the grime accumulated on its surface. The recommended time to let the solution sit may vary depending on whether you use a homemade cleaning solution or a store-bought product. For homemade solutions, it's best to leave it for at least 15-20 minutes. Once the solution has had enough time to work, gently scrub the surface with a ball of fine steel wool or cloth. After washing, rinse the surface with clean water and dry it with a clean cloth.
Step 7: Wipe the entire grill clean
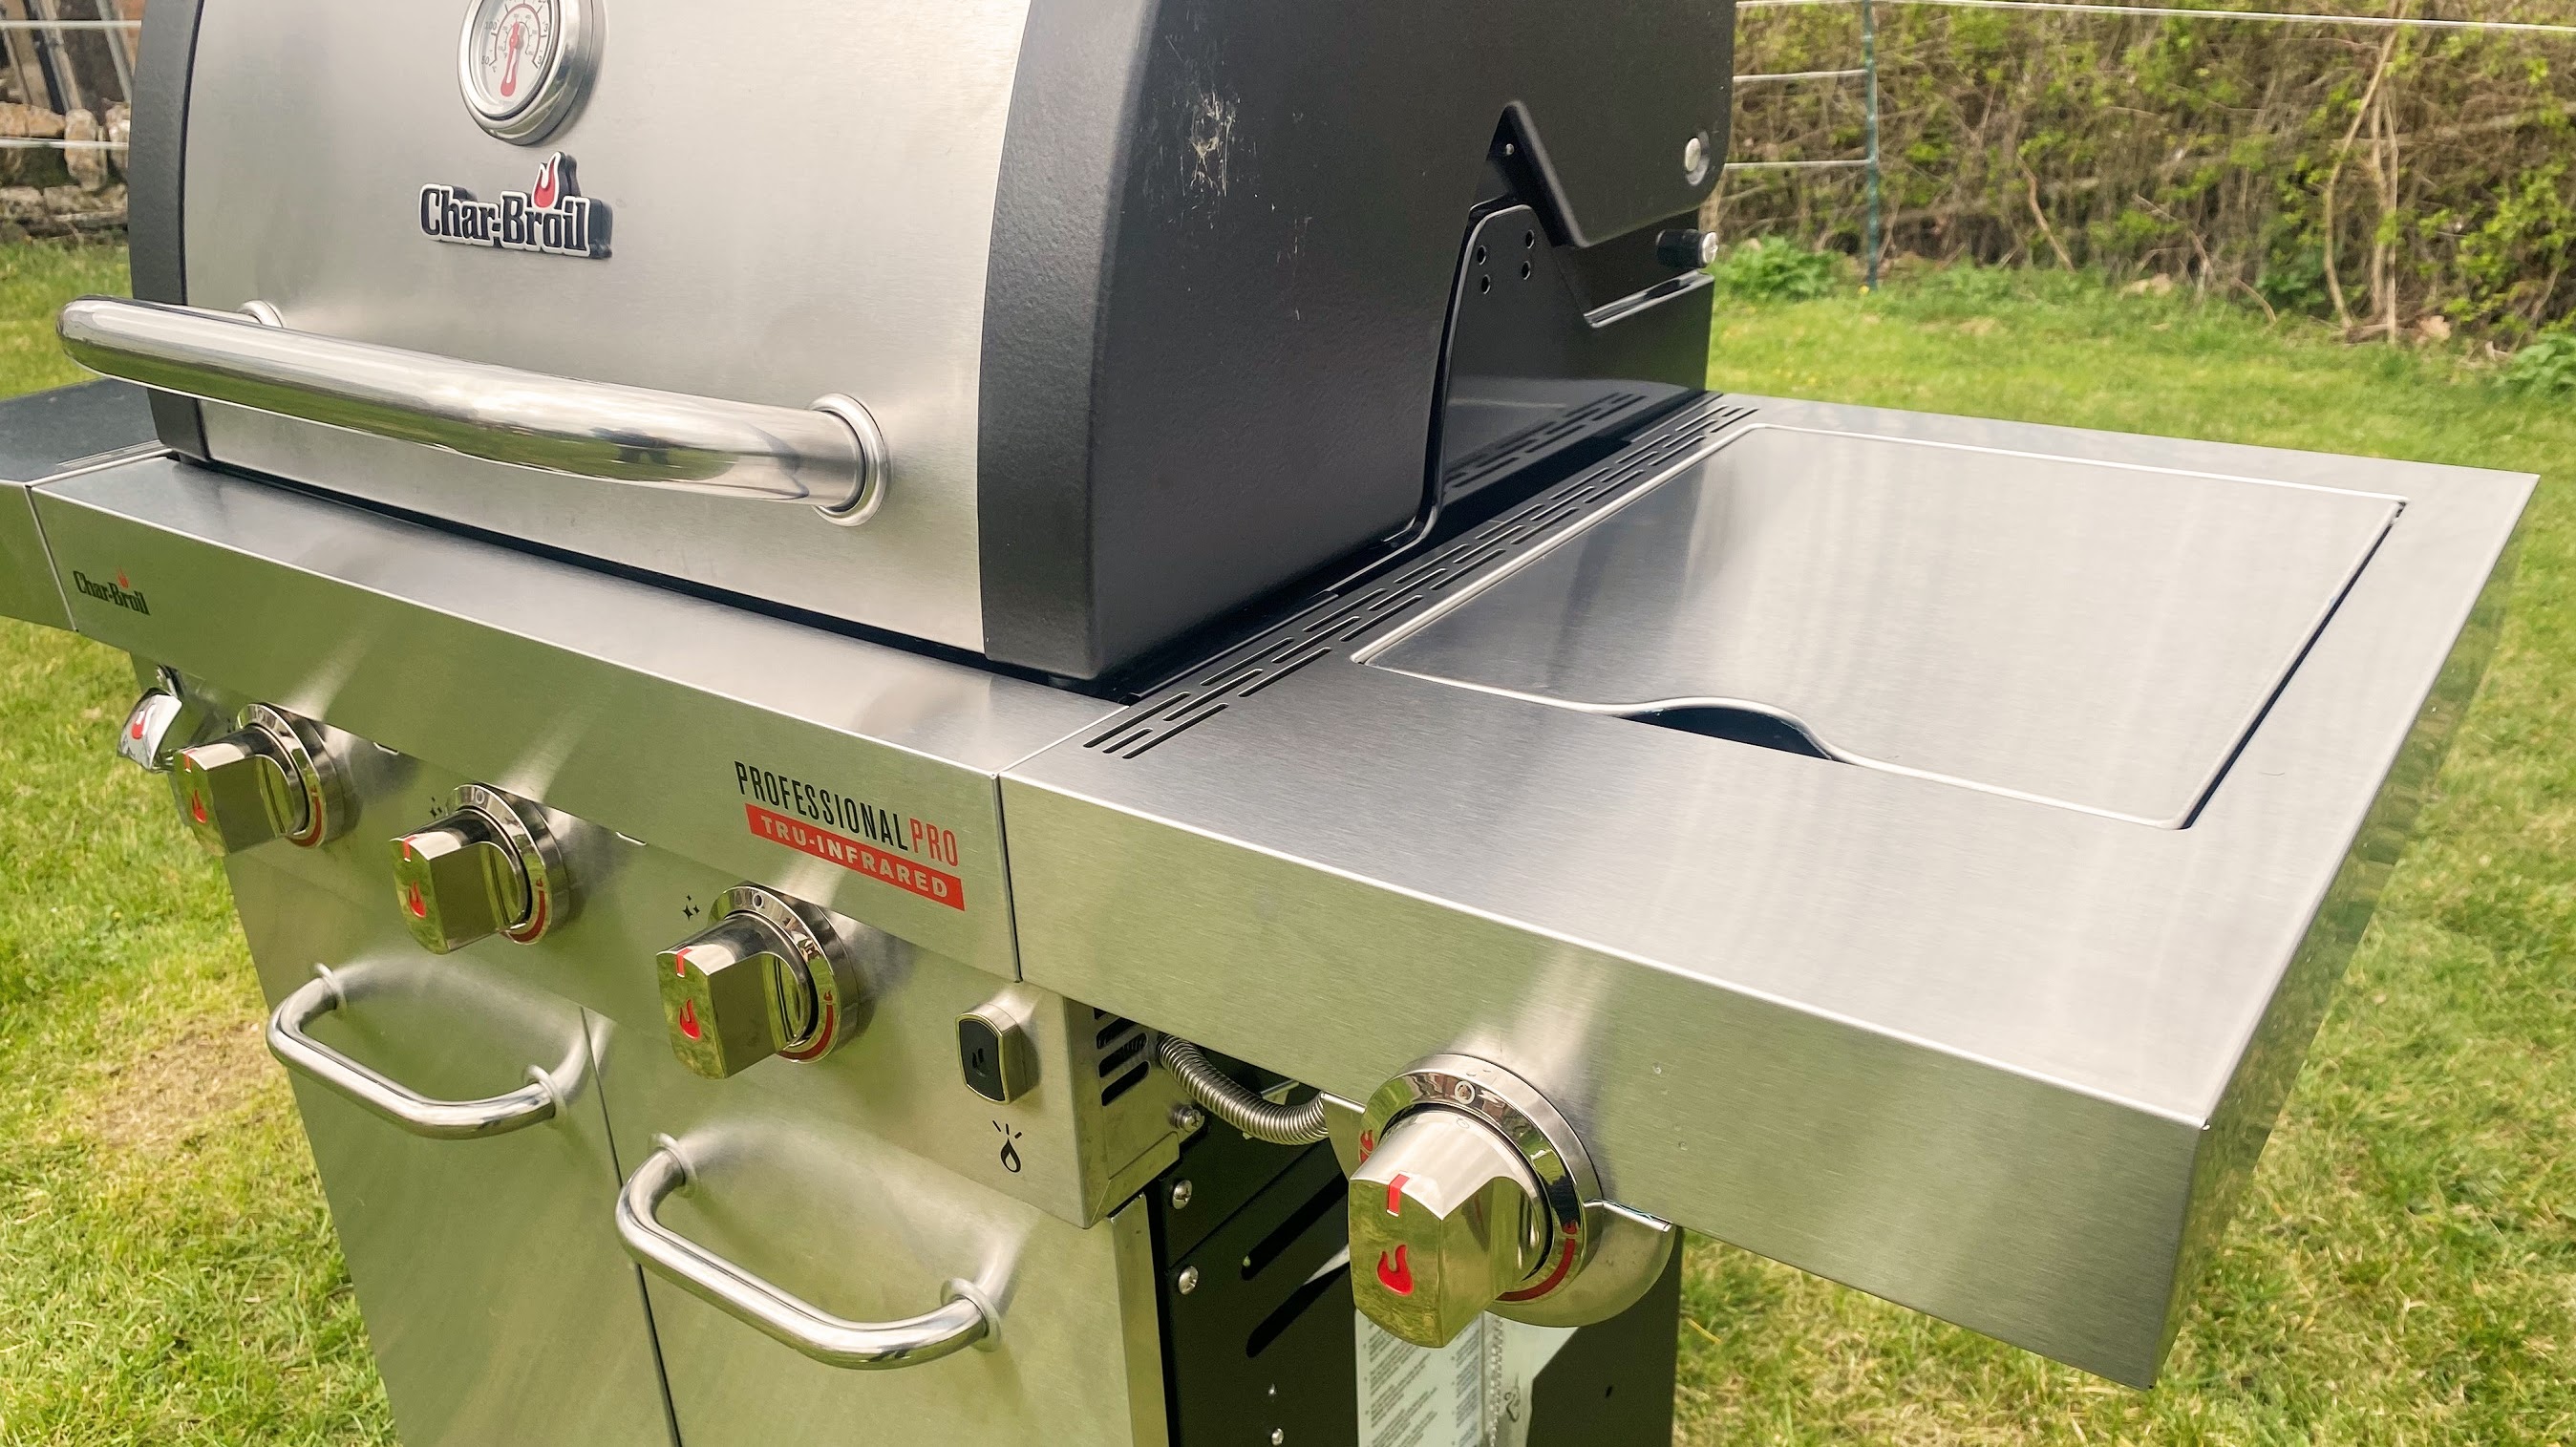
Use a clean cloth or paper towel and wipe the grill's interior, including the burners, flavoring bars, and hood. Remove any remaining dirt, cleaning solution, or debris, and thoroughly clean the corners, edges, and hard-to-reach areas. If there are any stubborn stains or burned-on food, you can use a scraper or metal spatula to remove them gently. Once you have wiped the grill clean, you can reattach the grates, burner covers, and any other parts you removed. If necessary, repeat the cleaning process until your whole grill is clean.
Step 8: Clean the burner protectors
Cleaning your barbecue grill also involves removing the burner protectors or flavorizer bars from the grill and giving them a good scrub down. Accumulated grease and grime on the burner protectors can be easily removed with soapy water and an old sponge. To clean the burner protectors:
- Remove them from the grill and soak them in warm soapy water.
- Use a grill brush or ball of fine steel wool to scrub them thoroughly, careful not to damage the surface.
- Rinse them with clean water and dry them with a clean cloth.
For particularly dirty or rusted burner protectors, create a paste with baking soda and water, apply it to the surface, leave it on for a few minutes, and then scrub and rinse clean. Once clean, reattach the burner protectors to the grill.
Step 9: Rinse, dry, and reassemble
After cleaning all the parts, including grates, burner covers, burner protectors, and the interior:
- Rinse them with clean water and dry them with a clean cloth.
- Make sure you remove any remaining cleaning solution or debris.
- Reattach all the parts to the grill, including the grates, burner covers, and burner protectors.
- Double-check that all the parts are correctly assembled and in the correct position.
- Follow the manufacturer's instructions for reassembling the grill to ensure it's safe and functional. Once everything is in place, you can light up your grill and let it heat up for a few minutes to burn off any remaining debris or moisture.
Step 10: Heat the grill
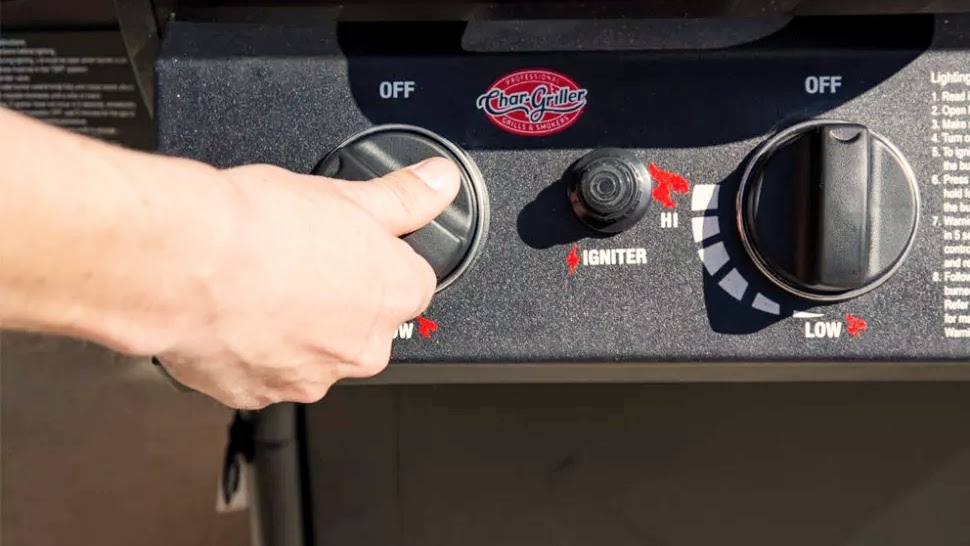
Heating the grill is an essential step after cleaning and reassembling it. Once you have cleaned and dried all the parts and reassembled them, it's time to light up the grill and heat it for a few minutes. This will help to burn off any remaining debris or moisture and ensure the grill is ready for your next barbecuing session. Heat your grill for at least 10 minutes before grilling to ensure any remaining cleaning residue is burned off. This also helps to season the grill grates.
Whether it's a gas or charcoal grill, you can light it up according to the manufacturer's instructions. Turn on the burners for gas grills and let them heat up for 10-15 minutes on high heat. For charcoal grills, light up the charcoal and let it burn for about 10-15 minutes until the coals are white-hot. Once the grill is heated, use a grill brush to clean the grates and remove any remaining debris.
How to clean a grill: Final thoughts
Mike Norton, Trade and Projects Director at Magnet Trade, says, "Vinegar doesn’t just come in handy for summer salad dressings. Pour two cups of white vinegar into a spray bottle and give the grill a generous spray. The acetic acid in the vinegar will break down any stubborn grease, making it easier to wipe later. Wait for a few minutes and then scrub with crumpled-up aluminum foil. Remember that vinegar can be flammable, so take care when spraying it on hot surfaces. "
After thoroughly cleaning your gas grill, you probably won't want to repeat the process anytime soon. Fortunately, there are a number of easy techniques you can use to prevent future build-up. Here are some tips:
Steam clean your grill after use: Place a tin of water on your grill for up to 30 minutes to create steam. This will loosen any grime and grease on the grill, making it easier to keep it clean.
Line the debris drawer with tin foil: The drawer beneath your burners is excellent for collecting cooking residues, but it can be difficult to clean. Save yourself some trouble by lining the drawer with tin foil, which can be easily gathered and thrown away when it's time to clean.
Use an onion on the grates: It may sound strange, but its acidity is a great natural cleanser for grates. The acidic properties will break down oils and grease, making cleaning easier.
Preheat and post-heat your grill: Before using your grill, preheat it to burn off any food particles from previous uses. After cooking, close the lid and heat the grill to remove residual food particles.
Oil your grates: Before cooking, oil the grates to create a non-stick surface. Use a high smoke point oil like vegetable or canola oil and apply it using a brush or folded paper towel. This will prevent food from sticking and make the cleaning process more manageable.
Clean spills as soon as they happen: The longer dirt is on your grill, the drier it becomes and the harder it is to clean. So, if any spills occur, clean them up immediately.
Use a grill mat or aluminum foil: A grill mat or layer of aluminum foil will reduce the amount of food that comes into contact with your grill, significantly reducing the amount of food that sticks and keeping the grill clean in the long run.
Store your grill properly: When not in use, cover it with a waterproof grill cover to protect it from dust, dirt, and weather elements. This will help keep your grill grates clean and prevent rust or deterioration.
