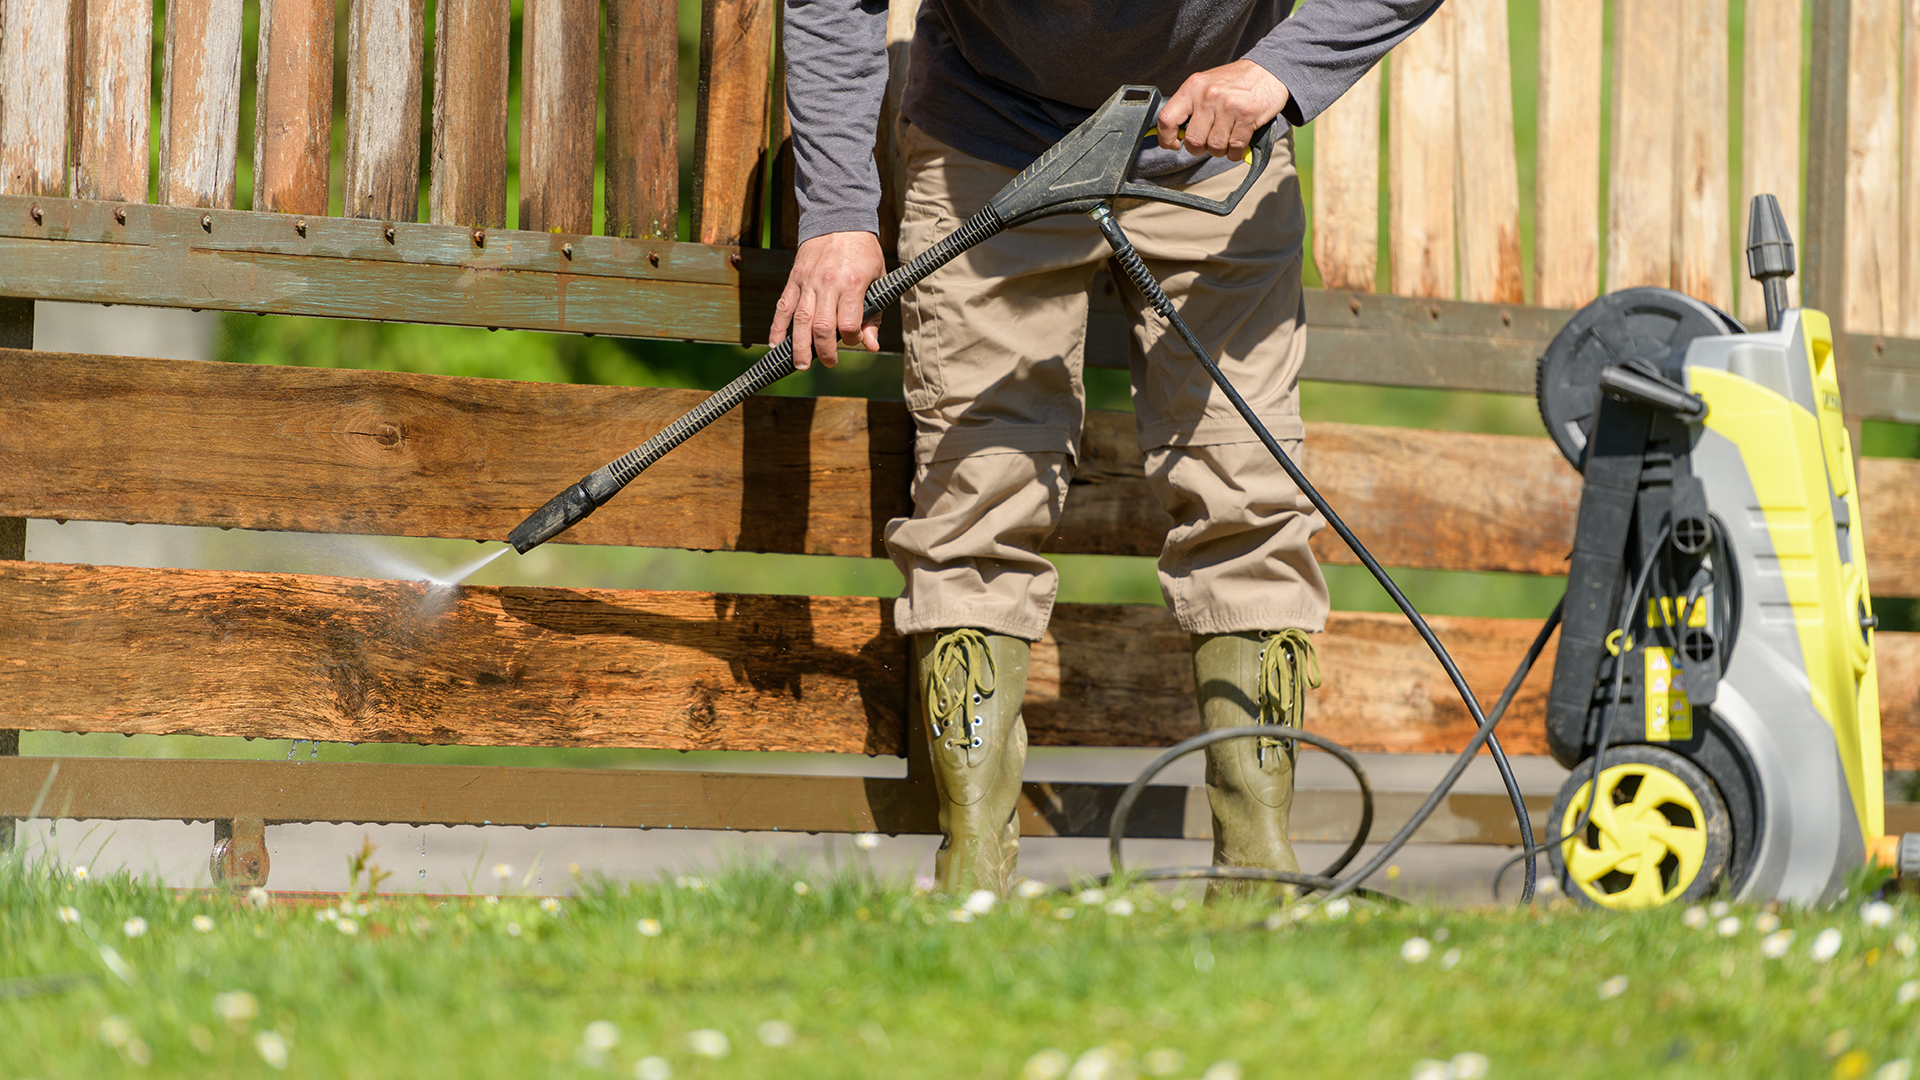
Pressure washers are incredibly versatile: you can use them to clean everything from your patio to tiny siding. But different surfaces require different pressures. That’s why learning how to adjust pressure washer unloader valves can be handy.
The pressure washer unloader valve may be small (about 4 inches long), but it plays a major role. Essentially, it regulates the pressure of the water. That small valve is crucial for keeping you safe. It prevents dangerous levels of pressure from building up. It may seem technical at first, but we’re here to help with step-by-step guidance. We’ll break it down so you can learn how to adjust pressure washer unloader valves with confidence.
A pressure washer is a trusty tool for almost all of your home improvement needs. Find the right model for you with our guide to the best pressure washers.
How to adjust pressure washer unloader valve
Why learn how to adjust pressure washer unloader valves? “If you’re pressure washing your entire house, you’ll need to adjust the pressure several times to optimize it for different materials. Concrete can withstand higher pressure than vinyl siding, so you’ll need to lower the pressure to protect your home from damage,” says Scott Reid, Exterior Home Expert at Angi.
Check the manufacturer’s guidelines for your model before you begin.
To prepare to adjust your pressure washer's unloader valve, first set the engine to 3700 RPM without the load and 3400 RPM with the load. Then, disconnect the nylon lock nuts from the unloader valve and turn off the pressure adjusting knob.
Remove the bolts, washer, and springs attached to the unloader valve and tighten the nuts on the piston with a wrench. Then, reassemble the nuts, bolts, washer, and springs and position the pressure gauge between the hose and the pump so you can easily read it.
Now you're ready to start adjusting the unloader valve.
Step 1
Turn on the water and the pressure washer outlet valve to release excess air.
Step 2
Tighten the pressure spring slowly while activating the trigger.
Step 3
Check the gauge for when it reaches the maximum pressure (usually 3700PM).
Step 4
When you release the trigger, it should reach a spike of about 6-9% above the maximum pressure. If you don’t see it hit this range, you’ll need to unlock the nuts and springs and keep trying until you reach it.
Step 5
Once you’ve achieved the desired pressure, turn the trigger on and off about 15-20 times. This step will break in the unloader valve.
Step 6
Finally, check the spring and lock nuts are in the correct position.
Discover more guides for the garden…
Best chainsaws
Best leaf blowers
Best patio heaters
Best inflatable hot tubs
Cheap pressure washer deals

